I learned how to make pineapple vinegar last winter, but never blogged about it, and since I had another pineapple to cut up and eat I decided to make another batch of vinegar and share the process.
Vinegar making is very simple. All that is needed is some type of organic matter (usually fruit) sugar, water, air and yeast.
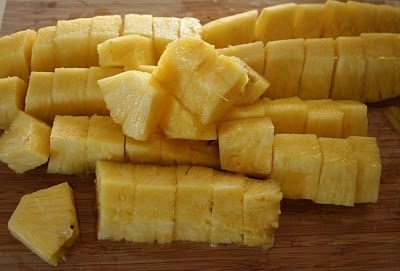 The great thing about making your own vinegar is that you can use then entire plant, instead of throwing away portions of it.
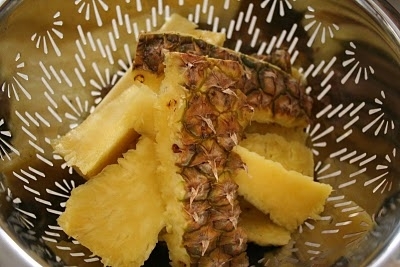
For pineapple vinegar, just slice a pineapple as you normally would, eating the fruit, but saving the peel and core. Give the peel a good rinse in water.

Then some water, and stir it until the sugar dissolves.
Once the peel is rinsed, cut it up into good sized chunks.
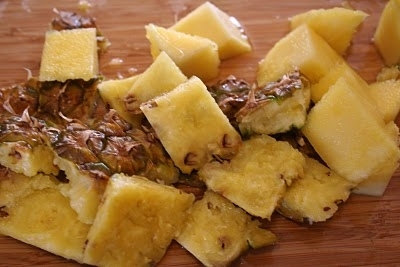
Put it in you jars and add enough water to fill the jar and cover the fruit.
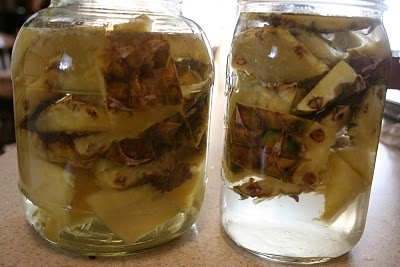
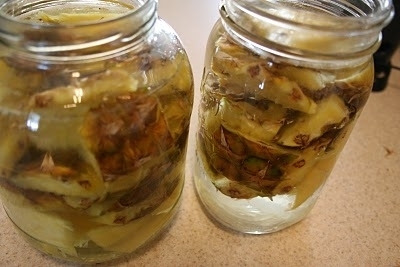
Then cover the jars with a cloth. Air needs to be able to get to the fruit, the natural yeasts in the air will start working on the sugar water and fermentation will start.
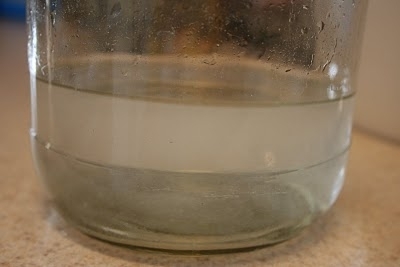
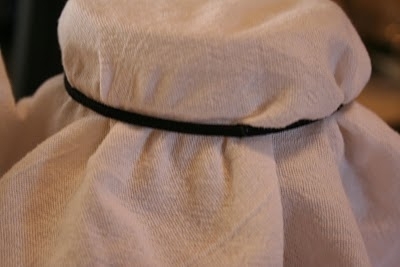 The pictures below are after three days. You can see that the liquid gets cloudy, that is good, it is part of the process. You can also see the bubbles that are forming around the top and inside the jar, that is also good, alcohol is being formed. To make vinegar we need to get past the alcohol to where it turns to vinegar.
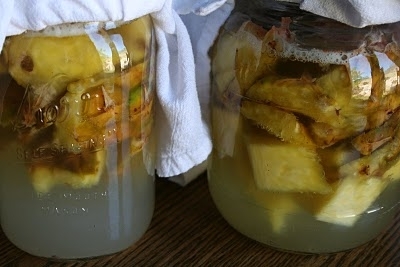
Making vinegar can take several weeks depending on the temperature (it needs to be between 60 and 80 degrees) and how much yeast you have in the air.
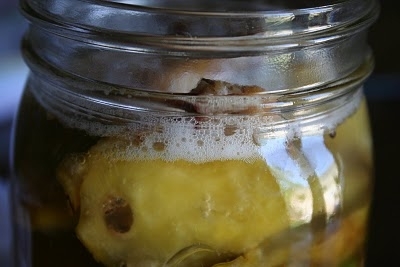
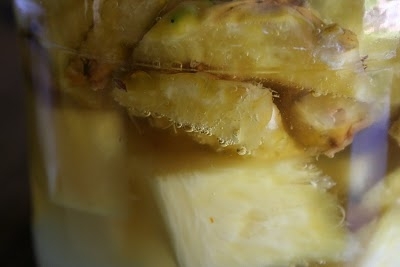 There are also a few other considerations. Sometimes bits of mold will form at the top of the jar, at the water line, just spoon it out, it won’t hurt anything. Also water will need to be added as the days go along to compensate for evaporation.
I will keep you updated as things progress, and we will talk about the “mother” and why having vinegar with the “mother” still intact is a good thing.

I'm impressed, Aimee! Can't wait to see how it turns out~
That looks easy. Now, what do you use it for?
You amaze me!
Will it taste like pineapple?
this is awesome, something i will definitely need to try out! 🙂
lovely blog 🙂
Debs
I'm SO excited. This I HAVE to try. I'm just sorry I didn't know about this a couple of weeks ago when I bought a pineapple. That's okay, it gives me an excuse to buy another one!!!
Blessings,
Kimberlynn
I just decided I wanted to learn to make vinegar, and up popped your post. Thanks :o)
do you use this instead of ANY vinegar or just for certain recipes?
So I'm dying to find out how your vinegar turned out! Even if it turned out poorly – I'm a learn from your mistakes sort, so I also like hearing about what others learned from theirs. I'll bet it turned out perfectly though! 😉
Also, do you find that you get funny smells in the house when you're making sour dough or vinegar? What do you do about that, or do you like it? (My hubby HATES it!)
Pingback: Vinegar - The liquid of many uses | Shareable Survival