Chicken…er…Turkey broth

I really enjoy canning. I love that I can take with my own two hands wonderfully nutritious foods and preserve them in a way that my family can enjoy it for months to come. It satisfies me to know that no matter what happens, there will be food on the table, and not just any food, but good foods without added preservatives and flavorings. When I am finished canning and I line those jars up on the shelves I feel a sense of pride and accomplishment. I am a Home Economist and I have ensured for a little while that the economy of my home will stand, with full belly’s!

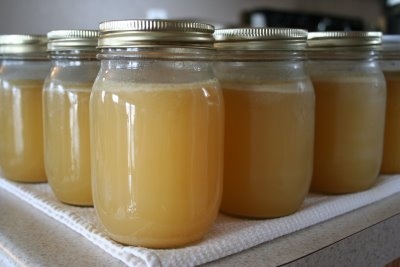
For the last little while I have been trying to use all my food to the last little bit and not let anything go to waste. Sometimes I am really good at this, other times I slack off a bit! Sunday I made a big Turkey dinner and Monday morning I set that big old Turkey carcass in my biggest stock pot and let it boil all day. Usually when I make broth I freeze it, but Monday I decided that I was going to try something different. A couple of weeks ago I canned potatoes, it was my first attempt at using a pressure canner and since nothing blew up I figured I could give it another try. This is what I ended up with, and I am so proud!

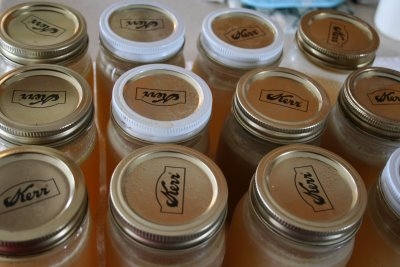
12 pints of homemade turkey broth, ready to sit on my shelf and become dinner at some point.

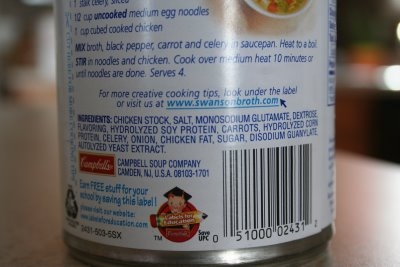
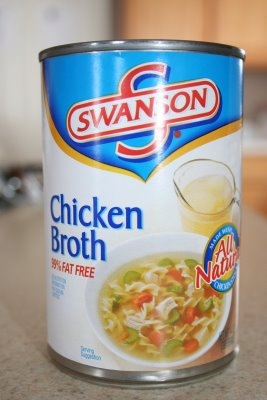
As I mentioned before, I like canning because it give me the ability to control what is in my food without spending a fortune. I wanted to see what is in a store bought can of chicken broth, so I dug one up one lonely can and read the label.

It really as very few ingredients, there are some that I can’t pronounce and have no idea what they are. There is one big bad ingredient that I like to avoid completely and that would be Monosodium Glutamate, or also known as MSG. It isn’t good for our bodies, and a lot of people (including me) have sensitivities to it, there are some people who are very allergic to it. Cooking and preserving from scratch makes it possible for me to avoid all the unwanted ingredients. I know exactly what is in my broth: turkey; onions; garlic; salt; pepper; sage; thyme; and parsley.

Cooking and canning from scratch also gives me the flexibility to alter recipes to the tastes of my family. I know that the broth I made is going to be exactly how I like it with as much or as little salt as I want.

What kinds of things do you cook from scratch?

Homemade Pasta

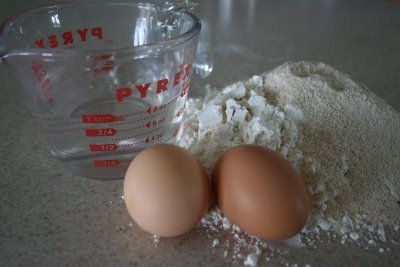
The ingredients for homemade past are very simple.
2 Cups flour (wheat or white)
2 Eggs
Some water

period

that is all!


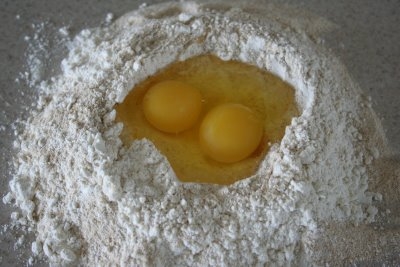
Dump your flour onto the counter or whatever surface you would like to use
it is best if it is a clean surface
nothing is yuckier than grit in your pasta

Make a fun little volcano and crack your two eggs into it.

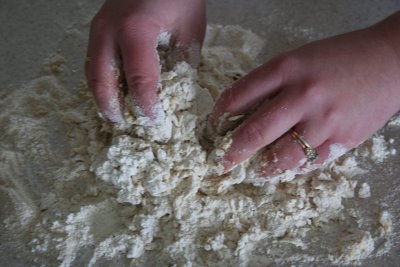
Then starting on the outside work the flour and the eggs together with your hands


I recommend taking your rings off….my wedding ring still hasn’t recovered from the eggy flour mixture.

This is what it will look like when the eggs and flour are combined, it will be a dry crumbly mess.
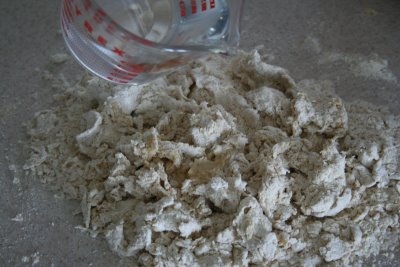
This is where the water comes in.

Add water about a Tablespoon at a time until you get a very dry, very stiff dough. The amount of water you use will vary each time depending on many factors.


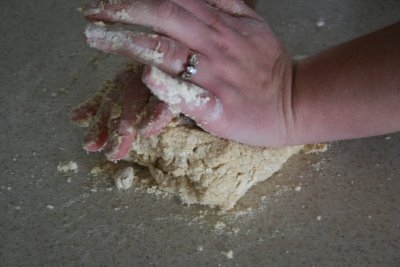
Kneed and mix everything together really well

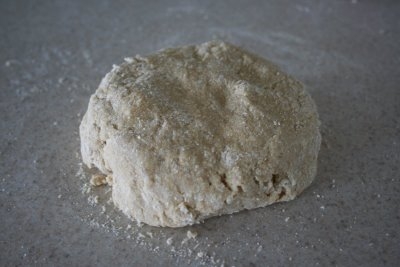
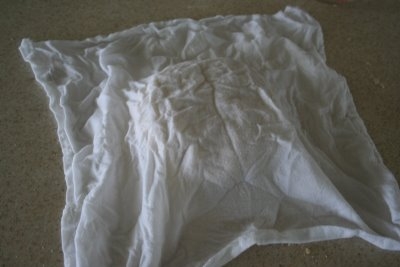
Once the dough looks like this let it rest on the counter top (or surface of your choice.) for 10 to 30 minutes, covering it with a damp cloth.


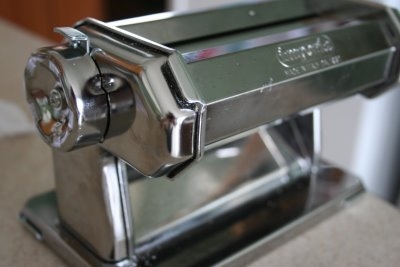
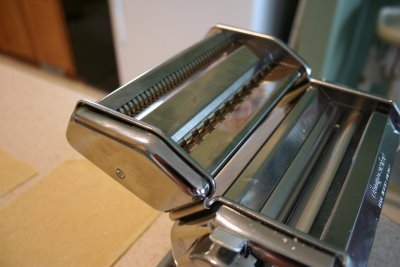
While the dough is “resting” (whatever that means) set up your pasta maker.

If you are simple like me it will be of the hand-crank variety

(which preforms wonderfully)
or an electric one.

and set it to the biggest setting, where the rollers are as far apart as they will go.

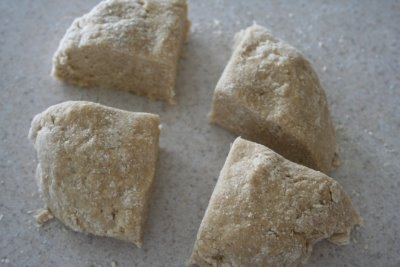
Once your dough has had a nice nap cut it into fourths, it it easier to work with. Cover the pieces that you aren’t working with with your damp cloth so they don’t dry out too much.

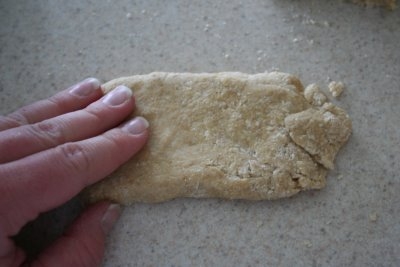
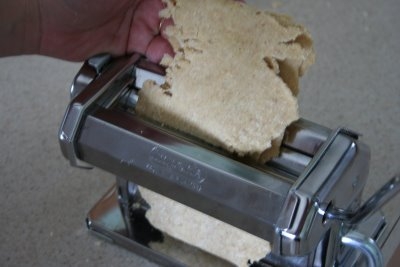
Moosh your piece out kind of flat….

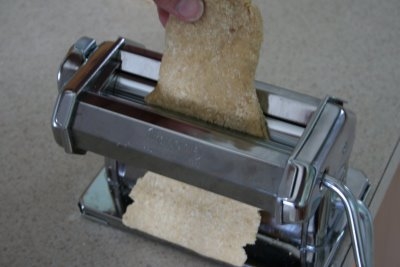
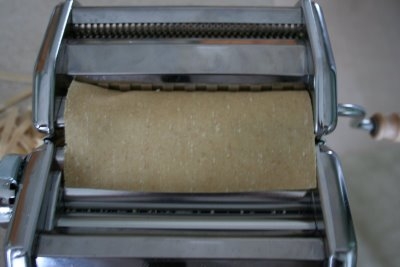
and push it through the roller

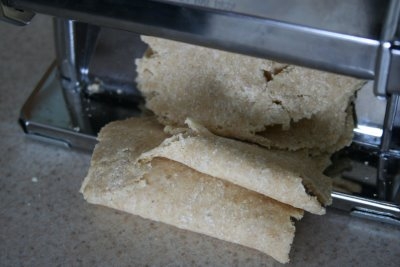
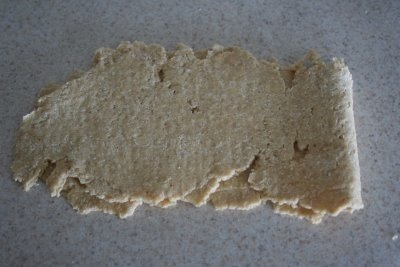
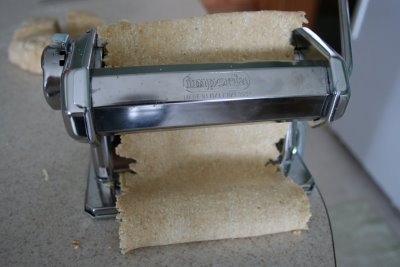
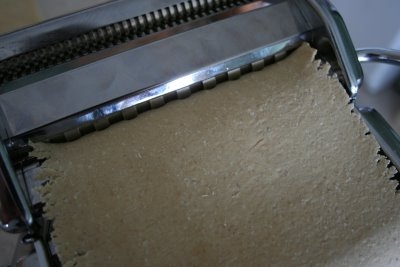
After the first pass through the machine it will look like this and you will think you are a pasta-making-failure, but don’t despair, this is a normal step.


Gather it all together and fold it as best as you can and give it another pass through the machine.

When it starts sticking together well, adjust the pasta maker to a lower setting (so the rollers are closer together)

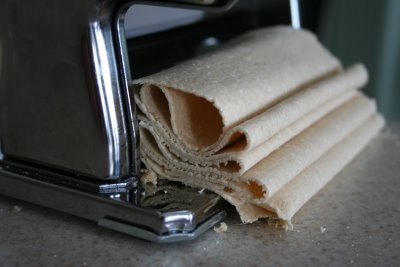
Fold the dough up and make some more passes

All you do now is fold and run through the machine….adjust down…..and fold and run.

Very Simple.

(look how bad I am, that is some uncovered dough in the back ground! tisk-tisk!)

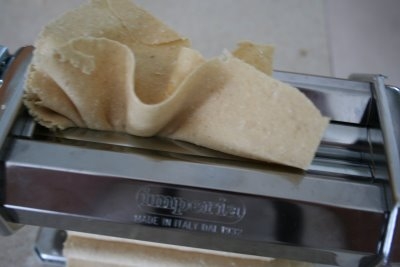
(and if this happens during one of the passes, don’t fret, it will iron itself out)

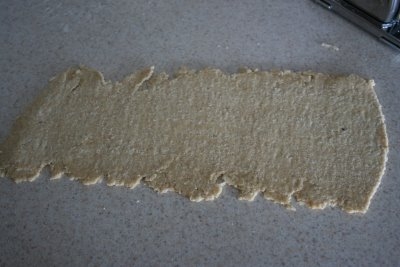
Keep going until it is at its smallest setting, or until you are at the thickness you like.

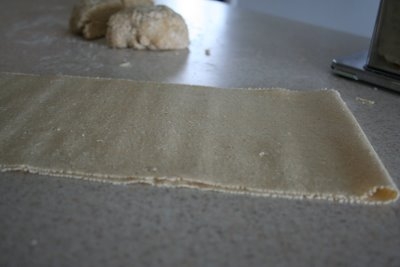
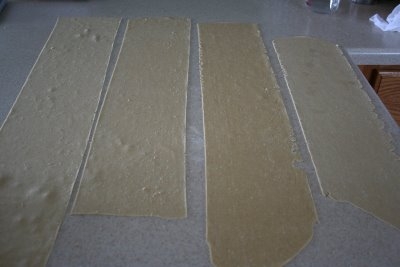
Lay the big sheet of pasta out on the counter top…(or surface of choice) and rest (there is that word again) for about thirty minutes.


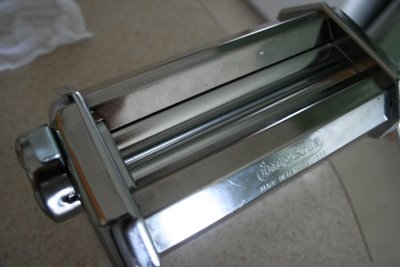
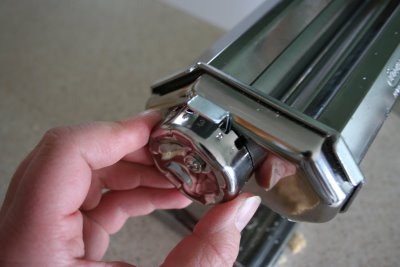
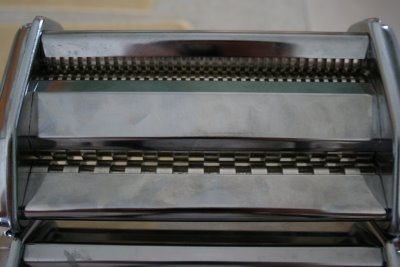
When you are ready to cut the pasta put on the attachment of your choice. (At this time I only have two, but that will be changing!) and cut the big sheets of pasta to the length desired. I was making mine for Chicken Noodle soup, so I only wanted them about three inches long. I used a pizza cutter and quickly make the cuts.


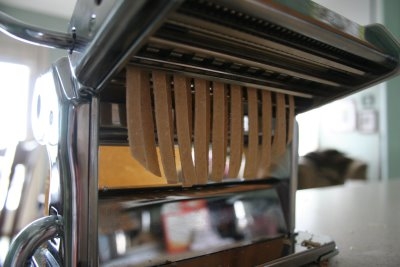
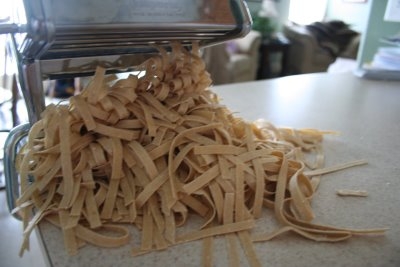
Then you just feed it through the cutter and (taadaa) pasta!

This recipe will make two pounds of pasta.

I love that big fat pile!

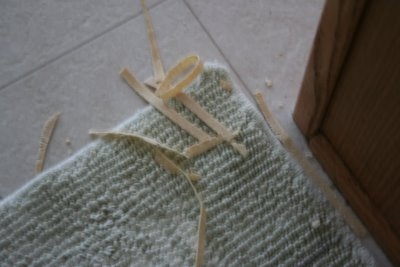
(I am not so much loving the small pile that made its way to the floor, not my surface of choice)

and a quick picture of the living room without laundry all over
(just give it a couple days…)

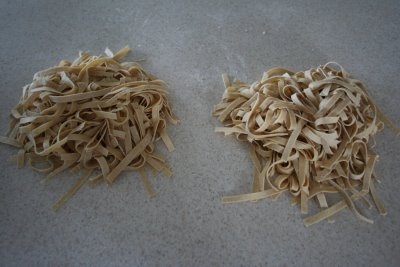
I divided the pasta into two piles, one for the soup and one for the freezer.

I haven’t learned how to dry pasta yet, but when I do I will be sure to tell y’all

(Kristi the “y’all” is for you!)

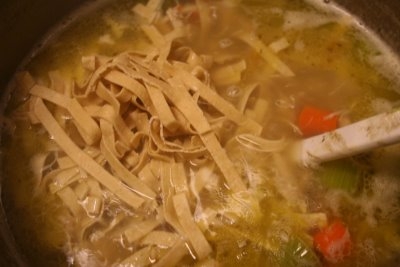
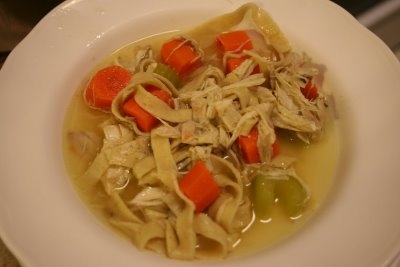
Into the soup pot it goes and since it is fresh it only takes about 5 minutes to cook, and onto the dinner table.

YUM!


No more dried, store bought pasta for this family.

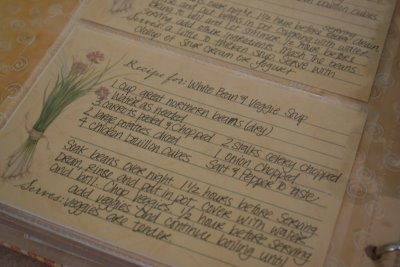
White Bean Soup

Continuing on my series
Cooking Beans
I have another yummy, hearty, down home recipe to add to your collection.


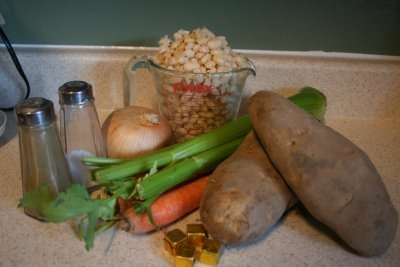
Our Cast of Characters:
3 cups cooked great northern beans
1 onion
2-3 potatoes
2-3 stalks celery
2-3 carrots
4 cubes chicken bullion
Salt and Pepper to taste

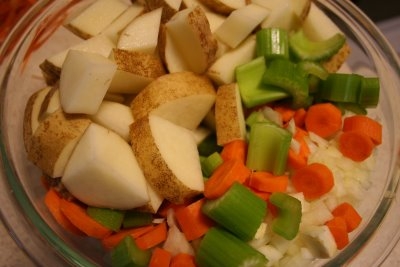
Chop up your veggies
(or if you are lucky like I am have one of your punk slaves do it)


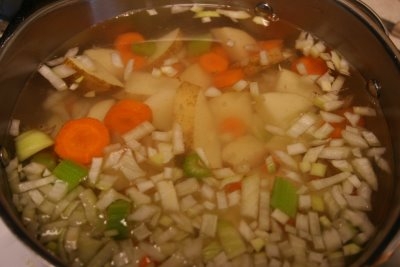
Put everything into a pot and add water
bring it to a boil
and let it simmer until all the veggies are tender

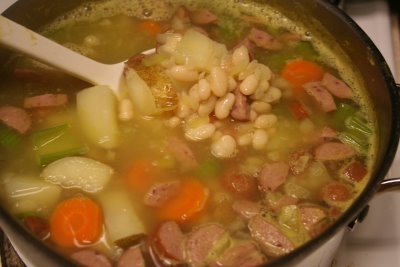
About 10 minuets before you are ready to serve add your beans so they will warm up.

(I also added some cut up polish sausages, I had some left over from Halloween and thought they would be a good addition, and they were! You could also add ham, chicken or beef)

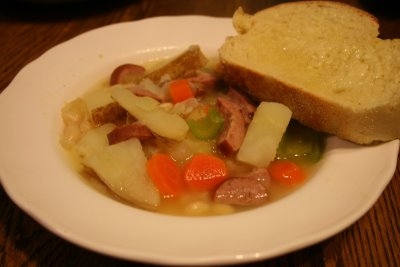
This is a great meal for a cold wintry day.

and the cost…only a few dollars


I served this soup with the best french bread I have ever had!
Run on over to my friend Casey’s blog for the recipe
you won’t regret it!

Refried Beans

Refried beans are one of the easiest and yummiest ways to prepare and serve beans

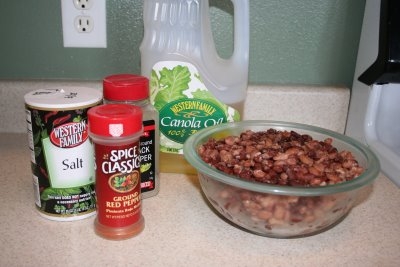
Here is our cast of character:
Cooked beans
some sort of fat
and seasonings

easy peasey

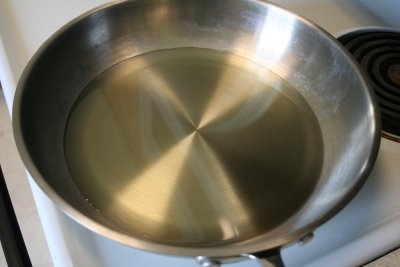
Start by heating up whatever fat you would like to use.
I used Canola oil this time
and to be very honest it is my least favorite I don’t really love the taste of the canola oil with beans, but it worked and it was still good.
I like using shortening better and my very favorite it bacon grease, it gives the beans a wonderful flavor.

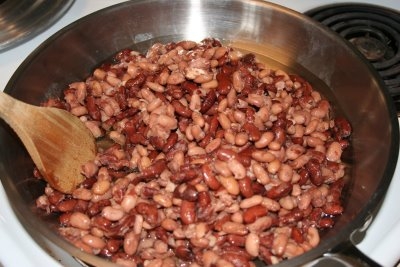
Once it is nice and hot dump your beans in

I would advise you to wear an apron of some sort
(here is a link to some cute vintage aprons)
the grease will splatter a bit, and nothing bugs me more than a nice shirt ruined by grease!


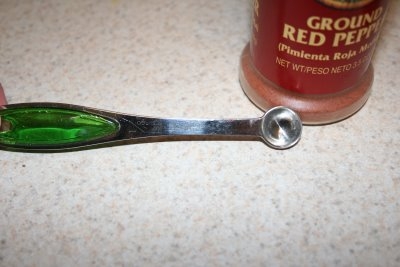
(side note, isn’t that itty bitty measuring spoon so stinking cute!)

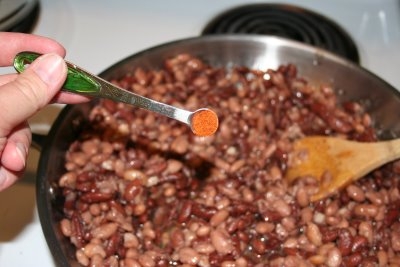
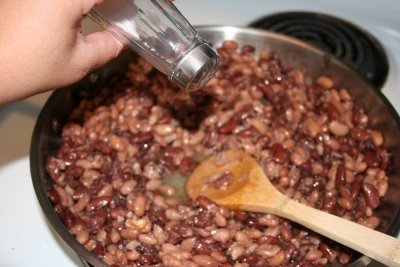
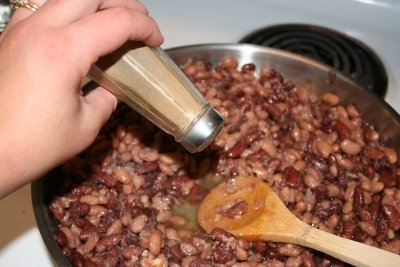
I add my spices, anything works, whatever floats your boat.
A spoonful or two of salsa is really yummy.


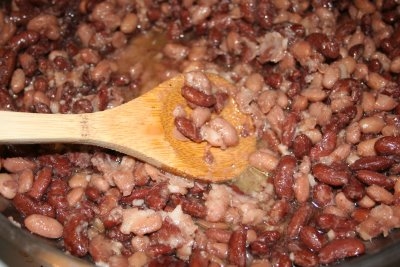
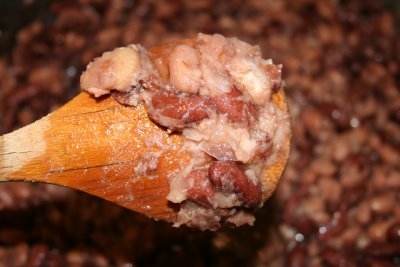
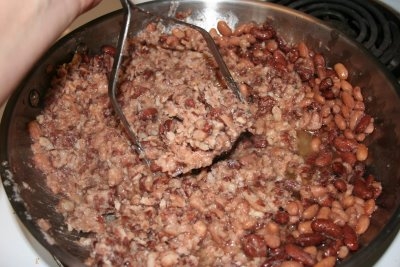
Once the beans start to warm up you and start smashing them. If you like them really chunky just use the back of your spoon.

I use a potato masher, it is quicker.

and if you like them really smooth, put them in your food processor
whatever you preference it

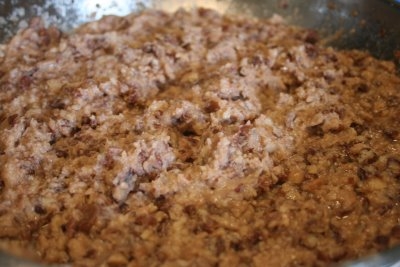
There you have it
Refried Beans

Typically I use my beans in two different ways,
I will make bean Quesadillas and Burritos.

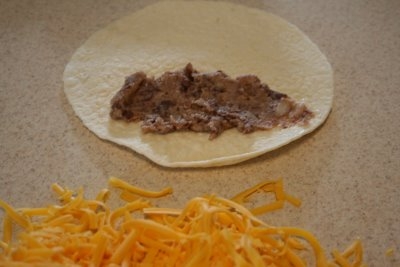
My Burritos are really simple


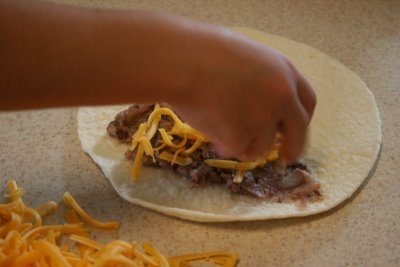
Just plop a glob on a tortilla, sprinkle on some cheese…


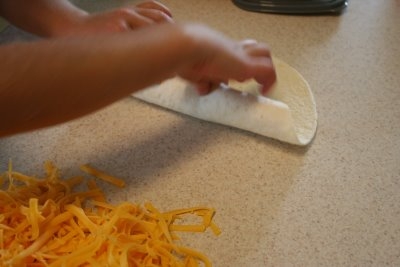
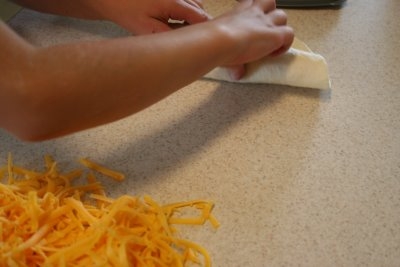
…roll ’em up

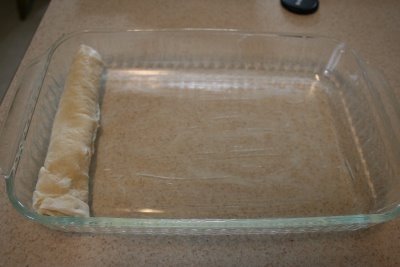
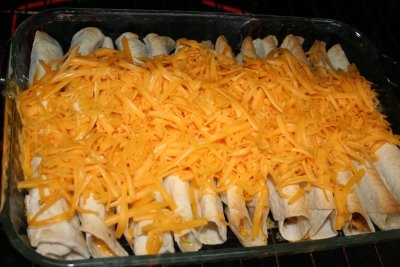
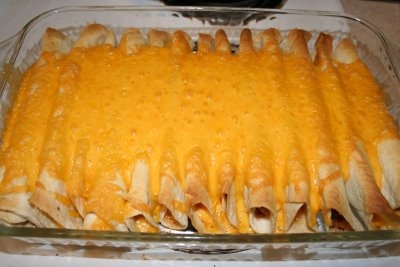
pack them in a pan as tightly as possible
and smother them with cheese


Served with Salas and Sour Cream….
a family favorite.

Now tell me please, my bloggy friends, are you finding this series helpful? It is interesting to you? Would you like me to keep going…or should I move on to other things?

Beans, Beans….

About a year ago when I decided that we needed to live a more sustainable life I took a serious look at beans. Bean are a wonderful food. They are full of nutrients, and combined with rice are a complete protein. They store really, really well and best of all they are cheap!

There was one catch…

Ok,

well,
two catches….

First, I didn’t know how to cook beans. I had, up to that point, only used canned beans from the store, on the rare occasions that I used beans.
Second, I didn’t think we would really like them.

So I came to two decisions: #1 I needed to learn how to cook beans, my pioneer mothers knew how and I needed to relearn this skill. #2 I needed to learn to like beans, I needed to try recipes and serve them to my family often enough that they go use to them and eventually like them.

So for about a year now I have been searching and cooking and learning all about beans. We have had our share of crunchy beans for dinner (bleck), my family has been wonderful patient with me (at least Dadzoo has, he is really good at tolerating, with a smile, my mess ups).

I thought I would share what I have learned with everybody. In times of plenty and times of famine knowing how to cook from scratch is an invaluable skill. I can have 1,000 pounds of kidney beans in my basement, but they are worthless to me if I don’t know how to prepare them and serve them. Also, I believe, that a time of crisis is not the time to be learning these skills, we should prepare ourselves, not only in the storing of food but the skills to use them the best way possible. Our families need to be use to eating these foods, a time of famine or emergency is not the time to be teaching a 10 year old to love beans! I have a series of posts I am going to be doing in the coming weeks, with some recipes and some tips I have learned along the way.

First of all I would like to show you all how I cook beans. I do a large batch and freeze the beans for later use. This is really convenient and easy, especially if I am running behind, it takes about 5 minutes to grab a bag of beans and defrost it in some warm water.
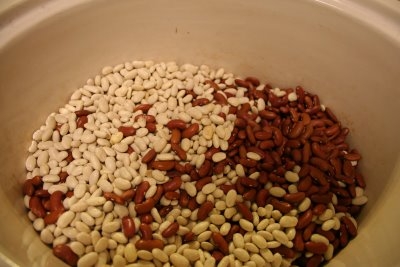
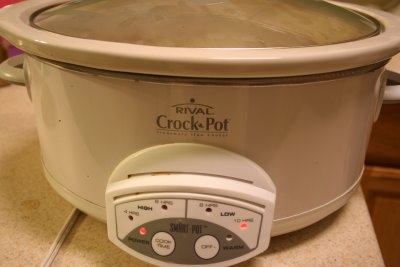
I start out with 6 cups beans. I am not picky on what type, (I have used Great Northern, Kidney and Black, in various combinations) Today I picked Great Northern and Kidney. I measured the beans and put it in my crock pot.
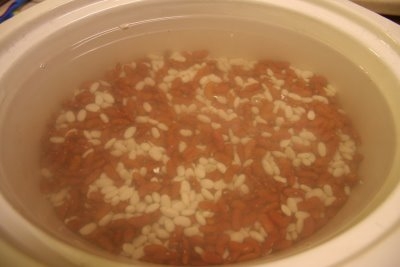
I fill the crock pot up to the very tip-top with water (about 12-14 cups)
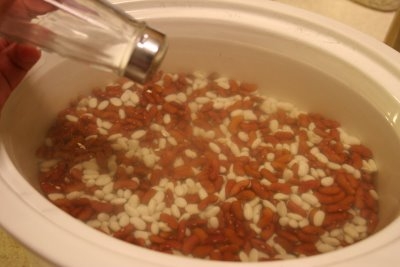
I add salt, pepper and any other spice, a tiny bit of hot pepper is yummy too. (just a note, I have heard that salt and onions make the beans cook slower, when I do the crock pot method I don’t worry about that, we will be cooking these babies for about 10 hours so it doesn’t really matter.)
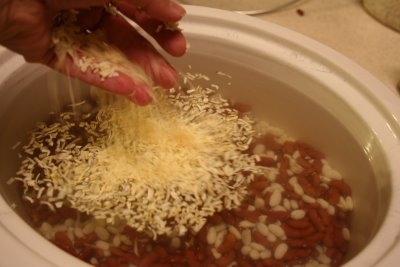
A handful of dried onions, fresh work too.
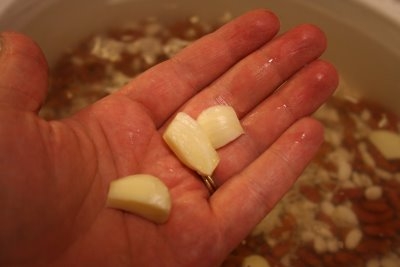
Two cloves of garlic, I just peel and cut them in half (I don’t mince garlic, ever) they cook down into nothing anyway.
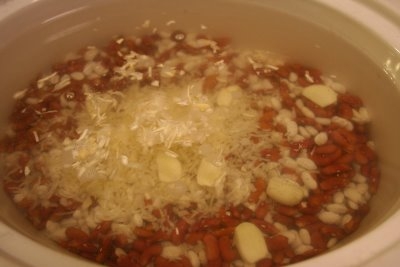
Give it all a quick stir

Cover and cook on low over night or up to 12 hours.
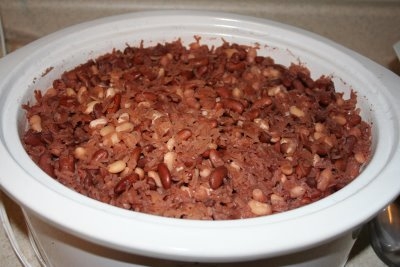
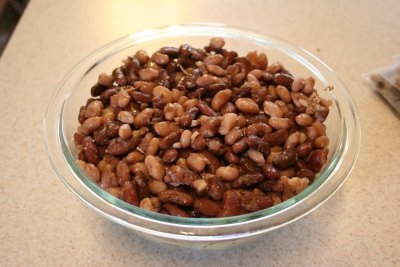
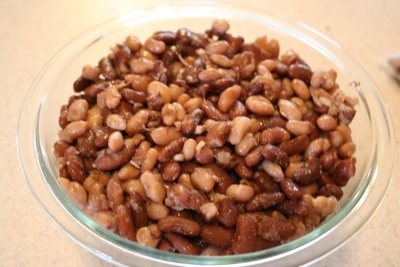
This is what it looks like the next morning, all cooked with almost no water left. The beans are perfectly soft without being mushy.
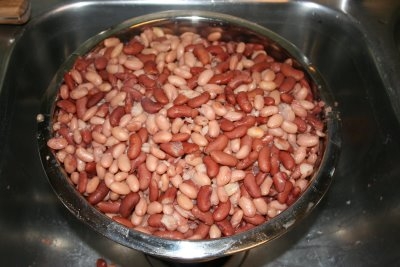
I dump it all into a big colander and rinse it really well (that will help keep the gas down)
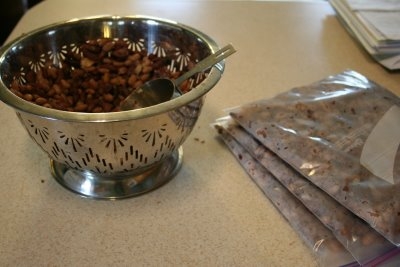
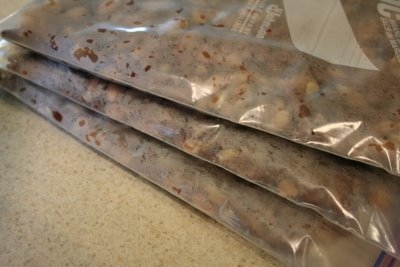
I measure 4 cups and put it into Ziploc bags and freeze. It makes about 16 cups of cooked beans.
This bowl was set aside for dinner that night, and the next recipe in the series….Bean Taco Bake…one of my family’s favorite meals.