And It Starts

image

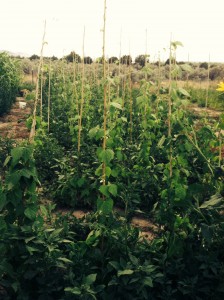
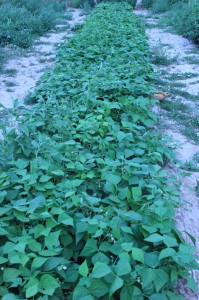
Finally, after weeks of waiting we are starting to pull in a harvest. The beans have come on, about 6 weeks late, and we are getting more and more each day. I’m beginning to believe that I might have food to store for the winter!

image

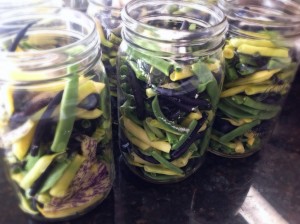
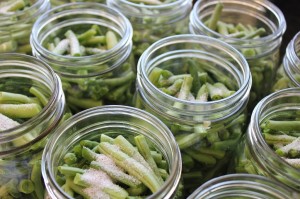
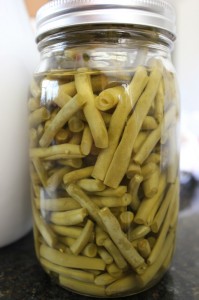
Today I canned my first batch of beans, a modest 6 quarts out of the 50 or 60 I hope to do this fall, it’s a small start, but a start.

image

Drying Tomatoes


Drying is one of the oldest forms of food preservation.
At the beginning of our tomato season, when things finally started to pick up and the tomatoes came trickling in faster than we could eat them, Lou and I decided the best thing to do would be to dry them.

We didn’t have quite enough to can anything and a few jars of dried tomatoes are nice to have around, they can be added to soups, stews, pastas, stir fries, or eaten as is.

IMG_4705

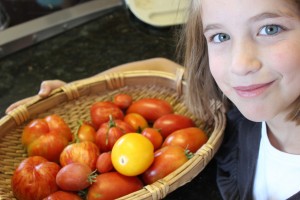
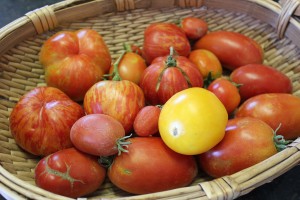
Lou with one of her first baskets of tomatoes, she is my tomato girl and has taken care of these plants from the very start when she planted the seeds.

IMG_4706

IMG_4724

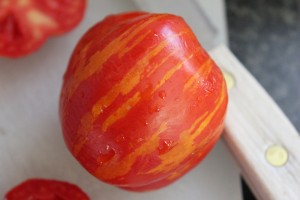
Striped Cavern heirloom tomato.

IMG_4723

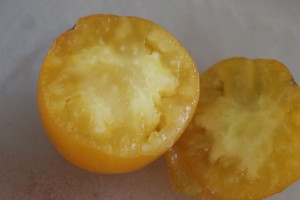
The inside of the Striped Cavern. See all the open space, thus the name “cavern”. It doesn’t make for a good saucing tomato, being that there is little flesh, but it has a wonderful taste, very mild and low acid. It was my best producing heirloom this year.

IMG_4727

Another pretty yellow heirloom, “Dr. Wyche’s Yellow”. It too is a low acid tomato that is great for eating. I wouldn’t can it, being low acid it would either need to be pressure canned or there would have to be added vinegar. Isn’t that flesh beautiful.

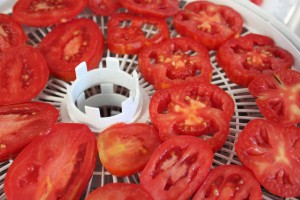
The only prep involved in drying tomatoes is washing and cutting.
Simple and free.  IMG_4725

I used my dehydrator, and it took about a day.
A dehydrator isn’t necessary, an oven on a low setting can be used, or they can be dried in the sun.
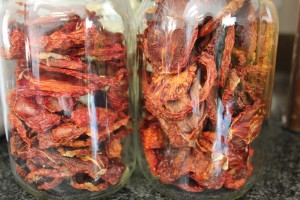
I dry them nice and crispy.  If too much moisture is left in the tomatoes the will go moldy, and since I want them for long term storage I need them very dry.
They will be stored in glass jars in the pantry.  IMG_4877

This winter they will add pretty color and great flavor to hearty vegetable soups and stews.

I am so very thankful for the bounty we have received throughout they year and the ability to store and use it later to feel our family.

Beets

 One fine Saturday I was strolling through the garden,
and I came upon this:
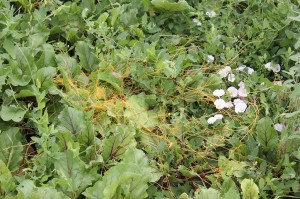
IMG_4601It might be a little hard to see, but looks like lots of thin orange string tangled up among my beets.
But it isn’t string, it is a particularly noxious weed called
Dodder.
And it is bad.
It is a parasitic weeds, it has a little seed that germinates, and then finds a host, once it finds its host the root pulls up and it eats off the host, and it grows like wild fire, and it produces seeds and it spreads like crazy and its hard to get rid of.
Really hard, so hard it will take me a few seasons before I will know if it is completely gone.  So we formulated a plan of attack, and hopefully we will get this critter contained before it takes over my whole garden.  First I harvested the beets, the Dodder doesn’t hurt the beets and they were perfectly fine to eat, but I needed to get them up and put away.  I cut the tops off the beets right there in the garden and left them on the ground.  The Dodder had already started to go to seed and I didn’t want to risk dropping seeds anywhere else.  I then took round-up (sniff, sniff, there goes my organic garden) and sprayed the entire area, all the weeds and other veggies growing around the beets, I needed to make sure I got everything.  This killed off all the host plants, thus killing the Dodder.  Once everything is dead and dry, the area will be cleansed by fire.  Then I will treat the entire area with Preen, a pre-emergent that will kill any seeds that germinate and sprout.  I will do this this season, and next year and the next year, hoping to get all those little dormant Dodder seeds.

Sigh….

Anyway.
In the mean time I got a bumper crop of beets.
They did so well that I think I will plant more next year.
IMG_4600

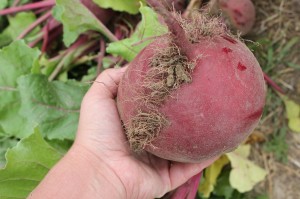
Some of the beets were as big as my hand, and while it is advised that you don’t let beets get this big, they get al little tough, it was sure fun seeing them that huge.
IMG_4672

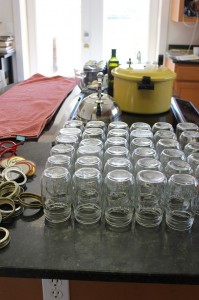
I decided to bottle the beets this year, I have had little success with root cellaring them in the past and knew canning is fairly risk free.

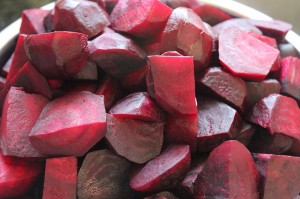
To get the beets ready, I boiled them for about 10  minutes, to loosen the skin, then peeled and diced them up.  It was a lot easier than I thought it would be, and my fingers turned a pretty purple color.
IMG_4673 IMG_4674

Aren’t they a beautiful purple color all ready for the canner.
I raw packed them in pint jars, I didn’t use any salt and filled the jars with hot water.
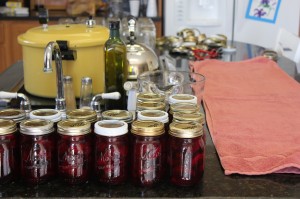
I processed the jars at 12 pounds pressure for 30 minutes. IMG_4684
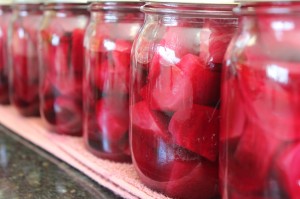
They came out perfect, a beautiful red color, although I wish they would have stayed the dark purple, they sure do add some color to my larder and to our dinner table come winter time.

Beans, Beans My Magical Fruit


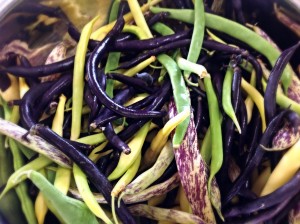
Beans have been my magical fruit this year.
They have been wonderfully abundant.
much to my homesteaders hearts delight!

IMG_4564 IMG_4583

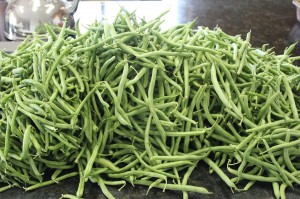
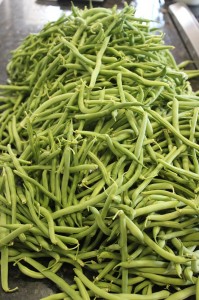
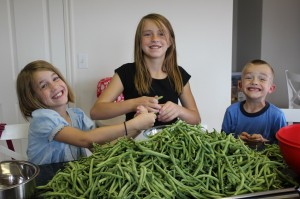
Starting the middle of July, we have been picking about 15 pounds every two to three days.  During the peak flush it took two hours to pick everything. IMG_4584

And just as many hours to snap them all.
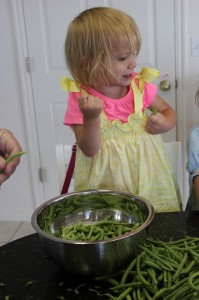
Good thing I have lots of little hands to help. IMG_4585 IMG_4587

(Monkey was especially enthusiastic in her “helping”, she loves being one of the big kids.) IMG_4593

All those pounds and pounds of beans went to one of three places: fresh in our bellies, to friends and family or in quart jars, bottled for the winter. IMG_4695Now it’s in the middle of August, and the beans are slowing down.  We are picking every three or four days and only getting a few pounds a time.  While I am sad to see bean season end, it is a bit of a relief to not have to keep up with the picking and bottling.  All in all I was able to can 70 quarts of beans, more than enough to last us until next bean harvest, along with other vegetables that have been dried, bottled and frozen.

This work, of being self sustaining (as much as possible) is long and hard, but the results are so very satisfying.

Planting the Garden

 These pictures are about 4 weeks old, but I felt I had to get them posted, so we can have a record of our progress.

IMG_3926

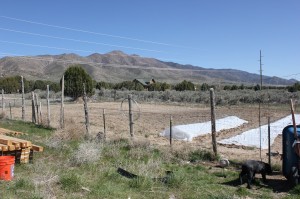
The view of the garden area, it is a 100×70 foot plot.
I thought it would be enough
we will be adding more next year
(shhh, don’t tell Dadzoo, he doesn’t know yet) IMG_4030

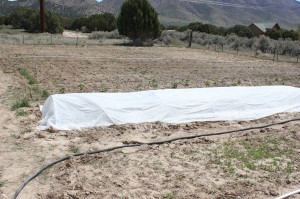
Another view of the garden.
Under the little hoop house are onions, they have been in there since the first of April and are thriving. IMG_4031

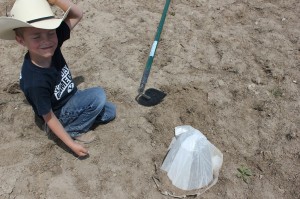
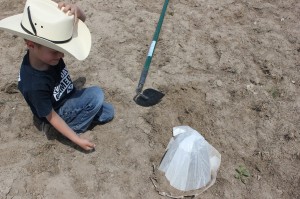
Little Man “owns” the pumpkins this year, and he got to help me plant them.
He is going to make a great little farmer and a wonderful pumpkin grower.
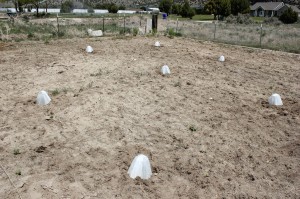
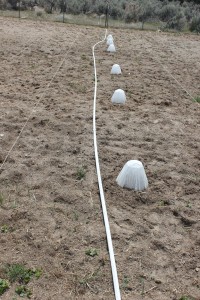
(we are planning on having a lot, and hopefully will be able to sell some for his piggy bank) IMG_4032 IMG_4033 IMG_4035

The pumpkin patch with little paper hats to keep the critters (quail especially) from eating the seeds before they sprout. IMG_4036
Sassy “owns” the cucumbers, and here is her “pickle patch”.
We planted two hills of eating cucumbers, and the rest are for pickling.
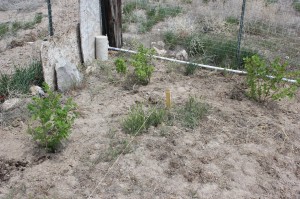
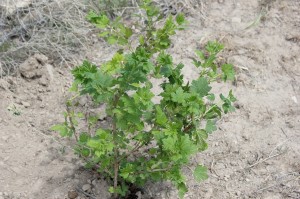
Sassy and I are going to make lots and lots of pickles this fall, it will be a first time for us both and we’re excited for the challenge. IMG_4037And one corner of the garden has three goose-berry bushes.
Someday I am going to make goose-berry pie,
doesn’t that sound all old-timey and romantic. IMG_4038

 I tend to be a bit of a romantic
in case you haden’t noticed!