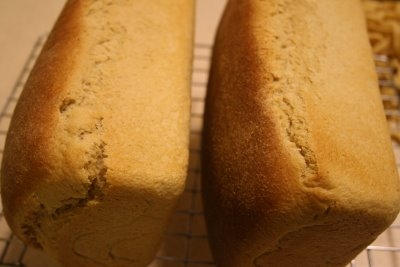
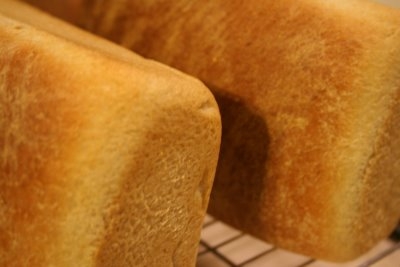
Questions, Questions

For all of you who were worried about the snow on my flowers, today all the snow is melted off and the bright yellow flowers are big bright and blooming! Daffodils laugh in the face of freezing cold snow and rain!

Terri wanted to know the cost different between a can of chicken broth and my homemade jars. Well…..I am so bad at that, I read blogs all the time and their writers can calculate the cost of homemade foods down to the penny. I don’t do that. My brain cells are so not that way!

Anyway, I am a helpful kind of gal so I will try to figure it out a little here. Starting with the first ingredient: turkey carcass….I am going to consider that free, since we had all ready picked it clean and used the meat for several meals.

Onion….I bought a bag of 10 onions for about $1.20 (if I remember correctly, I am so bad at that) and I used two of those….so 24 cents?!

Garlic….two cloves, a neighbor gave a garlic bulb because she was afraid it was going to go bad…so for me that was free, but if I had bought the garlic….I don’t know how much that would be, but I am sure it would only be pennies….sorry!

Salt and Pepper…..pennies too.

Sage, Thyme and Parsley….I grew these in my garden, so I consider them free, I don’t charge for my time! How ever if you had to buy it I am sure it would only be a dollar or two for the whole batch.

Jars…..I have those on hand, the jars I used for this project I have had for many, many years…they have paid for themselves at this point.

Canner….I borrowed my Mom’s canner, so free for me. If you were to buy one you are looking at about 80$ But if you use it a lot it will pay for itself too.

Time….my time? Priceless!

So here is a quick run down:

Turkey-free
onions-0.24
Garlic-0.25
Herbs-2.00

Total-2.50 for 12 jars. Of coarse if I have to go buy the jars it would be much more, but I consider that an investment, and for me the herbs didn’t cost anything, so that takes it down even more.

I haven’t bought chicken broth for a long time, so I can’t really compare the difference I don’t know what a store bought can even costs. (The can I photographed was even past its expiration date!) For me it is more about the nutrition than the cost.

Hope that helped a little…if there is anyone who would like to be more scientific about it, please let us know what you come up with.

Terri had a second questions, she wanted to know if you could process chicken broth in a water bath canner. The answer to that is a big fat NO! Don’t do it, don’t attempt it. It is dangerous. The temperatures in a water bath canner don’t get hot enough to kill all the yucky bugs can can get in there, it has to be a pressure canner. If you don’t want to mess with a pressure canner I have also made broth and froze it, the cost saving s are the same and you don’t have to take the time to pressure can it, it is a great option if you don’t have a lot of time.

Happy cooking!

Chicken…er…Turkey broth

I really enjoy canning. I love that I can take with my own two hands wonderfully nutritious foods and preserve them in a way that my family can enjoy it for months to come. It satisfies me to know that no matter what happens, there will be food on the table, and not just any food, but good foods without added preservatives and flavorings. When I am finished canning and I line those jars up on the shelves I feel a sense of pride and accomplishment. I am a Home Economist and I have ensured for a little while that the economy of my home will stand, with full belly’s!

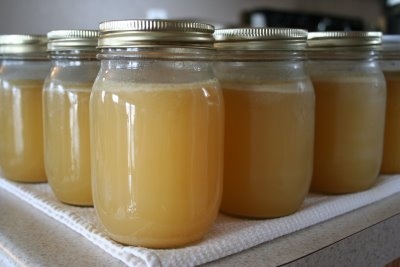
For the last little while I have been trying to use all my food to the last little bit and not let anything go to waste. Sometimes I am really good at this, other times I slack off a bit! Sunday I made a big Turkey dinner and Monday morning I set that big old Turkey carcass in my biggest stock pot and let it boil all day. Usually when I make broth I freeze it, but Monday I decided that I was going to try something different. A couple of weeks ago I canned potatoes, it was my first attempt at using a pressure canner and since nothing blew up I figured I could give it another try. This is what I ended up with, and I am so proud!

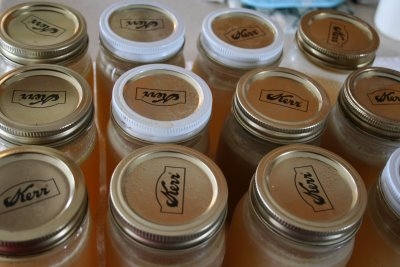
12 pints of homemade turkey broth, ready to sit on my shelf and become dinner at some point.

As I mentioned before, I like canning because it give me the ability to control what is in my food without spending a fortune. I wanted to see what is in a store bought can of chicken broth, so I dug one up one lonely can and read the label.

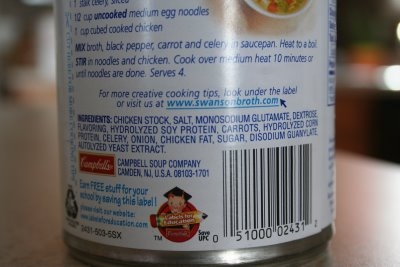
It really as very few ingredients, there are some that I can’t pronounce and have no idea what they are. There is one big bad ingredient that I like to avoid completely and that would be Monosodium Glutamate, or also known as MSG. It isn’t good for our bodies, and a lot of people (including me) have sensitivities to it, there are some people who are very allergic to it. Cooking and preserving from scratch makes it possible for me to avoid all the unwanted ingredients. I know exactly what is in my broth: turkey; onions; garlic; salt; pepper; sage; thyme; and parsley.

Cooking and canning from scratch also gives me the flexibility to alter recipes to the tastes of my family. I know that the broth I made is going to be exactly how I like it with as much or as little salt as I want.

What kinds of things do you cook from scratch?

Homemade Pasta

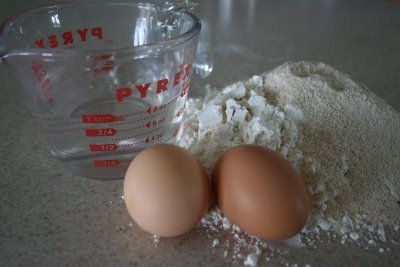
The ingredients for homemade past are very simple.
2 Cups flour (wheat or white)
2 Eggs
Some water

period

that is all!


Dump your flour onto the counter or whatever surface you would like to use
it is best if it is a clean surface
nothing is yuckier than grit in your pasta

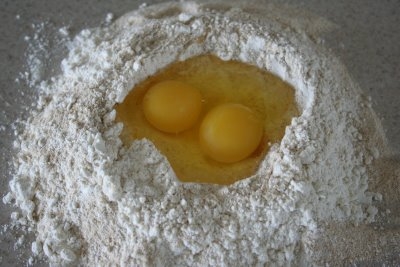
Make a fun little volcano and crack your two eggs into it.

Then starting on the outside work the flour and the eggs together with your hands


I recommend taking your rings off….my wedding ring still hasn’t recovered from the eggy flour mixture.

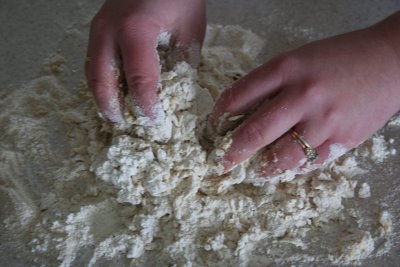
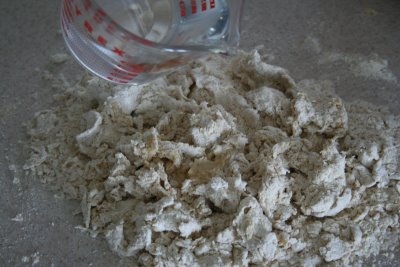
This is what it will look like when the eggs and flour are combined, it will be a dry crumbly mess.
This is where the water comes in.

Add water about a Tablespoon at a time until you get a very dry, very stiff dough. The amount of water you use will vary each time depending on many factors.


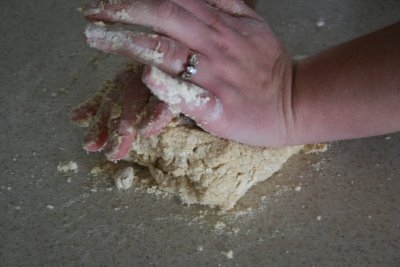
Kneed and mix everything together really well

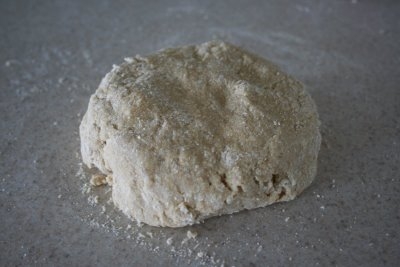
Once the dough looks like this let it rest on the counter top (or surface of your choice.) for 10 to 30 minutes, covering it with a damp cloth.


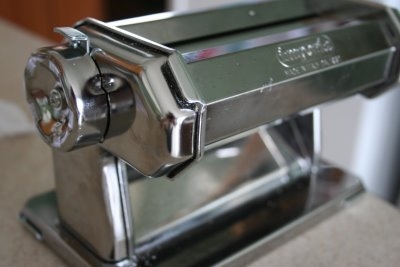
While the dough is “resting” (whatever that means) set up your pasta maker.

If you are simple like me it will be of the hand-crank variety

(which preforms wonderfully)
or an electric one.

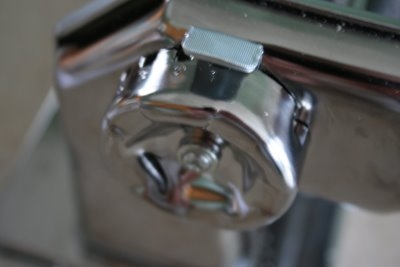
and set it to the biggest setting, where the rollers are as far apart as they will go.

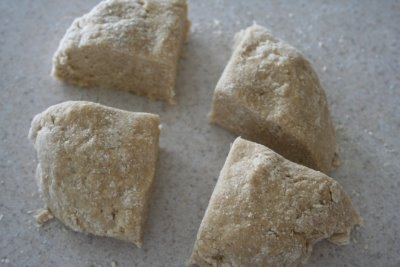
Once your dough has had a nice nap cut it into fourths, it it easier to work with. Cover the pieces that you aren’t working with with your damp cloth so they don’t dry out too much.

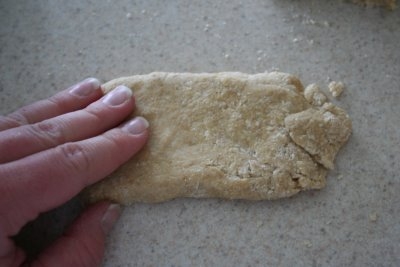
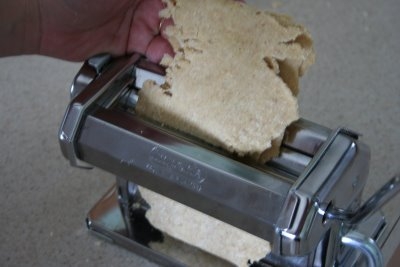
Moosh your piece out kind of flat….

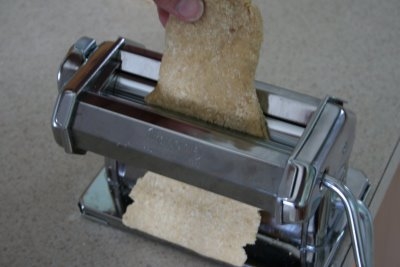
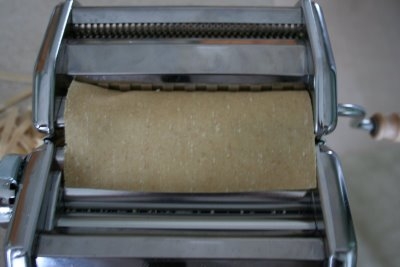
and push it through the roller

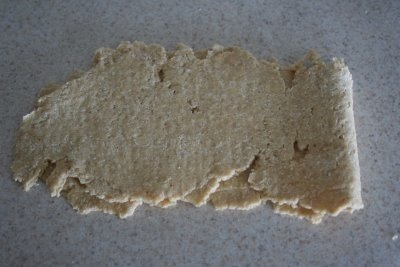
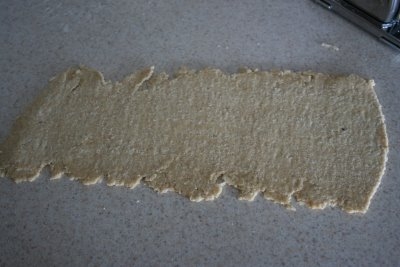
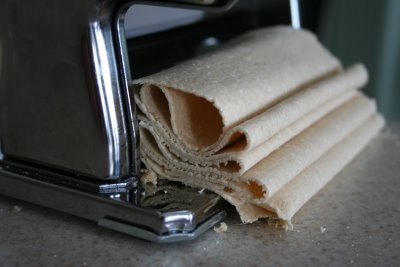
After the first pass through the machine it will look like this and you will think you are a pasta-making-failure, but don’t despair, this is a normal step.


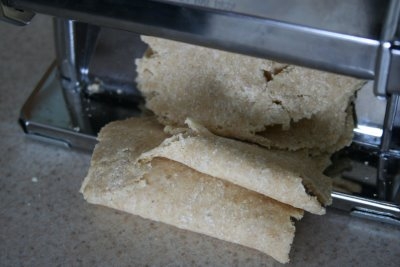
Gather it all together and fold it as best as you can and give it another pass through the machine.

When it starts sticking together well, adjust the pasta maker to a lower setting (so the rollers are closer together)

Fold the dough up and make some more passes

All you do now is fold and run through the machine….adjust down…..and fold and run.

Very Simple.

(look how bad I am, that is some uncovered dough in the back ground! tisk-tisk!)

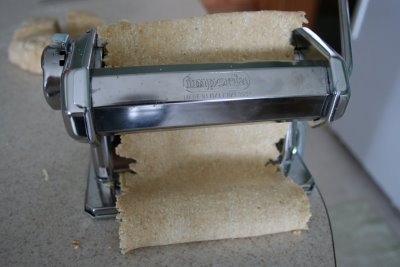
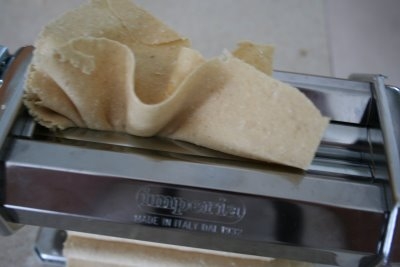
(and if this happens during one of the passes, don’t fret, it will iron itself out)

Keep going until it is at its smallest setting, or until you are at the thickness you like.

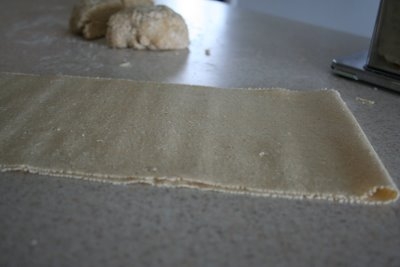
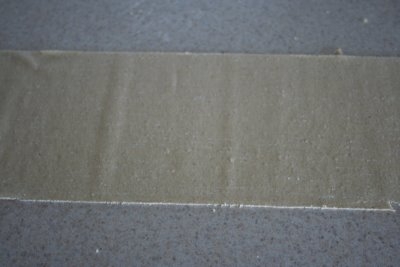
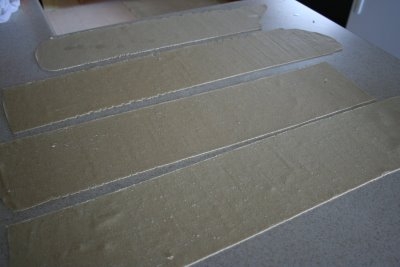
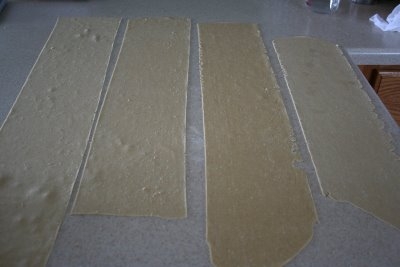
Lay the big sheet of pasta out on the counter top…(or surface of choice) and rest (there is that word again) for about thirty minutes.


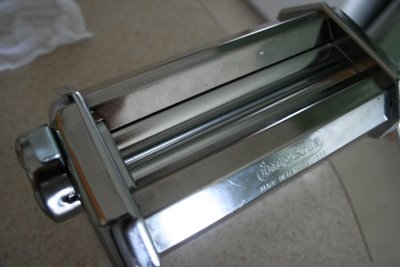
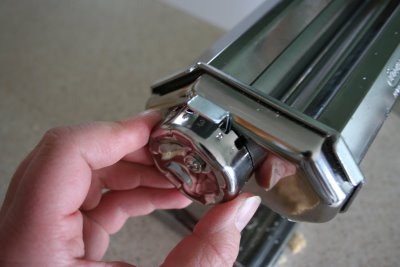
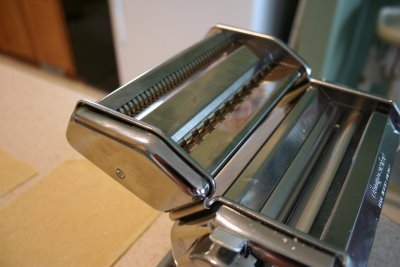
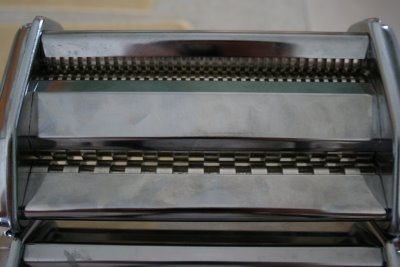
When you are ready to cut the pasta put on the attachment of your choice. (At this time I only have two, but that will be changing!) and cut the big sheets of pasta to the length desired. I was making mine for Chicken Noodle soup, so I only wanted them about three inches long. I used a pizza cutter and quickly make the cuts.


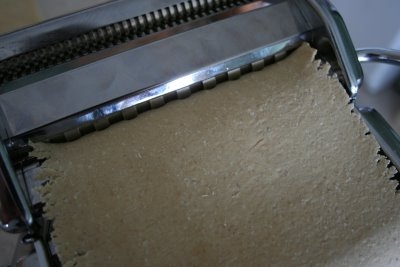
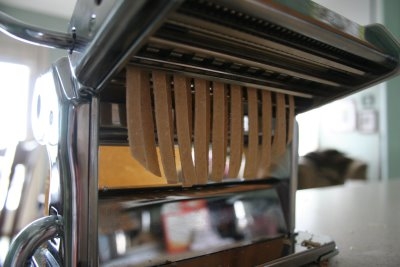
Then you just feed it through the cutter and (taadaa) pasta!

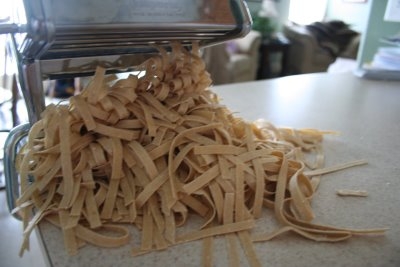
This recipe will make two pounds of pasta.

I love that big fat pile!

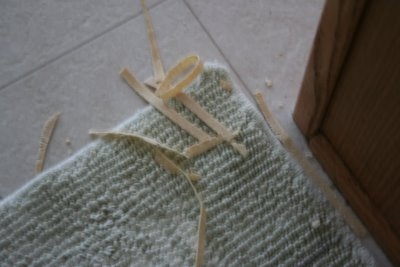
(I am not so much loving the small pile that made its way to the floor, not my surface of choice)

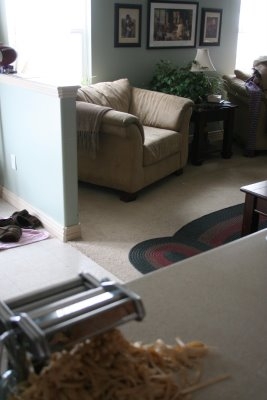
and a quick picture of the living room without laundry all over
(just give it a couple days…)

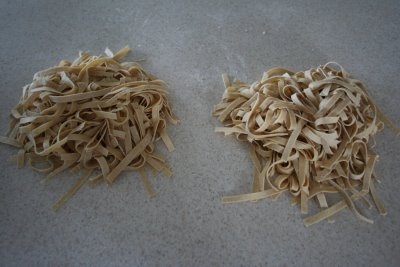
I divided the pasta into two piles, one for the soup and one for the freezer.

I haven’t learned how to dry pasta yet, but when I do I will be sure to tell y’all

(Kristi the “y’all” is for you!)

Into the soup pot it goes and since it is fresh it only takes about 5 minutes to cook, and onto the dinner table.

YUM!


No more dried, store bought pasta for this family.

Questions and Comments

The last post I did about baking bread was a fun one for me, the best part was reading the comments. I love my bloggy friends, I feel like I belong to a club or sisterhood or something. Bread baking is something I have learned to really enjoy. It didn’t necessarily start that way. I have always like the satisfaction of pulling hot crispy bread out of the oven, but there sure were times I was very frustrated with my results. Learning to bake bread is a process, you have to learn the small little tricks that have to do with where you live the temperature of your oven and the humidity of your house. While I don’t claim to be an expert, I do feel proficient and that is a good feeling.

I had a few questions that I would like to answer here.

Tif wanted to know how long I can freeze my bread for. That is a great question. I don’t really have a definite answer, but I have frozen it for as long as two months and it still tastes fresh. I just use regular bread storage bags, nothing fancy. Last May I knew that I wasn’t going to want to bake bread in the heat of the summer time. My kitchen is on the South West corner of the house and with the oven going it gets really hot. So I baked my brains out for about three days and I stored about 2 1/2 months worth of bread in the freezer. It made for a nutty few days of baking, but was well worth it in the summer.

Shannon, yes I bake 10 to 16 loaves in a day, that is 5 to 6 batches. That will give me almost two weeks worth of bread, I just don’t have the time to bake every other day. I will start around 10 in the morning and bake until the evening. It really isn’t all that bad, there is a lot of time where the bread is rising that I can do other things. I will usually have dough rising in the pans, and bowl and the Kitchen aid, and a batch baking in the oven. It is satisfying to see 16 loaves of bread lined up on my kitchen table cooling! (the state of my kitchen, that is another story!) Thanks for the compliment on the pictures, that is one of my favorite parts! (If you don’t mind I would love to read your blog! e-mail me aimee@prosphotos.com)

Charlotte, I am sorry about your Kitchen aid, that would be major at my house I use mine all the time! I got to thinking about kneading, it is really hard to over kneed, usually people don’t kneed enough! As I got to thinking about it, I don’t just stop the kneading process when it pulls away from the bowl, I probably give it 3 to 5 minutes once it starts to pull away. I probably should kneed it more.

Thanks Jesica, you should try it! Let me know if you do.

Michelle, I agree it is nice to see others bake bread, it is a lost art that is slowly coming back, someday I would like to experiment more, but now I am just trying to feed a bunch of picky kids!

Patty, I bet your house smells good all the time! There are weeks that I don’t have a full day to devote to baking, when that happens I will bake every other day, but that isn’t my favorite way of doing it. (y’all need to go take a look at Patty’s blog, she has a yummy picture of a loaf of her bread!)

Chrissy, I would so deliver, if you didn’t live a gazillion miles away.

Thanks Kate, I picked the prettiest ones to take pictures of. There were many that (past and present) that aren’t so beautiful. (Kate, I would love to know who you are…your profile is blocked.)

Heatherann, I have done that so many time! My kids favorite lunch is warm bread with butter and jam…hehe…freezing it works really well, you should try it.

Janelle, I am glad you liked the pictures, let me know if you bake some.

Angie….I just might.

Erika, I would love a professional Kitchen aid, when this one breaks I am going to buy the biggest professional one out there!

K2 (aka Katheryn) let me know when you try it!

Happy Baking!

How I Bake Bread

I have been wanting for a while to do post about baking bread. Since I am at my one year mark when it come to baking bread I figured this would be a good time.

One of the great things about baking bread is that there are so many ways and so many different recipes. Mostly it is a matter of person preference. There is a bit of science involved, for instance if you are closer to sea level your bread will take longer to rise than mine does at 4700 feet. Humidity is a factor too, where I am it is pretty dry, the west side of the Rocky Mountains is pretty much desert (although with two feet of snow in my yard one wouldn’t think I live in a desert, I guess you could call this our wet season!). In the winter the humidity is really low and I usually have to add a touch more water, I am thinking that in the south where it is 100% humidity you would need to add less.

Here is a list of ingredients:

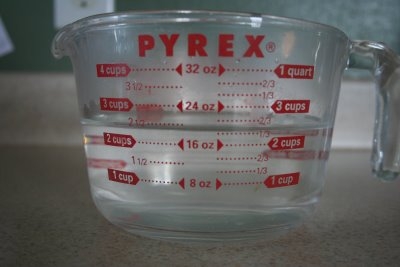
2 1/2 cup hot water
1/3 cup honey (or any other kind of sweetener)
1 Tbsp yeast
3 cup whole wheat flour (I grind my own, I use hard white wheat, I like the flavor better)
1/4 cup butter or shortening (I use coconut oil, it is better for you)
1 Tbsp salt
3 Tbsp gluten
3 cup unbleached white flour
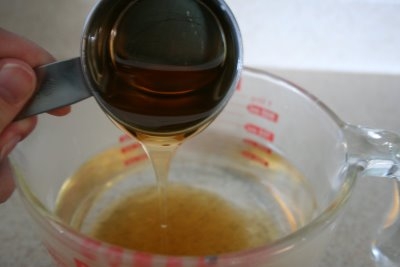
To the 2 1/2 cups hot water I add my honey.
The honey will cool down the water, that is why I start with it hot.

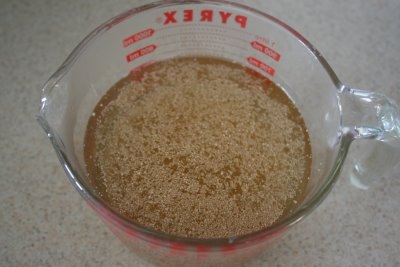
Then sprinkle the yeast on top of the water and let it sit and start working.


Once it looks like this it is ready to add to the other ingredient (except the white flour) to make a sponge.

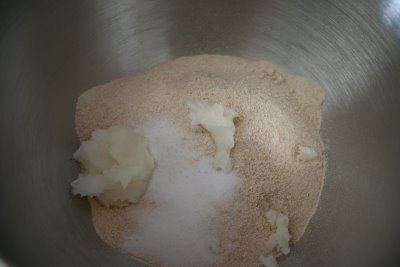
While the yeast was growing I put together the coconut oil, wheat flour, salt and gluten

(this is my jug of coconut oil, it is the coolest stuff! In the winter when my house is a little cooler it is hard, like shortening, but in the summer when things are warmer it melts and is a liquid oil. this stuff is great for the skin too)

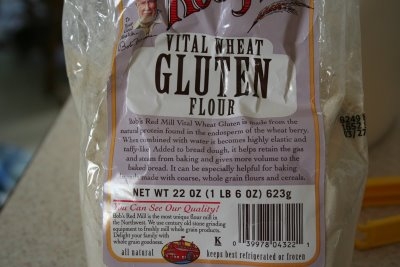
You can find wheat gluten in the baking section of the grocery store, or health food stores.

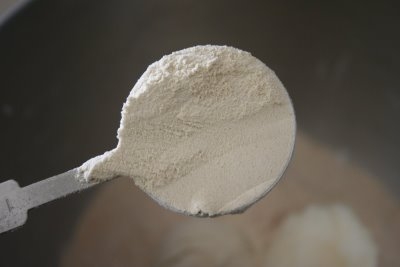
The gluten looks like really fine flour, it makes the bread softer and more elastic, it is especially important when using whole wheat.

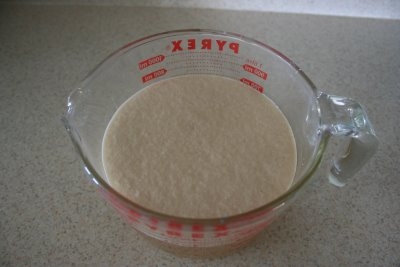
When the yeast is dissolved and starting to get bubbly, pour it into the dry ingredients and give it a stir, don’t over stir it at this point, all you need to do is mix it well.

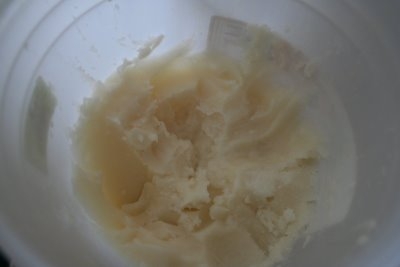
Let it sit in a warm place for about 10 to 15 minutes, until it gets a little bubbly, like the picture below. You don’t want it to rise, you just want the yeast to start working a bit.


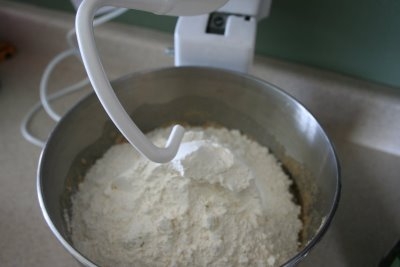
Then add the three cups white flour and mix it well.

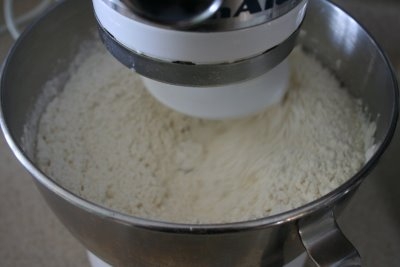
(have I ever mentioned how much I love my Kitchen aid)


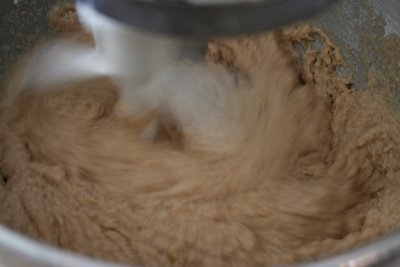
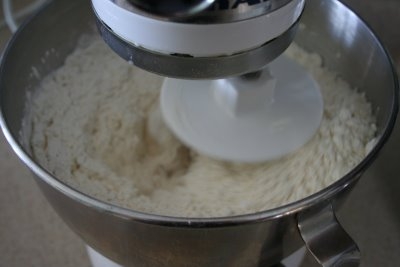
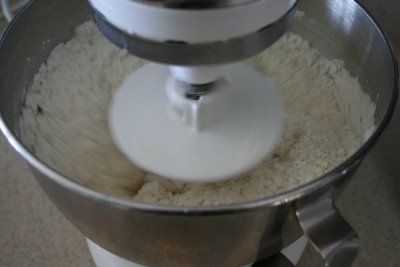
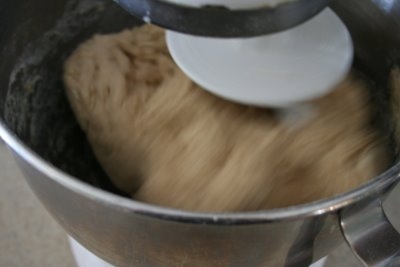
Let the mixer just mix and mix

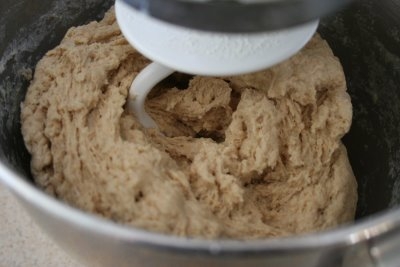
Once the dough forms just keep it going and it will knead it for you.
Of if you would like you could take the dough out and kneed it by hand.

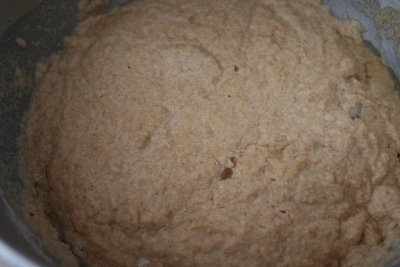
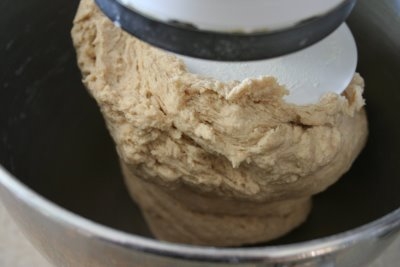
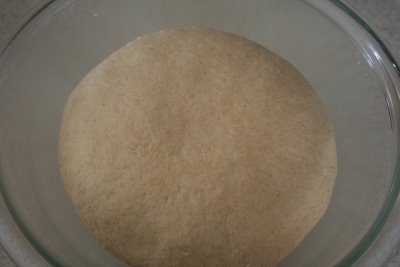
Once the dough starts pulling away from the sides (if it is too sticky add some more flour) it is ready to rise. You can either just leave it in the bowl and cover it with a damp cloth, or transfer it to another bowl (that has been greased) to rise.

I always move it, when I bake bread I do between 10 and 16 loaves, so at this point I am ready to start the next batch.

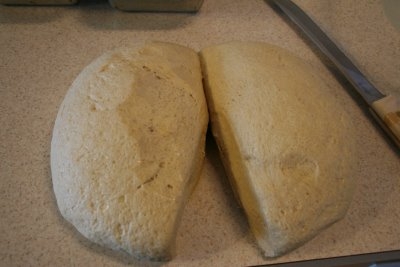
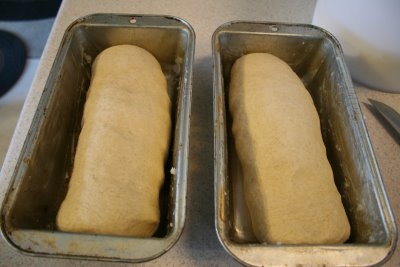
When it has doubled in size, take it out and divide it in half and form into loaves.


Let is rise again in greased bread pans

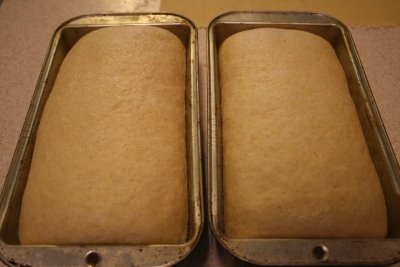
I do two risings in my bread pans, I think it makes the texture a lot nicer. Once it has risen I just punch it down and reform the loaves.

(sorry the pictures are off, the sun had gone down)

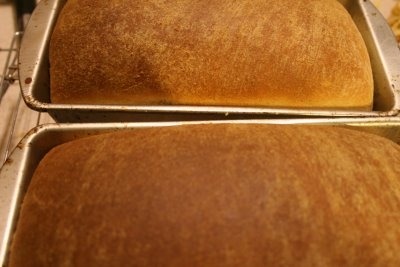
When the tops are just taller than the pan stick them in a 400 degree oven for 30 minutes.

Don’t let them rise too much, or they will fall and be flat and hard to slice. If they rise too much you can always punch it down again and reform the loaves.


Take them out of the pan when they are still hot and lay them on their sides on a rack to cool.
When they are completely cool I put them in bread bags and freeze them until eatin time!