Cinnamon-Apple Syrup

One of the things I like about apples is that you can use every part.
With a little work nothing goes to waste.

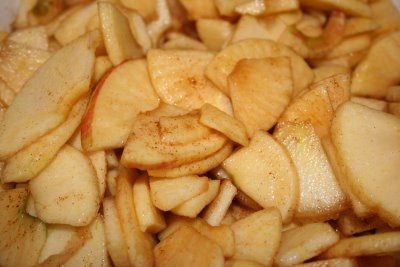
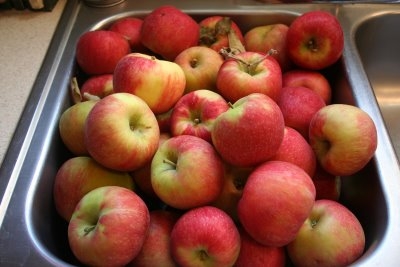
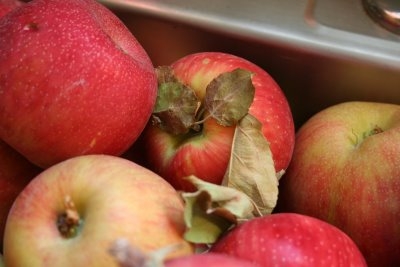
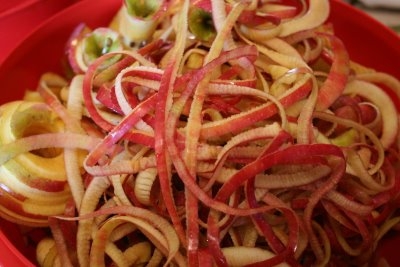
Remember this picture from Tuesday?

I took about half of my apple peals and cores and boiled them for a while, until everything was soft and all the color was gone from the peel.
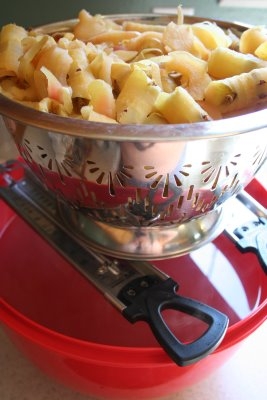
I then poured everything into a colander lined with light weight fabric and let it drip for several hours into a big bowl.

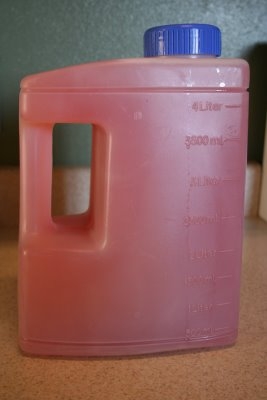
I got about 3 gallons of juice

filled this jug and put it in the refrigerator until I was ready to use it.

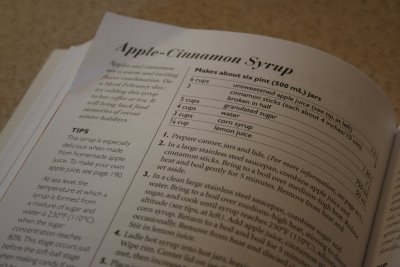
I decided to make Apple-Cinnamon Syrup,
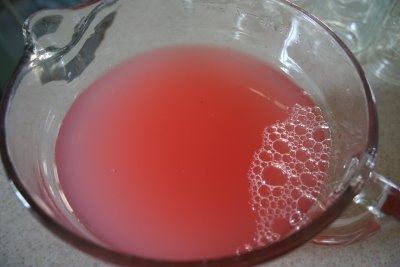
(you can also make jelly with the juice, it is a really pretty pink color)


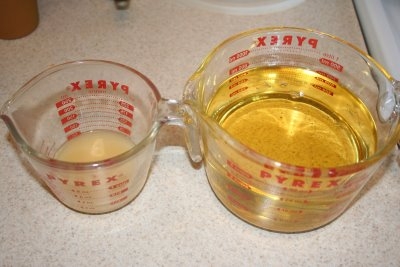
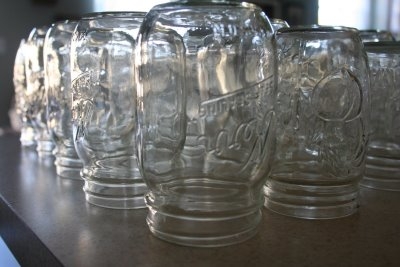
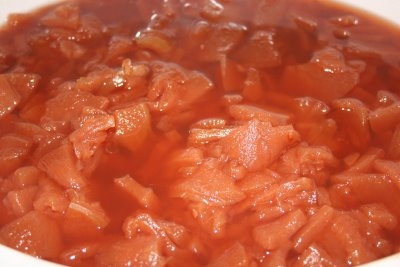
I measured out the juice
and prepared the syrup

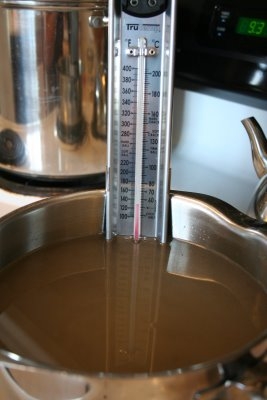
I actually had to boil the sugar and water until it reached a soft syrup.

I have never made candy, or used a candy thermometer.

It made me feel like a grown up.
(do you ever have those moments?)


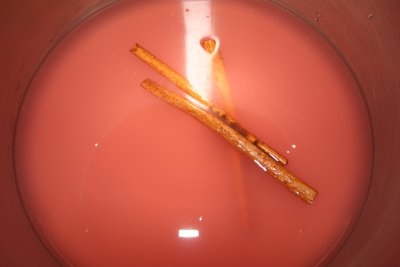
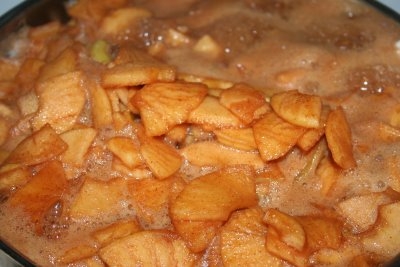
Once the syrup was ready I added it to 6 cups juice, three cups corn syrup (I know, bad) and 1/4 cup lemon juice along with 4 cinnamon sticks and brought it all to a boil.

I let it boil hard for 5 minuets.


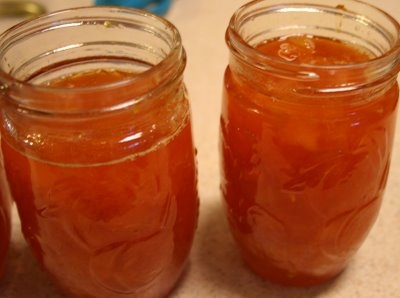
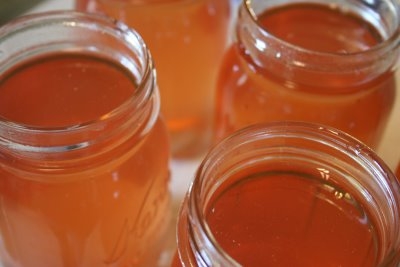
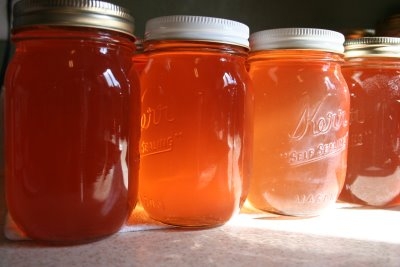
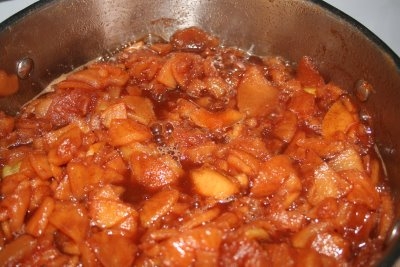
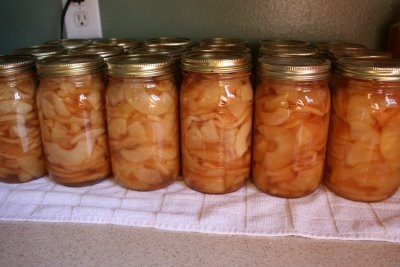
It came out a beautiful golden color.


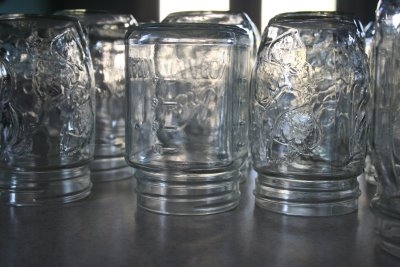
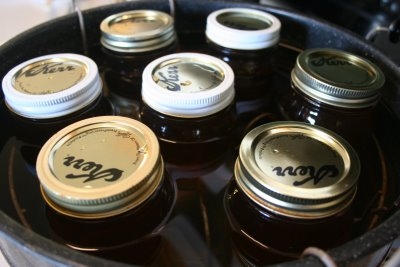
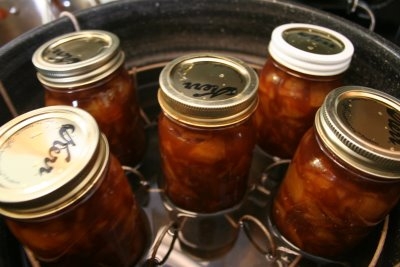
The processed for 20 minutes.


Tomorrow we are going to have Apple Pancakes (which is my new favorite breakfast) drizzled with Apple-Cinnamon Syrup.

(if anyone would like a more detailed recipe please e-mail me at aimee@prosphotos.com, or you can find them inBall Complete Book of Preserving

Apple Budda

Budda
budda
Apple Budda!

Last year I made my first batch of Apple Butter,

and I was HOOKED!
so this year I knew I had to make some more.

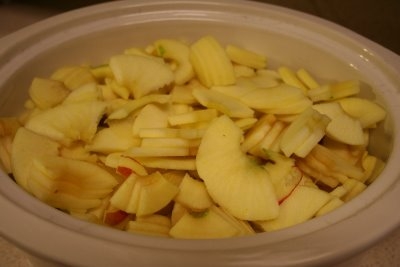
First I cut up enough apple to fill my crock-pot

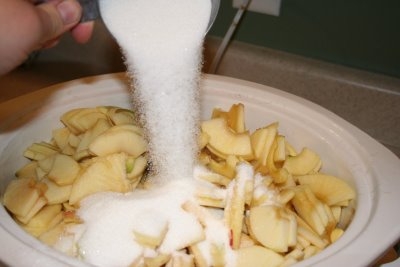
Then I dumped about 3 cups of sugar on top

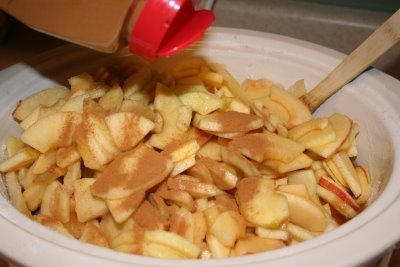
and I sprinkled it with generous amounts of cinnamon and cloves
I would have use nutmeg too, but I was out

Then I stirred it all up and added a couple of cups of water.
I turned my crock-pot on low
and went to bed.

I had yummy cinnamon apple dreams…the house smelled wonderful!

In the morning this is what it looked like.

Brown and bubbly and cooked nice and soft.

At this point you could run it through a food mill

but I like it chunky, and I just bottle it like it is here.

Once I got my first batch processing I started on the second one.
I cut up enough apples to fill my big pot,
adding the same amount of sugar and spices.

I don’t follow a recipe when it comes to the sugar and spices,
I just do what tastes good to me
and I like my budda sweet!


I brought it to a boil and let it cook for about an hour
it cooks down quite a bit.

The apples need to be nice and soft and spreadable.

Now, that is where I ran into a problem with my second batch.
I am not patient enough.
I was wanting to get this done, so I took them off a little too soon and the apples didn’t get as soft as I really liked.

Oh well

It still tastes yummy, it is just a little chunkier.


I process them in a water bath for 20 minutes

(that time is adjusted for my altitude)


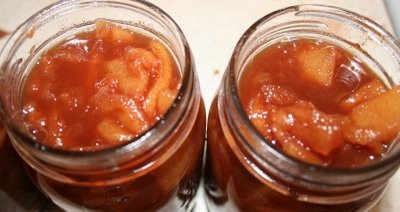
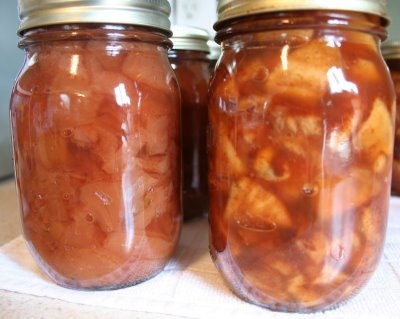
Here are the bottles from batch one and batch two.
It is easy to tell the difference.

YUMMY!

APPLE BUDDA!

Today (Wednesday) I made spiced apple syrup with the apple juice I made the day before…..stay tuned!

BTW
You should smell my house!

The Season


Nothing says Autumn to me like fresh picked apples.

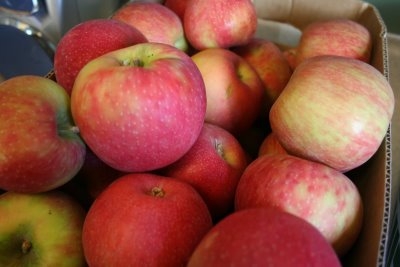
Dadzoo picked up 4 boxes for me to can. I have decided that I really, really like to can. When the economy collapses and Dadzoo loses his job and we camping out back on the mountain we are going to have apples! (and jam of coarse!) (oh, and about 400 pounds of wheat)

Yesterday I took two of the boxes and make apples in light syrup.

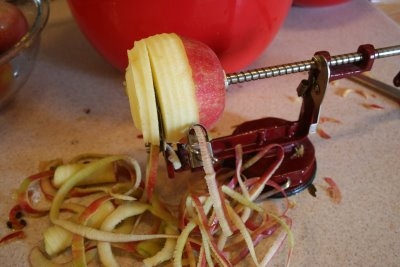
I spend hours and hours and hours peeling and coring and slicing those apples….

Oh fine, it took me about an hour to peel, core and slice two boxes of apples, and the reason it took that long was because I had helpers. One of the cores broke open and Punk #4 exclaimed “APPLE BEADS!” she then started to break open all the cores to collect the beads. I explained to her that they were seeds, and inside there will little baby apple trees. She wanted to know if I would let her tuck her beads into the dirt and grow apple trees! I love kids!

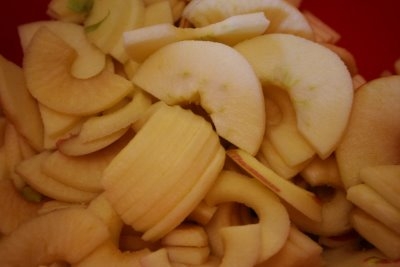
I put all the slices in a big fat bowls and stirred in a little lemon juice so they would keep their color better.

This is my big pile of cores and peels (at least half of it, I had another big pile on the counter top.)

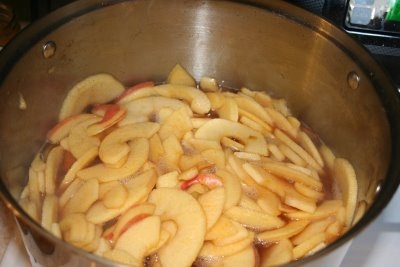
I put the apples in a big pot and poured boiling sugar syrup over the top (I added a little cinnamon to the syrup). I brought the whole pot to a rolling boil and let it cook for about 5 minutes.

I then packed the apples into quart jars and poured the syrup over the top. I processed them for 40 minutes in a water bath.

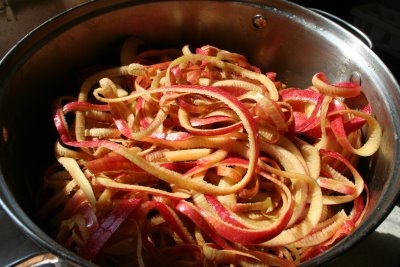
Once I was done with the apple slices I put as many of the peelings and cores into my big stock pot as I could fit. I covered it all with water and brought it to a boil. I let it simmer on the stove for 2 hours, until everything was soft and all the color was boiled out of the peels.


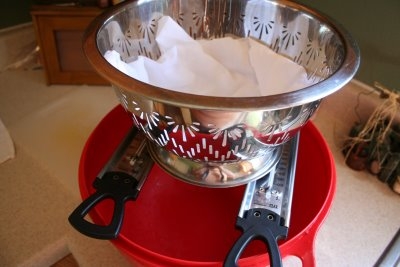
I once used a jelly bag, and found it messy and awkward, so I came up with this little contraption to extract my juice.

I poured the juice and the cooked apples into the colander on top and let it sit for at least 2 hours, over night is even better, but I am not patient enough for that! Once it was finished dripping I poured the juice into a big picture and put it into the fridge, I am going to make spiced apple syrup on Wednesday. I threw the peels and cores in the compost pit.


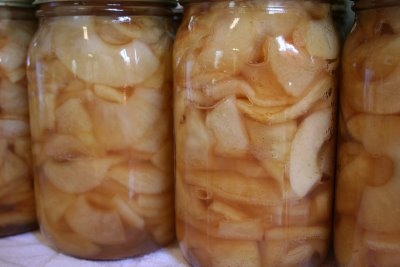
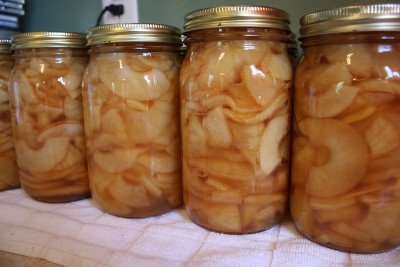
Here are all my jars, done and pretty.

I got 18 quart from two boxes of apples and I am figuring I will get about 24 pints of apple syrup. Not too bad.

Today (Tuesday) I made two batches of apple butter…..stay tuned!


Herbs

I have always had herbs growing my garden, and I sort of, kind of used them. In the summertime mostly I would go pick them occasionally to go in a dish or something. When I decided that I wanted to try to have a more self sufficient life I took a hard look at my gardening and my herbs. I was wasting the good herbs in my garden and buy them from the store. Not very self sufficient or frugal. So this summer I decided I was going to harvest, dry and store herbs for use during the winter. This is the first time I have done this, so it is still a bit of an experiment. I don’t have a lot that can be stored and used for cooking, but next year I plan to add more herbs to my garden.
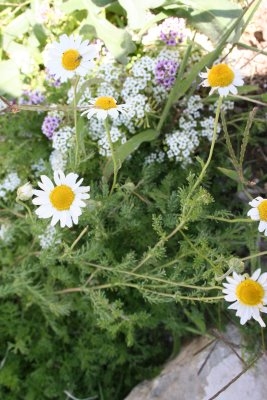
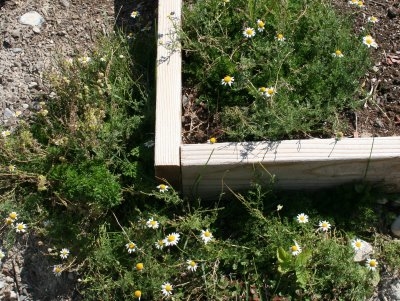
I have two little patched of Chamomile, one of these I just planted new this year. As long as you keep the flowers harvested they will bloom all summer. I like this plant because it is so pretty, it blends in easily with bedding plants.

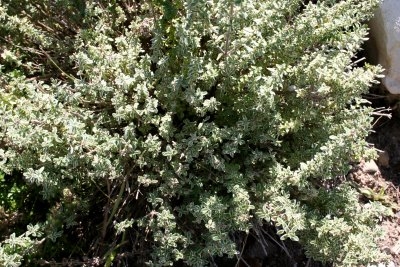
That little bushy thing is some coconut thyme. It really doesn’t taste like coconut, it just had a little white variegation on the leaves. I would have rather harvested “Mother of Thyme”, but for some reason those plants didn’t do well this year, so I decided to leave them alone. I love Thyme, there are so many different varieties (the creeping thyme is only used as an ornamental plant) and they are so beautiful in a landscape.


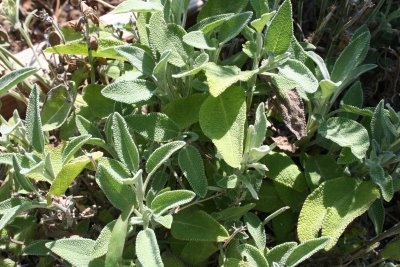
That is Sage. I like to harvest the top leaves that are small and tender. There are many different varieties of Sage also, they are beautiful as regular landscape plantings too.


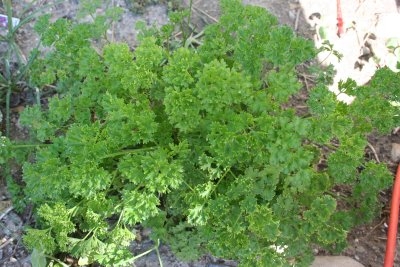
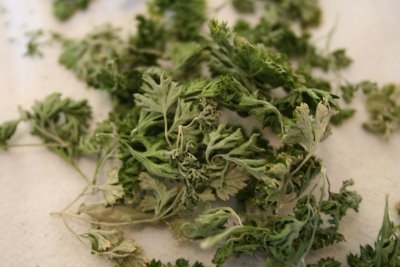
Good old Parsley. I have gotten tons of this bush.

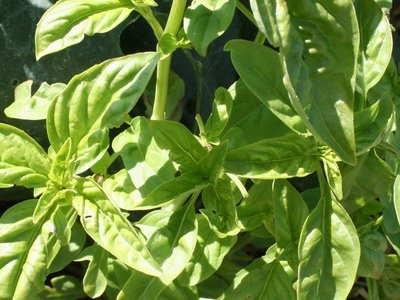
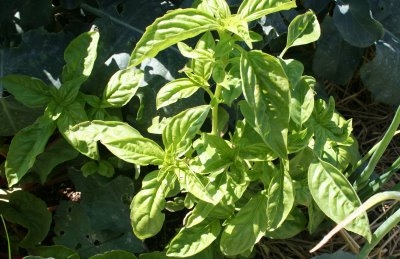
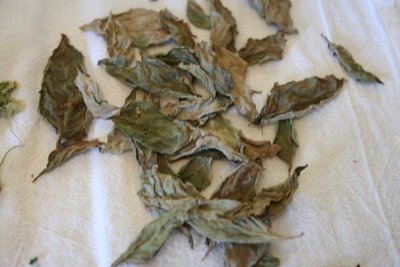
This is Basil. I don’t use Basil very much, I really should learn how. Basil is a very tender plant and doesn’t stand up to cold weather very well at all. A light frost will kill it dead. Needless to say, this is not a perennial in Utah.


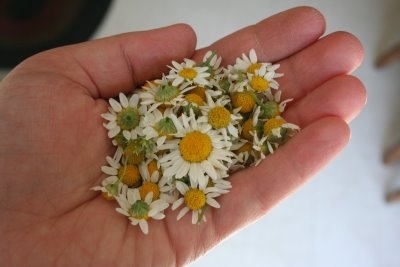
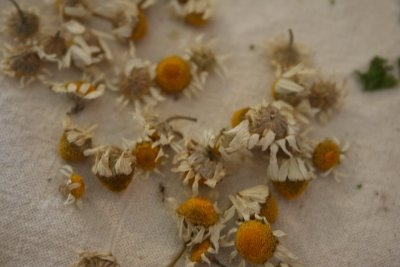
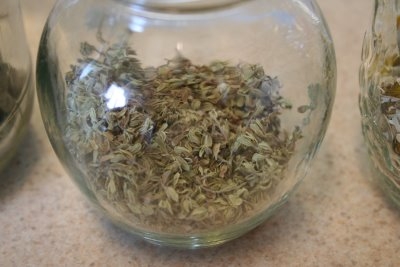
This is a handful of Chamomile blossoms I just harvested. I drink a lot of Chamomile tea in the winter and I was hoping to get enough to support my habit, but I didn’t. Next year when the new plant is in full bloom I will do better. This winter I am going to crush them and add them to homemade soap along with some Lavender I got out of my yard this June.

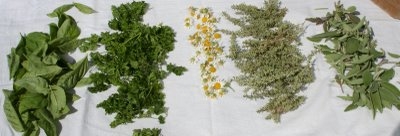
I laid them all out on my back steps on top of a clean flour sack towel. I covered them with another towel and weighted the edges down with rocks. When the afternoon temps are in the high 90’s I can expect the herbs to take a day and a half to dry. Now that things are a tad cooler it is taking about 2 and a half days.


Here they are after they sat out all weekend. We had a busy weekend and they sat outside a little longer than I liked, so the color washed out a bit.

Usually the basil is still a bright green, but being in the sun so long bleached them. The sent and flavor is still good.

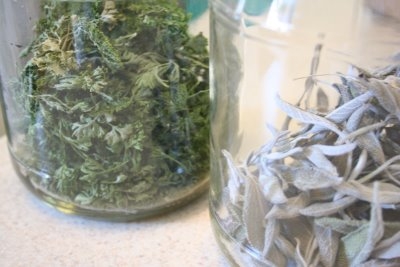
Parsley

Chamomile

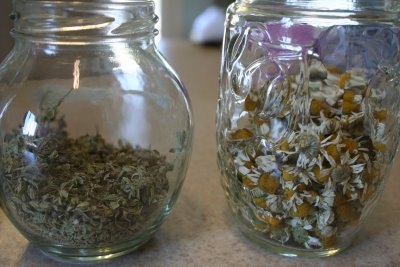
I have been storing them in old jars that I have been collecting.

I think they look rather pretty

I have been putting the jars in my pantry where it is cool and dark to preserve color and flavor

It has been kind of fun collection and preserving my herbs, I plan to do more next year.

There are many different ways to dry and store herbs. You can use a dehydrator or tie them in a bunch and hang them upside down . Some people will freeze their fresh herbs in ice cube trays, or just freeze them in zip lock baggies. There are many different methods, and they all are very rewarding.

Apricot Jam

I am insanely tired this morning. I have had too many late nights on top of late nights on top of vacations and colds….it is catching up! Last night I was up until 1:30 finishing my jam.

This is one of my favorite jam recipes. It is a little different, instead of pectin you use Jello as your thickening agent. As a result, the jam it a little thinner in the jars, but once it is open and refrigerated, it sets up really nicely.

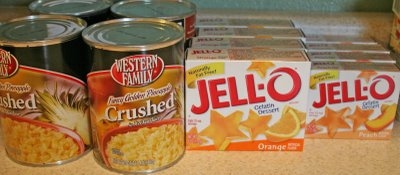
Here is what you need for one batch of Apricot Jam

8 cups Apricots, pitted and chopped
(leave the skin on)
4 cups crushed pineapple, drained
(about 2 large cans)
10 cups sugar
(I know insane, but yummy)
1-3 ounce package of apricot Jello
(the store was out of apricot so I used peach instead)
1-6 ounce package of Orange Jello
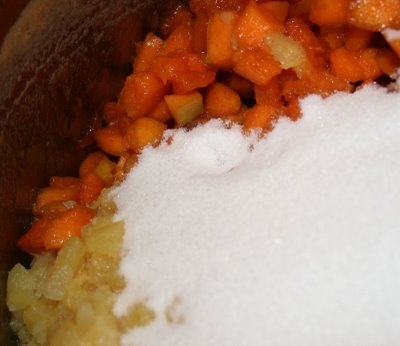
Put the sugar, apricots and pineapple into a large pan
(I know, crazy amount of sugar)
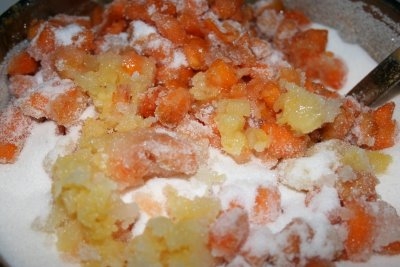
Slowly bring in to a boil, stirring constantly
it is very easy for the sugar to burn on the bottom of the pan and that will ruin the whole batch.
Also, you don’t want the pot to boil over (more about that later)
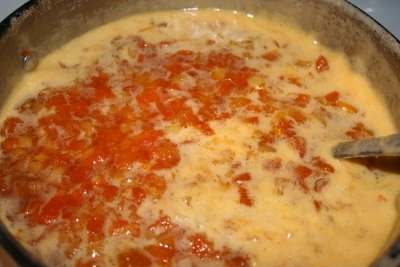
Once you get it boiling find the right to keep it at a low boil, stirring occasionally at this point. Once the fruit and the sugar mix well, it won’t burn as easily.
You boil this for 30 minutes.
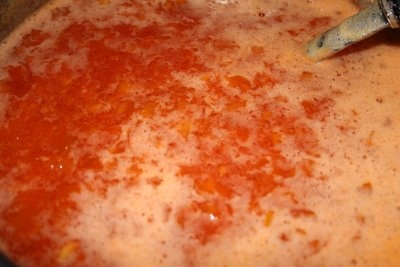
Once it has boiled for 30 minutes, you add your two packages of Jello.

Mix it in well and let it boil for a few minutes so the Jello completely dissolves.
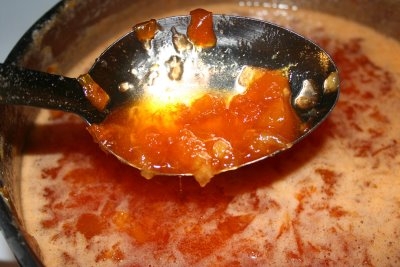

Then you pour it into your sterile jars and process for 15 minutes.
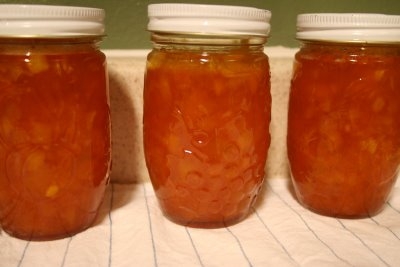
I made 48 pints last night.

There is something so satisfying about preserving your own foods.

On my last batch I was about 2 cups short on my apricots, so I added two cups of frozen strawberries out of my freezer. It turned out really yummy, and that is why those jars in front are darker and redder.

Now, about pots boiling over

It is really messy

And bunt sugar isn’t the nicest smell.

This is what happens when you put the apricots to boil and turn around thinking you have time to load a few dishes into the dishwasher.
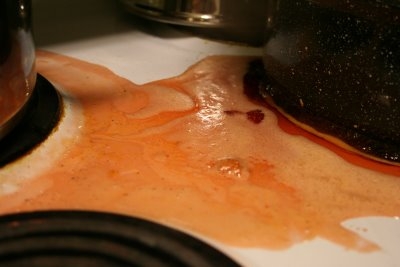
Anyone want to guess what happens to sugar when it is exposed to high temperatures?
It turns to caramel

What to know what happens when it is exposed to even higher temps for an extended period of time? It turns in to hard candy
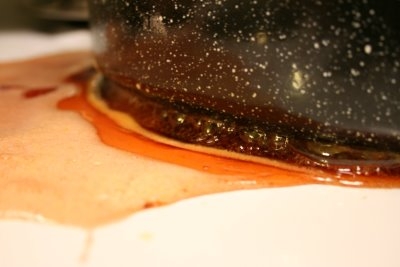
I am still trying to get all this off my stove!