Summer Squash

This past week my family and I went on vacation to Yellowstone National Park.
This is my third trip up there and my children’s first.
Yellowstone is seriously one of my favorite places to visit.
More about that later.

We stayed in a town called Island Park in Idaho,
my family (Parents and married sisters) rented a cabin (that was fabulous, thanks Lindi) which made things easier.
We were able to cook all of our own meals, and that saved us a ton of money. I can’t even imagine what we would have spent had we eaten out, all three meal with our family of 7!

Even though we were able to save some in the food department I still spent my whole grocery budget for the rest of the month on our 5 day trip. I didn’t cook like I usually do (breakfast was cereal and that can get pricey with 7 people eating) and I knew we would need a lot of prepackaged snacks for the ride through the Park.

This is going to present a bit of a challenge for the next week and a half. I am going to have to feed my family from the food I have stockpiled, and even though it will be a challenge, I think it will be fun.

Last night I went scavenging and this is what I came up with. Sorry it is a little disorganised, I was seriously making things up as I was going.
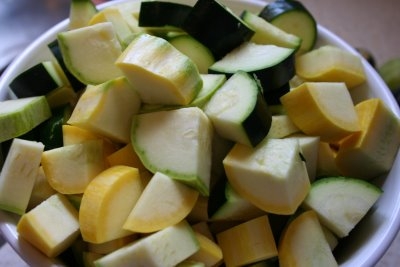
While we were gone my summer squash exploded, so I figured that would be a good starting place.
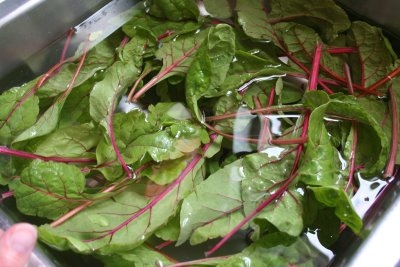
I also have very vigorous Chard plants, I cut a bunch and put them into my sink full of ice water, to crisp up.

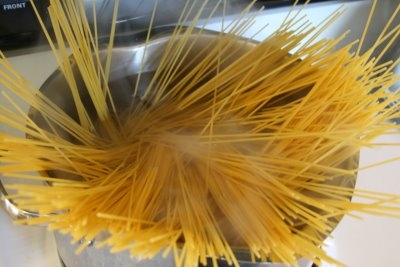
I felt like pasta, so in goes the spaghetti noodles into a pot of salted, boiling water.

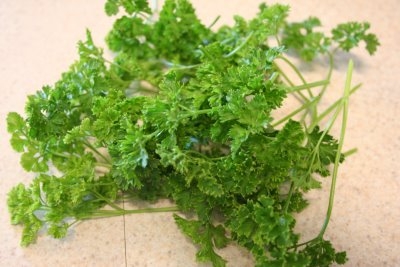
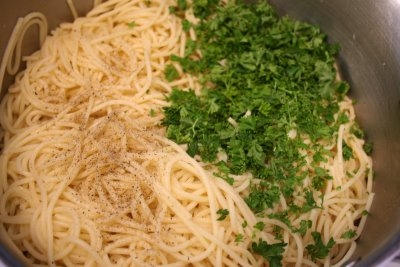
I also had some parsley from the garden that needed to be cut, and I love parsley in hot pasta.

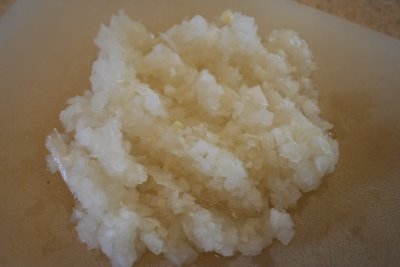
Knowing that I needed to cook my summer squash and not really wanting to go the traditional route of boiling or steaming them I figured I would try sauteing them with some Olive Oil, Onions and Garlic. I like the flavor of onions, but not a big crunchy chunk of onion. So I chopped them really fine. (I will admit I used my Pampered Chef chopper, on my own I wouldn’t have had the attention span to chop that onion that small!)

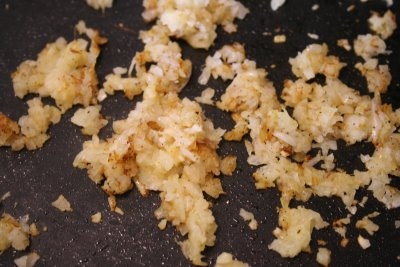
Then I threw the onion in a hot skilled with three cloves of crushed garlic, some olive oil and salt and pepper and cooked then until they had a nice brown color.

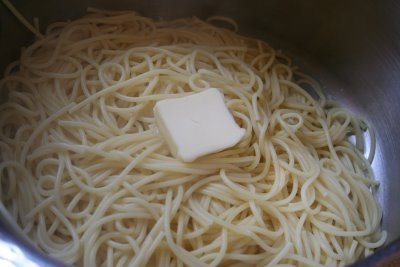
Meanwhile the pasta had finished cooking I drained it and slapped a pat of butter on top. Typically I would have stirred in Olive Oil, but for some reason I felt like butter…mmm…butter!
This will keep the noodles from sticking together while I was working on the rest of the dish, and butter adds a nice, buttery flavor.
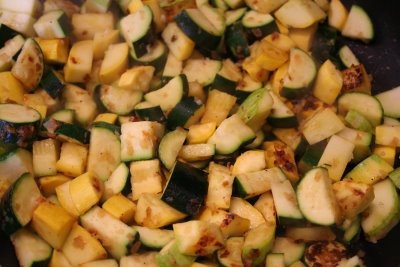
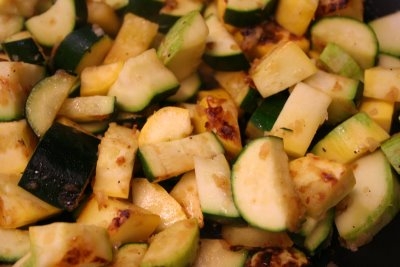
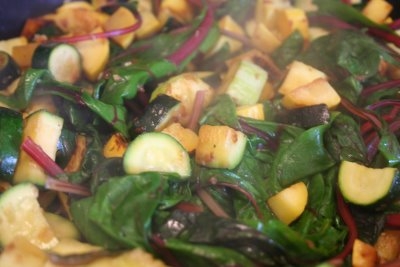
I put the summer squash in the nice hot skillet with the browned onions and let them cook stirring frequently. I didn’t want those little guys to burn!

Don’t they look yummy!
That right there would be a great side dish.
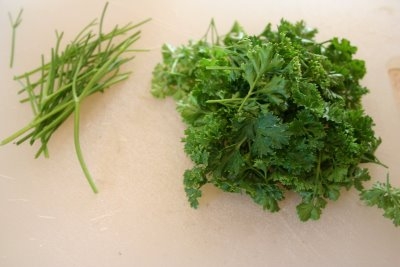
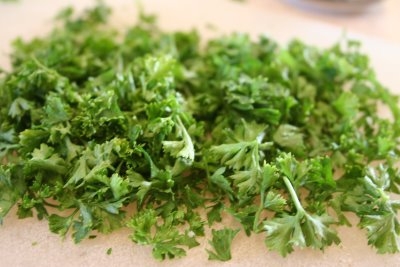
While the summer squash was cooking I prepared the parsley, after washing it I separated the tender leaves from the harder stems.

Then I coarsely chopped it.

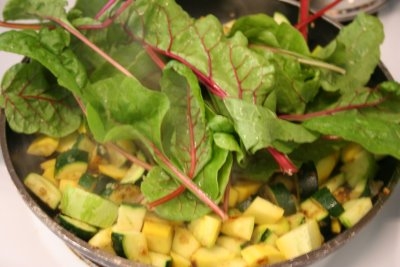
About that time the squash was almost cooked, I added my chard.
I didn’t drain all the water off, I wanted the leaves to be nice and wet so it would create steam.
You need to pile it on in there, it cooks down a lot so don’t be shy.
(You could also use fresh spinach)
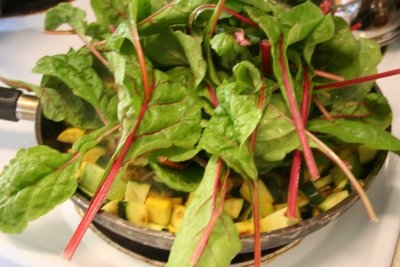
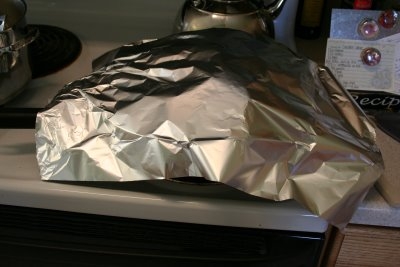
Then cover your pan, ideally with a lid, but since mine didn’t come with one tin foil works too.

This will help steam the chard and finish cooking the squash.


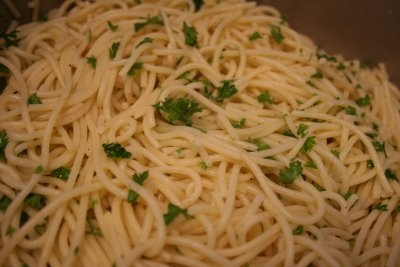
I then added my parsley and a generous amount of salt and pepper to the pasta and stirred it all it. Any herb would be yummy tossed in with this pasta, whatever you like…the sky is the limit!
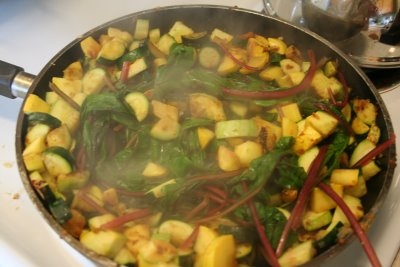
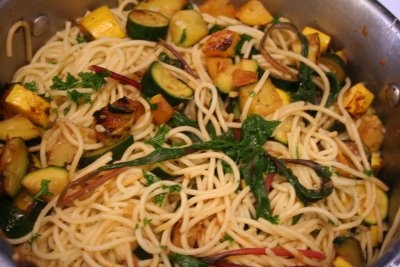
The Chard only take a few minutes to cook so you have to watch it closely or the squash on the bottom will burn


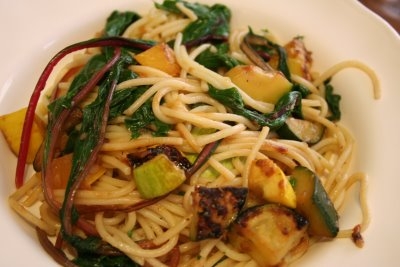
Dump the squash/chard mixture into your pasta and stir.
It tasted really good, even my kids ate it and Dadzoo asked for seconds!


There are a few things I will do different next time. I will chop the chard, coarsely, I like the big pieces, but the whole leaf was a bit much. I will also add more garlic, at least two more cloves, maybe more, I need to experiment on that. I also think that this would be yummy with some freshly grated Parmesan cheese mixed in (everything is better with cheese) and I also think it would be good with sour dough or french bread.

So there you go, my scavenged dinner!

Peachy Peach Crisp

I love fresh fruit.
I love this time of year when the grocery stores are full of all sorts of fresh fruits.
I love how it smells
I love how it looks on my table
I love how it looks in my grocery cart
(you know…hey everybody look, I eat healthy)
anyway
I have a little problem when it comes to fresh fruit
it tends to sit on my table looking all pretty
and goes rotten while I am getting around to eating it.

This summer I promised myself things would be different

I am going to be a better steward of all the bounties that God provides.
I am going to show respect for all the hard work Dadzoo does
and I am not going to let good food go to waste!
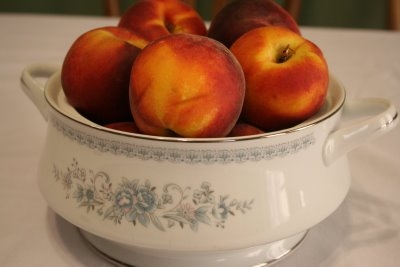
So I have this really pretty bowl of peaches sitting on my table
and they look so pretty
and smell so good and peachy
but
they are starting to get soft
so I decide that for breakfast tomorrow I am going to make a peach crisp and I am going to blog about it too, since I have so much time…hehe…
(ok, fine, I don’t have extra time, but what the heck a girl had to play a little, right, and since I am too poor for pedicures and shopping trips blogging about my cooking is the next best thing)So here we go

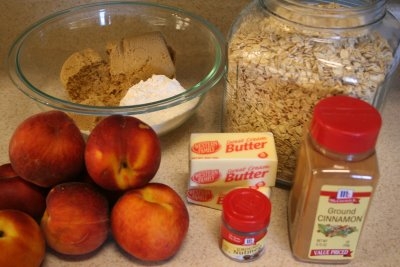
the cast of characters:
8 nice ripe peaches
2 cups brown sugar
1 cup flour
1 cup old fashioned oats
1 cup butter (softened)
2 tsp cinnamon
2 tsp nutmeg

Very simple, down home ingredients, not really expensive, but not diet friendly either.
 

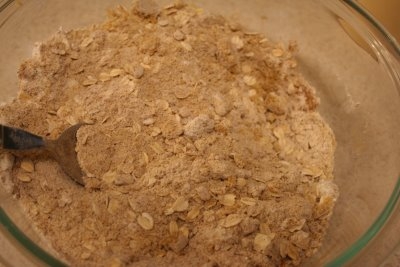
First thing, mix all your dry ingredients
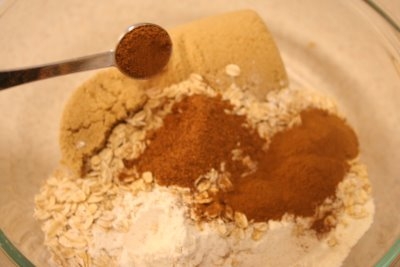
Then add your butter, I use my hands and mix it in really, really well. The softer your butter the easier it is to mix in.
Then I cut up the peaches.
This is the most time consuming part of the whole recipe.
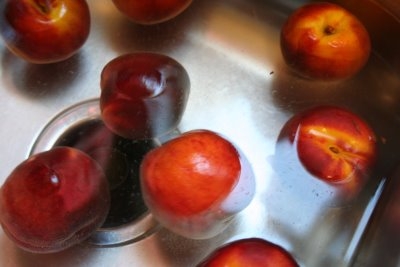
I fill my clean sink full of hot water, as hot as I can stand and plunk all the peaches in it.
I will let them sit for a while, that is when I mix all the dry ingredients.

The hot water makes the skin come off easier.
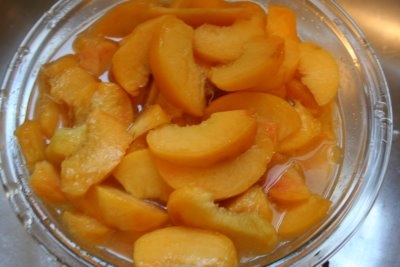
I peal and slice them in to a bowl of cold water and the juice of one lemon
(or in my world, a good splash of bottled lemon juice, why bother measuring?)
The lemon juice will help keep the peaches from turning brown, if I was going to bake the crisp right away, I wouldn’t bother with the lemon juice, but since it is going to sit in the fridge overnight and be baked in the morning I don’t want yucky brown peaches.

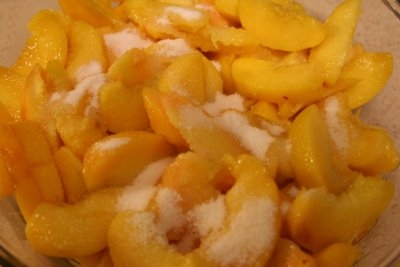
Place your peaches in the bottom of an ungreased baking dish

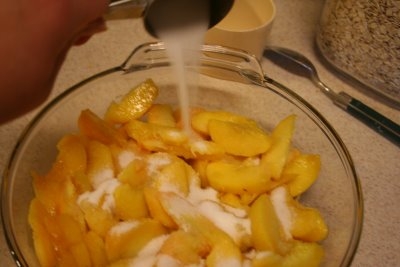
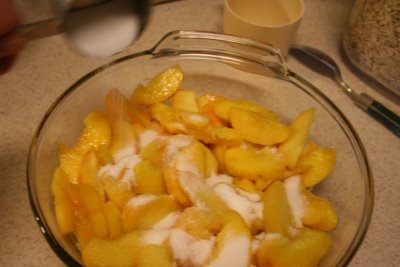
Look at those lonely peaches, I think they need a little sugar
yeah, some sugar
(Pour Some Sugar on Me…Def Leopard…anyone else have that song running through their head?)

Maybe a little more sugar

and more….

Beautiful, looks just right

of course, you don’t need to pour any sugar on the peaches
it is yummy without sugar.
I just had a weak moment.
(don’t we all?)

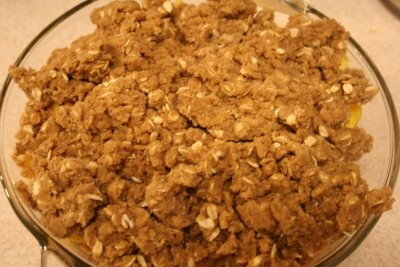
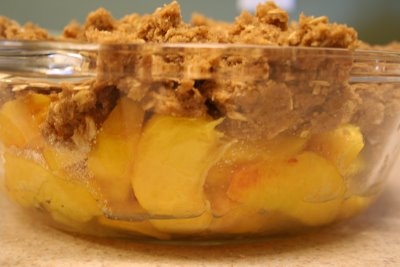
Spread the topping on top of the peaches
(that is why we call it topping)

Don’t that look purdy
already the juices are starting to make a wonderfully yummy peachy syrup.

At this point I popped this puppy in the fridge.


When Dadzoo woke up I went and put it in the oven (400 degrees)
it was a beautiful morning
I should have strolled around the yard
or read scripture

But,
I didn’t
I climbed back into bed

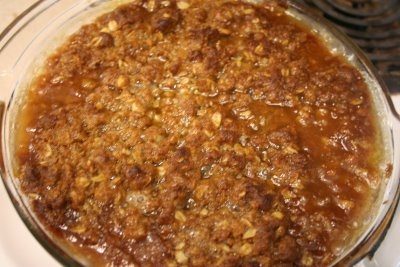
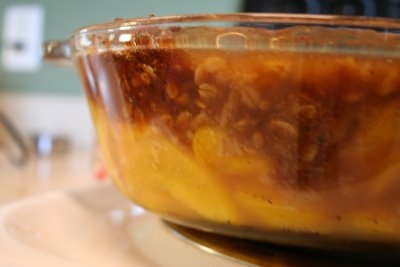
about 45 minutes later it was ready
The top was crispy

The syrup was hot and bubbly
Perfect!

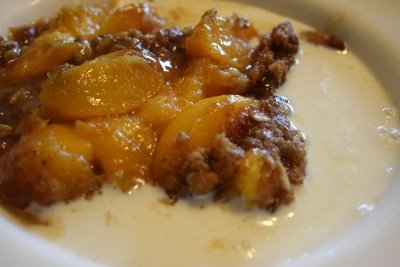
I served it in a bowl with some milk.
I figured since it was for breakfast, I should have something healthy to go along with it.
(I really wanted some ice cream or real whipping cream, but I figured it was loaded with calories as it was…)

There you go
Peach Crisp
This recipe works with any type of fruit, I do it with apples all the time in the fall and I have even had it with rhubarb.

Enjoy!

Now, run on over to Tammy’s site for more great recipes and kitchen tips!

Raspberry Sherbet

I have a great summer treat to share with you all. It is fruity, frosty, cold and delicious! But first I need to introduce you to our guest chef, who is helping me out in the kitchen tonight.

This is Chadd (yes with two “D’s”) he is my baby brother. He graduated from high school this spring and is getting ready to go to BYU in the fall. He is a smarty pants, like seriously, he is one of the smartest people I know. He can tell you just about anything that had to do with US history or politics. The great thing about Chadd is that he makes you fell smart too. He is one of the only smart people I know that doesn’t talk down to masses.

Well, anyway, back to the food. I invited my parents (soon to be empty nesters) to my house for dinner and since Chadd still lives there he came a long too, which is ok, I like Chadd. I hope I will get to see more of him when he moves away to go to school since I am only about a half hour away, and Dadzoo works in the same city. Whoa, got side tracked again…back to the food. After dinner (yummy Chicken and broccoli with a curry sauce) and after we cleaned up the dishes we had dessert and Chadd decided he wanted to help. So here goes, I could actually take pictures with both hands this time, usually I am balancing the camera in one hand and working with my other…very awkward.

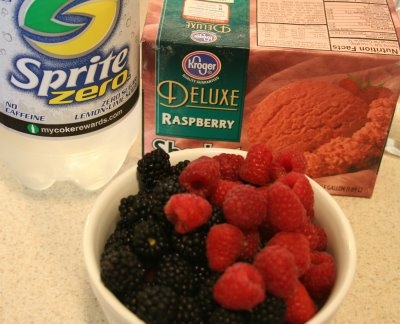
This little snack doesn’t really have a name (I am open to suggestions) I just kind of made it up once and everybody that I have served it to has loved it. So here goes, the cast of characters:

Raspberry Sherbet
Sprite
Berries…
and that all folks, very simple.


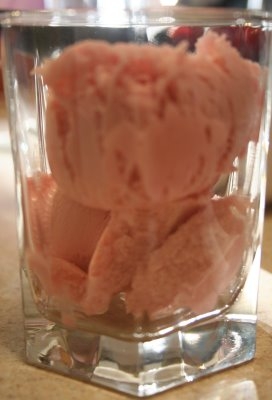
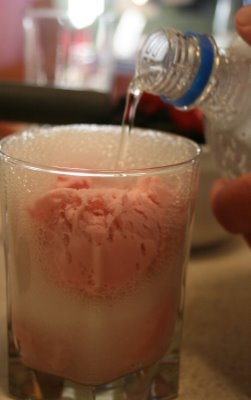
You dish as much sherbet as you would like into some type of cup
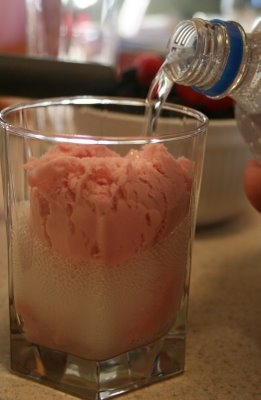
(sorry the pictures are a little blurry, even though I had an assistant I was laughing too hard and my kids were bugging me to hurry up with the ice cream.)


Pour in the Sprite…very slowly, it bubbles up fast.


see those finger tips…those are Chadd’s


And here is the lovely guy himself

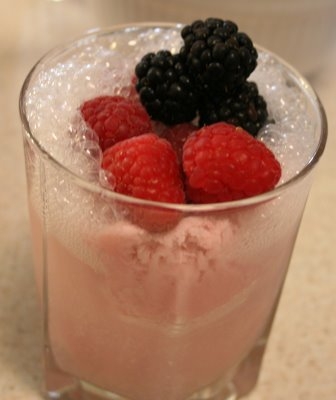
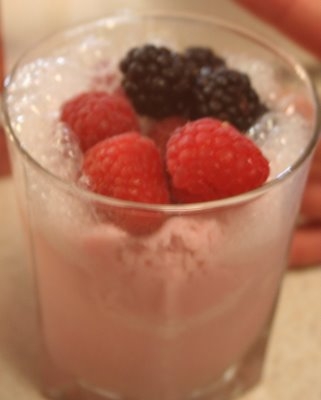
Then one the sprite is all poured in you top it with fresh berries, I like black berries and raspberries, but whatever makes you happy would work.


Enjoy

Strawberries on the Brain

Once a month I get together with some “stampin” friends for a little “party”. Our leaders do a make and take (always something super cute that I would never think of on my own) then we order stamp/scrap stuff and talk a lot and laugh a lot. Everyone in the group takes turns hosting the event and last night was my turn. It is usually very low key, we gather around the kitchen table and do our little project, and maybe snack on a bowl of M&M’s.


When I got this months Country Living magazine and there was a whole section on strawberries, and a great recipe for strawberry lemon aid, I knew I had to do something different for my party. Then to my great delight in my Kraft Food magazine there was a great recipe for a strawberry dessert. I decided I was going to do both.

I like to entertain, I don’t do it very often, but when I do I really enjoy it. I like making and planning food that people will enjoy. I even like cleaning house and decorating so everything looks nice and comfortable.

Here is a picture of my strawberry lemon aid. I have never made “real” lemon aid before, I usually use the powdered variety, so this was fun for me.

It is such a pretty pink color!

I served it in clear glass tumblers, so everybody could really see how pretty it was.

Here is my recipe for Strawberry Lemon aid:

Boil 2 cups sugar and 2 cups water, let it cool a little and pour it into a jug (or picture). Add the juice of 12 lemons and 2 cups cut up strawberries. Then add 8 cups cold water and 8 cups of ice. I sliced up two lemons to make it look pretty and tossed in a few whole strawberries.

Very easy and it makes a nice presentation.

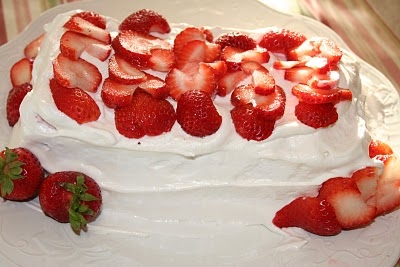
Then I made this for dessert

I love strawberries

Here is an inside view

This little gem of a frozen dessert is really, really good!

You can get the recipe here: Strawberry Whipped Sensation

It was a wonderful evening, we had a good time. Most of my family was out of the house which makes throwing a party much easier. The two littlest punks were in bed, punk #2 was at a Birthday Party and Dadzoo had punk#1 and punk#3, they were picking up this:

More about “this” in another post.

When Springtime Comes…

My thoughts
and
taste buds
turn to
Salad!!!
I really do enjoy a yummy salad, and there is something about springtime and warmer weather that just makes me crave a delicious salad for dinner.

This one is my new all time favorite. I got this recipe from my kid sister’s (she really isn’t a kid, in fact, people would probably say she is the more mature of the two of us! anyway…) sister-in-law. She brought it to a birthday party and I have been HOOKED ever since.

So here we go

Jana’s Famous Salad
(it really doesn’t have a name and this was the best I could come up with, sorry)

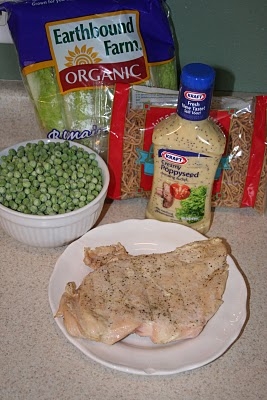
Here are our players:

Lettuce
any kind, I happen to like Romain
Frozen Peas
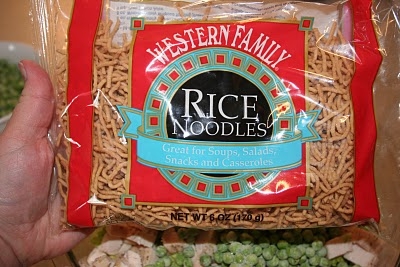
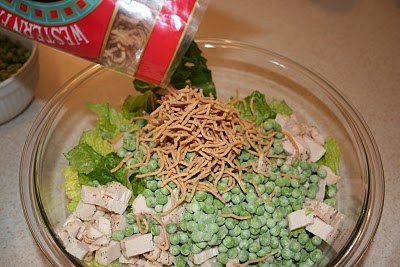
Rice noodles, fried
(they are like Chow Mien noodles and you can find them in the Chinese section of your grocery store)
Chicken Breast
Poppy seed dressing.

There are no amounts, I just add whatever looks good.


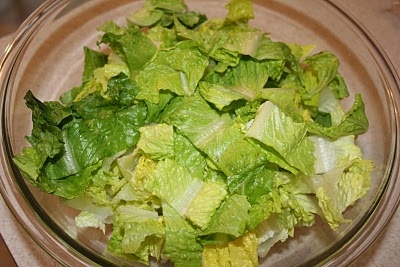
First chop up your lettuce, unless you are smart and buy it already chopped in a bag.


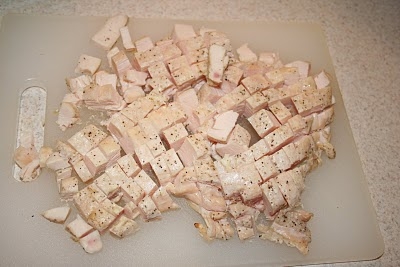
Then dice your chicken breast. My sister and Jana buy theirs from Sam’s already cooked, and it is wonderful. Since I am a nut, I cooked my own the night before. I first pounded the chicken down so it was nice and thin, I then drizzled it with olive oil (the extra virgin kind) and sprinkled it with lots of lemon pepper. I happen to like lemon pepper on chicken, but really you could use anything you like for seasoning. I baked it for 30 minutes at 350 degrees. I did four chicken breasts and used one for this recipe and froze the other three.

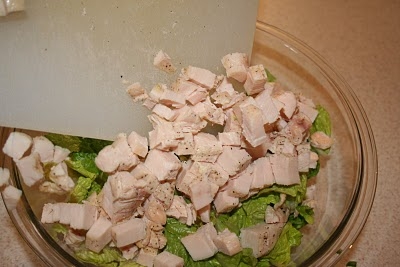
Add the chicken to your salad. I put a lot of chicken in since this was going to be our main dish for dinner. If you are using this for a side dish use a little less, or none at all.


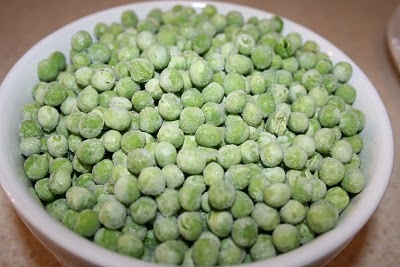
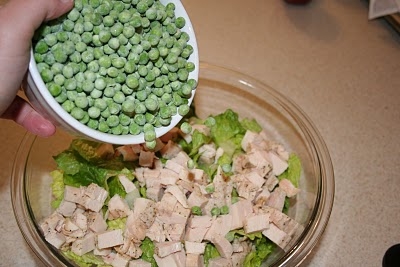
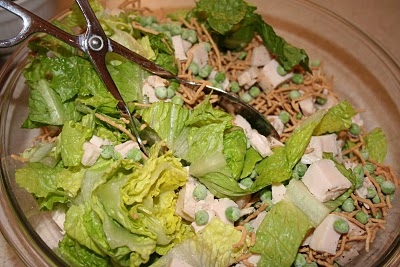
Then add your peas.

I wish I was showing you fresh peas out of my garden. However, the cats decided that I was not to have peas this year, or at least anytime soon.


Put them in frozen.

They will quickly thaw and be nice and cool by the time you serve the salad.


These little guys are really yummy, and they are what make this salad special.


Add a good amount. You can’t have too much.
Well, I guess you could.
But it would be really hard.


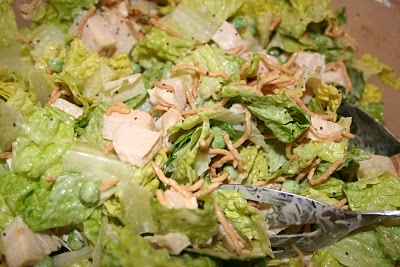
Stir that bad boy up.

Make sure you have enough of each ingredient and adjust where necessary.


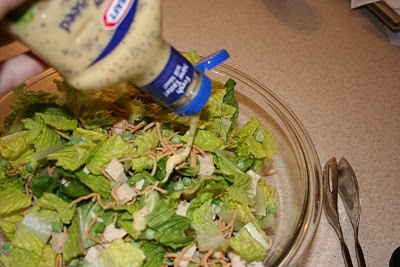
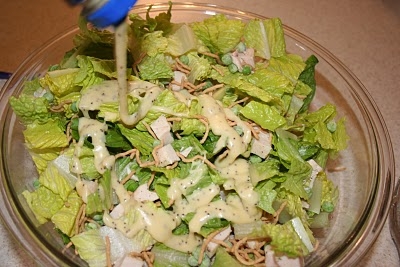
Here comes the dressing.

This Kraft dressing is good, but I like the “Brianna” brand better. They happen to be out at my local grocery store, and I was too impatient to wait until my next shopping trip to serve this dish, and too LAZY to hit any other stores TO see if they had some.


I am wondering if everybody got wind of this fabulous recipe and there was a run on “Brianna” brand poppy seed dressing.


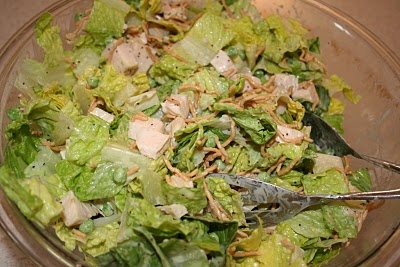
Stir it all together, add more dressing if needed, don’t be shy people.


This stuff is darn tooting good.

Even the men-folk will like it.


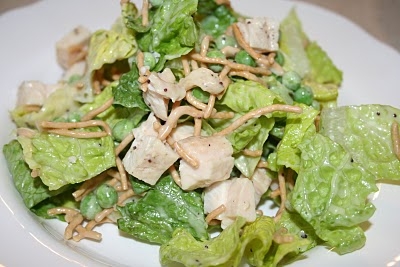
Serve it all up on a pretty dish.

All my dishes are white.
I like white.

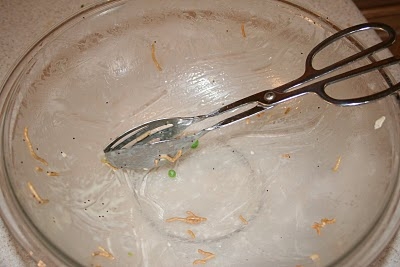
Here was the big bowl of Salad after my punks, got done with it.

This is some seriously good stuff.

SERIOUSLY.

Tuesday I am making another one of my favorite salads, and it is really good too. Watch for my post, you won’t want to miss my PESTO PASTA SALAD!