Biscuits

This recipe is so good! All the ingredients can come off your pantry shelf which makes for a perfect food storage recipe. With a total time of 30 minutes from start to finish it makes for a quick side bread to any meal. Best of all it is yummy, flakey, buttery, biscuity goodness!

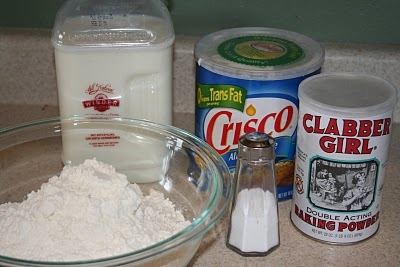
Here is our cast of characters:
4 cups flour
2 Tablespoons Baking Powder
2 teaspoons salt
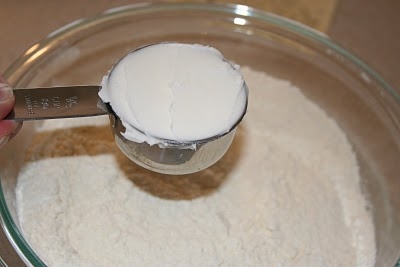
2/3 cup shortening
1 1/3 cup milk, or buttermilk or yogurt
(simple huh!)

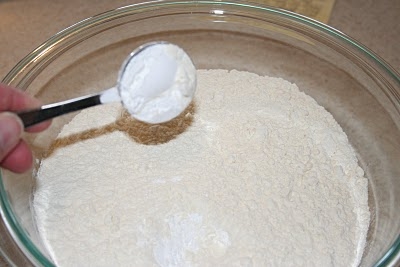
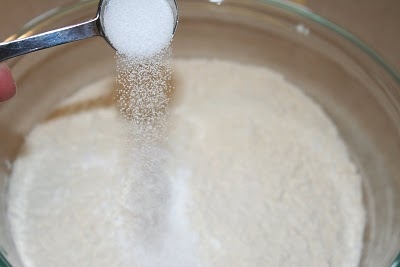
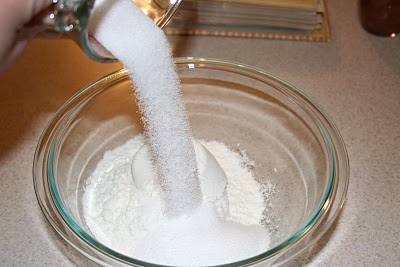
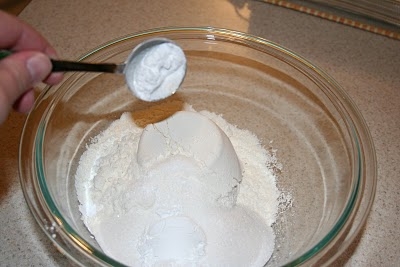
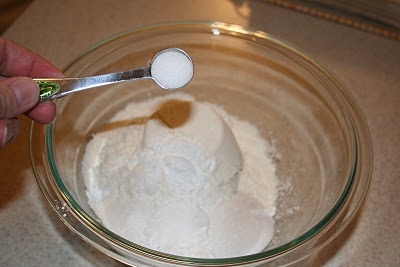
To the flour you add all your dry ingredients. You can also use wheat flour if you want to, but I think the white makes a lighter biscuit, and anyway, this isn’t a healthy, fat free type of item, why mess with that and use whole wheat?

Stir the dry ingredients together with a fork
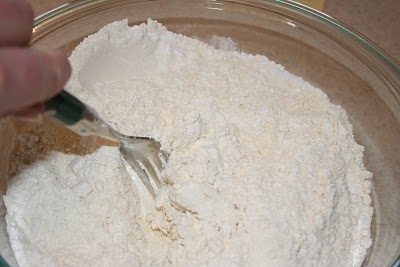
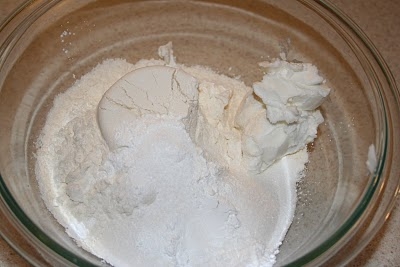
Then add the shortening.

Cut in the shortening with a pastry blender. If you don’t have one (I don’t, I really, really, want one, but I can’t find on anywhere. If any of you happen to see one, pick it up fo me, I will pay you back) Or if you don’t have one (me, me) use two butter knives.
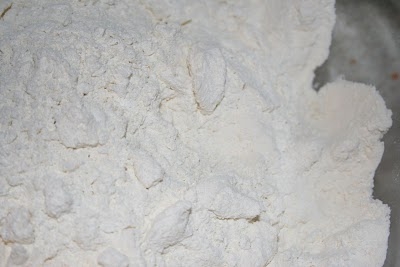

You want the shortening to blend in, but do not mix it in well, I need to be in little clumps. That is what makes it flakey.

Add your milk, (powder milk if you are using food storage) or buttermilk, or yogurt. If you don’t have buttermilk on hand and would like the flavor of a “buttermilk buscuit” Add 1 Tablespoon vinegar or lemon juice to the milk before you add it.
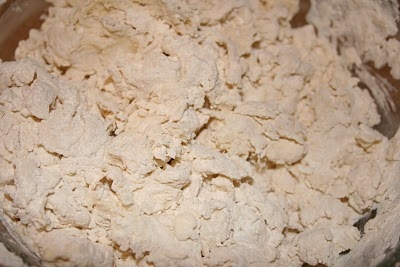
Stir it all up with a fork and dump it out onto a lightly floured work surface.
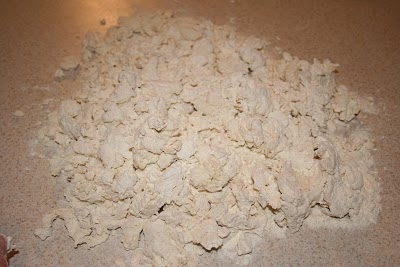
Taking care not to mix in the shortening too much; with your hands moosh (is that a word? moosh) it into a ball
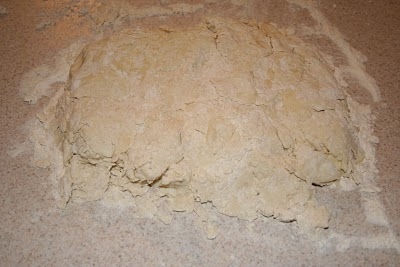
Roll it out until you get it to your desired thickness. I like it to be about 2 inches thick, the thicker the dough, the thicker your biscuit
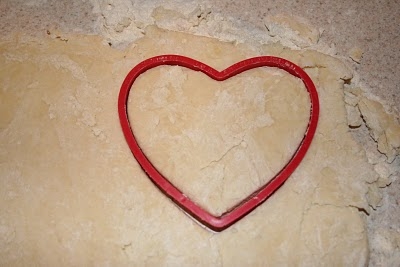
Now cut out your buscuit. If you would like to be a fun mom/wife/girlfriend/person, use fun cookie cutters.
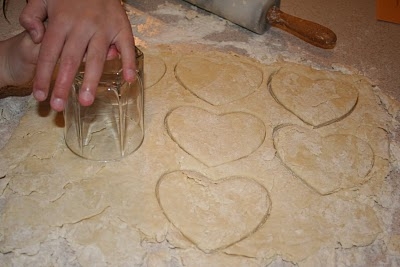
If you don’t care and just want to get the job done, use a cup, like Punk #1 is doing.
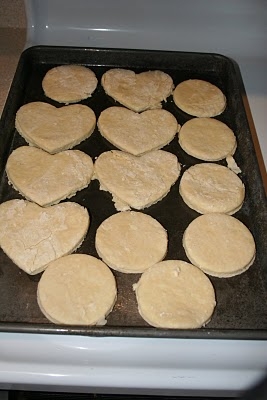
Stick them all on a cookie sheet that has been lightly sprayed with cooking spray, or greased with shortening. You can put the biscuits really close together, they won’t spread out, they will raise up.
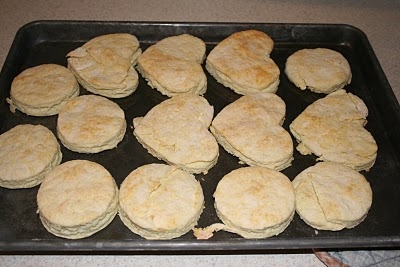
Bake at 425 degrees for 10 t0 15 minutes, until golden brown.
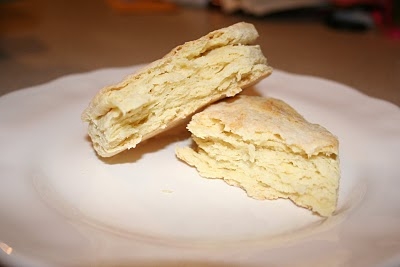
Now doesn’t that look yummy. Wonderful, flakey, down-home goodness.
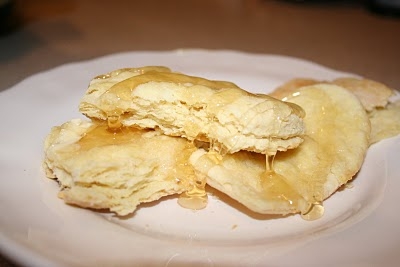
Drizzel with honey, jam, apple butter……..and sink your teeth into warm biscuit heaven.

If I am doing this recipe for breakfast (it is yummy with eggs and sausage and if I really want to throw caution to the wind, I will even make gravy, but only sometimes, well, I think I have only done that once…) I will mix everything but the milk the night before and stick it in the fridge.

In a couple of days I will post the recipe for homemake pancakes, they are as quick and easy as buying a mix and much better for you!
Adventures into Apple Butter

My adventure into apple butter didn’t start out as I had planned. In fact I never planned on making apple butter at all. I wanted to make apple sauce and apple jelly. One winter when I was little we had a whole bunch of what my mom called “apple sauce” really it was more like apple pie preserves. It was quart jars of apples pealed and sliced with syrup of sugar and cinnamon. I remember really liking them, and the last few years I was toying with the idea of making some in the fall when you could buy apples on the side of the road. Then my in-laws made a whole big batch of apple jelly. I had never heard of, or tasted apple jelly. I was really good and a really pretty soft pink color. So I determined that this year I was going to make my apple preserves and apple jelly.
I went and bought two boxes of apples; I looked on the internet and found a recipe for apple preserves that looked easy enough. I spent all of one morning peeling and slicing my apples, carefully saving the peels and cores for the jelly. I added cups and cups of sugar and cinnamon and lemon juice, stirred it all up in the biggest bowls I had and packed them into quart jars, 24 of them to be exact, and processed them for the amount of time the recipe called for. I was on a roll! While doing that I boiled my apple peels and cores, strained them and added sugar and pectin and bottled those too. My kitchen was a mess. Sticky sugary counters and floors, a sink piled high with dishes, it was hot with all the canning and boiling water. I was tired, but satisfied, look at all the food I was preserving and packing away for my family…what a great mom I was!

Then everything crumbled. None of my jars of apples sealed, none, not a single gal-durn blasted jar! (Do you like my pioneer swear words? Ha!) So here I am in my steamy sticky mess with 24 quart of apples not sealed! (I think this is where I burst into tears and drank a whole two litter of diet coke and ate all the chocolate I could find) Then to top things off my jelly didn’t, well, jell! So now I have 24 quarts of unsealed apples and 24 pints of un-jelled apple jelly! (This is where I call Mike, in tears, pulling my hair out, wishing I were a drinking woman, and tell him he better bring home dinner or I just might need to be committed that very night)


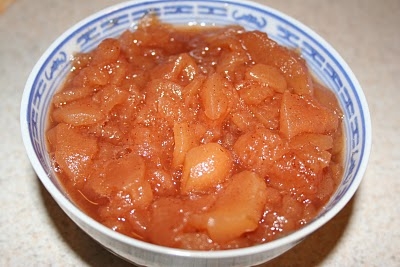
I cried over the computer to my friend Katie and she calmly sympathizes with me and says “why don’t you make apple butter?” Apple butter? Hmmmm…..”How do I do that” I ask. She tells me to dump all my jars of apples in a crock pot and let it cook for about 12 hours, until it cooks down and thickens up. Then put them in pint jars and process them like I would jam. So that is what I did. I let it cook over night, and the house smelled wonderful that next morning! We had warm apple butter on pancakes and I was sold! I did another batch that day and ended up with about 24 pints (we are already half way through it.) I will defiantly be doing apple butter again. As for the apple jelly? Well, I have 24 pints of apple syrup in my basement (I know there is a way to re-process the whole batch and add more pectin and such, but I just didn’t have it in me, maybe another day) if you would like to try some, let me know, I will let you have a jar, or two, or three…. So there you have it, my adventures in Apple Butter.So here is the recipe, as best as I can remember it, the thing about apple butter is that it isn’t an exact thing, you can adjust to your preference.

Big box of apples, pealed, cored and sliced (you can save the cores and peels to make apple juice or apple jelly, however you ladies are on your own with that!)
Lots of sugar (4 to 5 cups)
½ cup lemon juice
Cinnamon to taste
Nutmeg to taste
.

Mix it all up, taste it, adjust it to your liking. Throw it all into a crock pot (I wouldn’t prepare more apples that your crock pot can handle, just do it one batch at a time) or you can throw it into a big pot on the stove, just be careful it doesn’t get too hot. Cook it on low for about twelve hours until it thickens to your preference. Spoon it into pint jars and process (I used the cold pack method) 30 minutes. I would think that you could freeze it too, if you didn’t want to go to the trouble of processing it. Or you can make small batches and just keep it in the fridge. This is a very forgiving recipe!
Apple butter is good on, pancakes, scones, biscuits, French toast, peanut butter sandwiches, toast or rolls. It is good mixed with yogurt, Cottage cheese or granola. I like it warmed up on scones and pancakes.

I hope you all like it!

Old English Scones

I always thought that scones were a type of deep fried bread. Around here that is what people typically think of when someone says “scones”. Actually scones are a type of flakey baked bread, a lot like a big biscuit. English scones are served mostly with tea or coffee, and since I usually don’t partake of coffee or tea we eat it with milk for breakfast. This is a great food storage recipe. Your kidlets and husband will like it, it is easy to modify to suit the taste of your family, and it can be used for dinner, snacks or breakfast. So here goes!

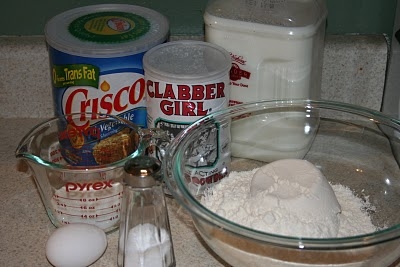
Here are our ingredients:
2 cups flour (white or wheat)
1/4 cup sugar
1 Tbsp Baking powder
1/2 tsp salt
1/3 cup shortening
1 egg
1/2 cup milk

The only thing that can’t come out of your food storage is the egg, unless of course keeping chickens in your backyard is part of your plan. If you don’t have an egg, just use a little more milk. You can also use buttermilk or yogurt in place of the milk.

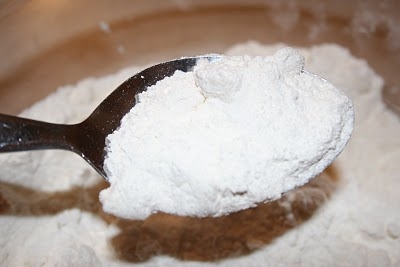
First you mix all the dry ingredients


Then add shortening

Then you “cut” the shortening in, using a pastry cutter, or two butter knives or a fork. You don’t want the shortening to mix into the dry ingredients, it needs to look like a bunch of flour and pea sized clumps of shortening.

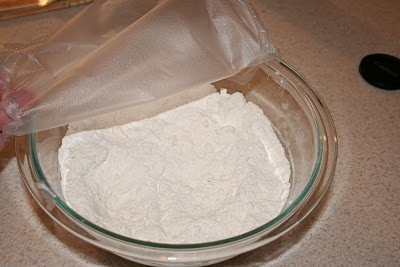
If I am making this for breakfast I will mix everything up to this point the night before then cover it in plastic wrap and put it in the fridge. You don’t have to do this step and it will still be yummy!

Here we are the next morning just coming out of the fridge. (Yawn)

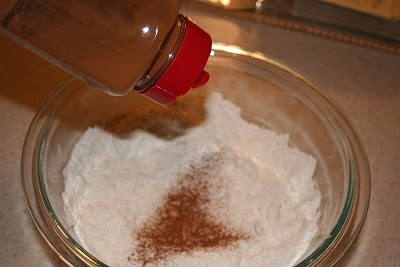
(I forgot to add the cinnamon the night before, I like to add cinnamon, I think I am discovering that cinnamon is my favorite spice)

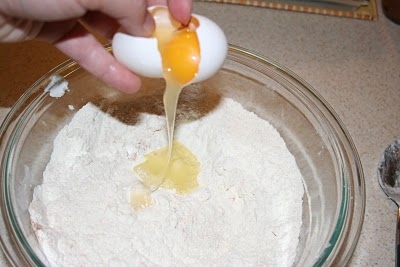
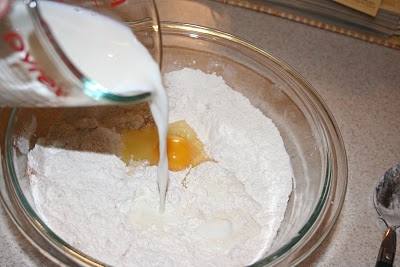
add your egg

and milk, or buttermilk, or yogurt…..

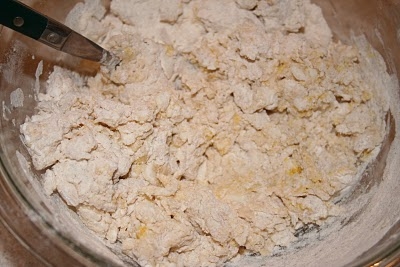
Mix it all up until it is a crumbly mess. Don’t mix it up until it is all combined well, that is what makes it flakey and crispy

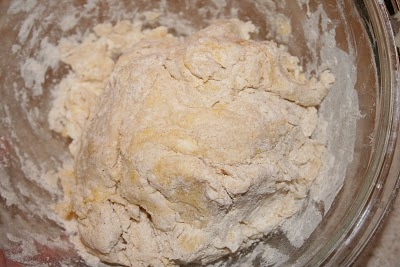
With your hands moosh it into a ball

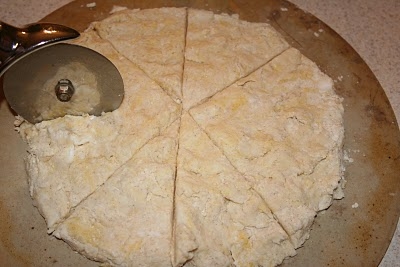
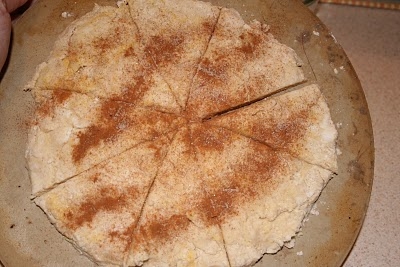
Put it on your pan (or stone, I like useing a baking stone for this) and with your fingers spread it out to about a inch thick, using a pizza cutter make 8 wedges.

sprinkle it with cinnamon and sugar, or sugar, or chocolate chips, or colored sprinkles….whatever

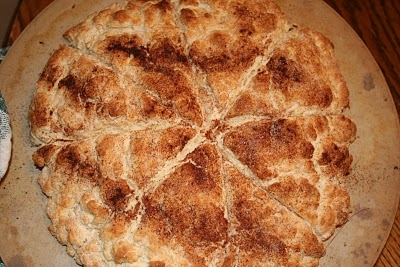
Bake at 425 degrees for 15 minutes until it is golden crispy

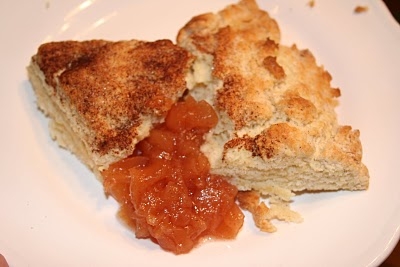
I serve it with apple butter (this stuff is to die for! Thanks Katie for talking me through making my apple butter)

Yummy, yummy, yummy!!!!

This recipee is really easy to modify! If you want to use it for dinner don’t put any sugar in it and it is like a biscuit. Or (one of my favorite ways) you can add fruit. I like blueberries. When you add fruit double the sugar, and add frozen or fresh fruit when you add the wet ingredients. I like it with cinnamon and chopped apples. You could add chocolate chips or nuts too. Serve it with jam, apple sauce, cold milk, hot chocolate, diet coke, tea or coffee ( if that is what moves you).

(if I am serving this as breakfast I am learning that I need to double the recipe for my family of 7, or serve something with it, fresh fruit, scrambled eggs or sausage)

Granola Goodness

Here is my recipe for granola. This is a wonderful breakfast or snack. This can be made out of food storage items. If you are unable to get butter you can use shortening, which can be easily stored. Butter can be bought in bulk when on sale and stored in a freezer. I serve this as a breakfast cereal, to make the whole batch (aprox. 12 cups) for about $3.50 depending on the price of butter, and if you use shortening the cost goes down even more. This is a lot cheaper than comercial cereals, and while there is a lot of sugar in this recipe there are no preservatives or dyes. You can also make it organic depending on the ingredients used, however that will make the cost go up. I like this on top of ice cream, or with plain yogurt. I put it in PIC’s lunch often with yogurt.
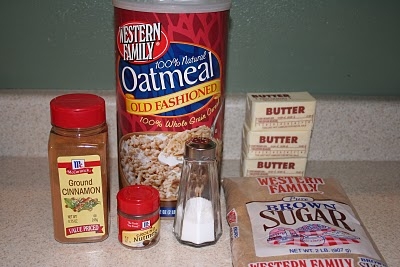
Here are our ingredients
1 1/2 cup butter
4 cup brown sugar
3/4 cup water
3/4 tsp salt
2 tsp cinnamon
1 tsp nutmeg
12 cups oatmeal (old fashioned, DO NOT use quick oat)
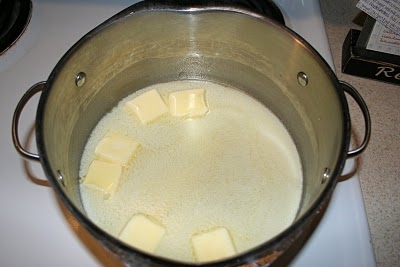
First you melt the butter over medium heat in a big pot.

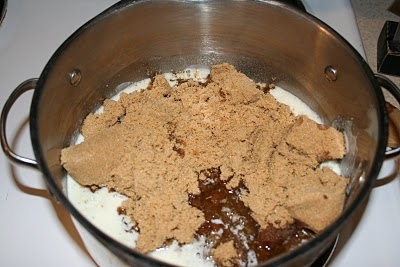
Once the butter is all melted add the brown sugar,

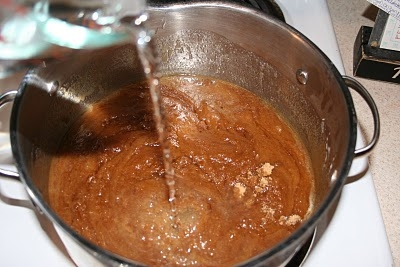
and water


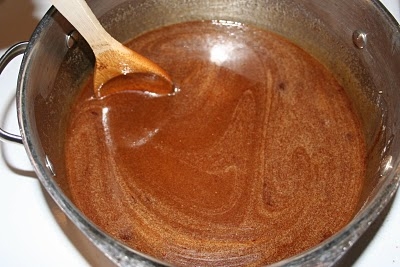
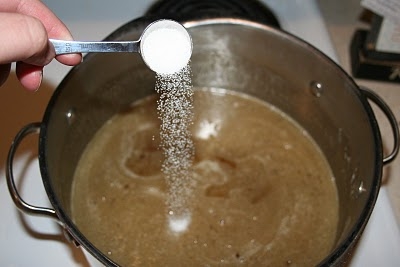
When the sugar melts and the water mixes in add the salt,

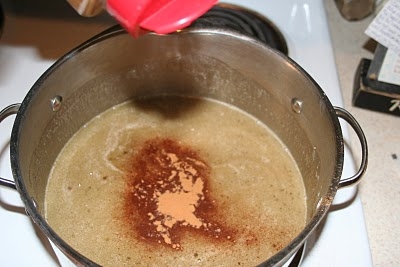
add cinnamon (I put way more than 2 tsp, I really like the flavor of a lot of cinnamon)

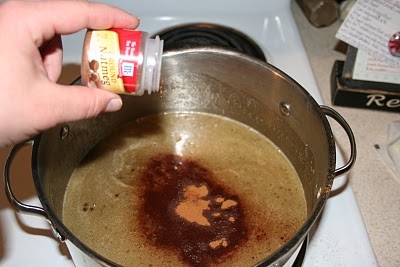
and the nutmeg

Let is simmer, stirring constantly so it won’t burn, until the spices and sugar are all mixed and melted. (this is where husbands and kids start wandering into the kitchen wanting to know what smells so good)

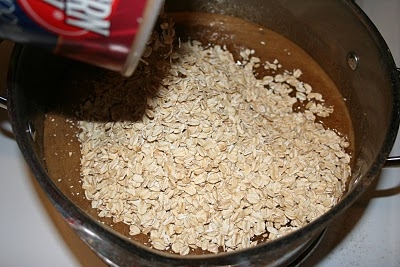
Then you add the oats

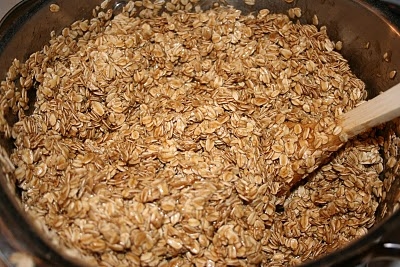
and stir it until all the oats are coated, like you do with rice crispy treats

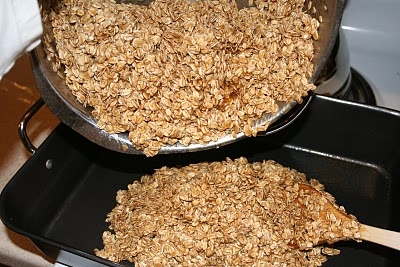
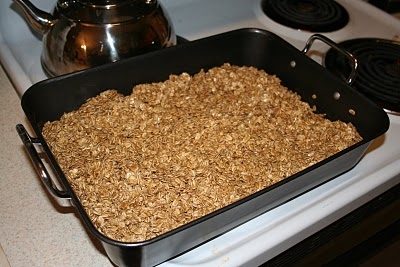
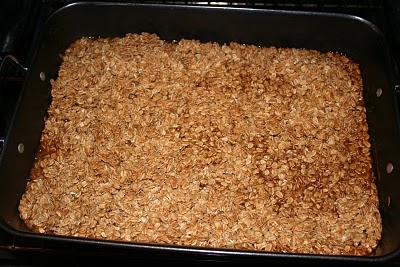
Pour it all into a greased baking pan or cookies sheet with sides

Put it into a 400 degree oven and set the timer for 10 minutes

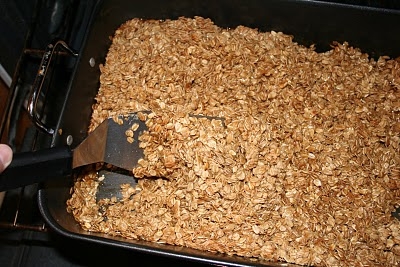
Every ten minutes open the oven, see how it is getting brown?

stir the granola so it will toast evenly

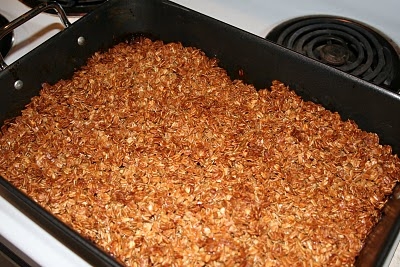
Once it looks like this, you know you are done, it takes between 30 to 40 minuets. You want it to be a even golden brown.

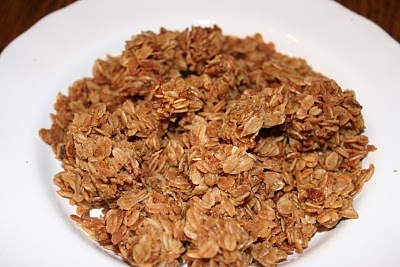
When it is done you take it out of the oven, it will take a few hours to cool all the way. While it is cooling you will need to stir it to keep it sticking too much to the pan. You could also pour it out onto some wax paper to cool. Once it has cooled, I usually let it cool over night, you can store it in plastic zip-locks or a tupperware canister. It will keep a couple of weeks, but it is usually eaten way before that.

Once it has cooled you can add fun things. Rasins, nuts, sunflower seeds, chocolate chips. You can also experiment with the ingredients a little, try diffrent amounts of spices, or diffrent spices. Experiment with the amount of sugar you add, or use honey instead of brown sugar. Once you get the basics down you can taylor this recipe to the tastes of your family.

Enjoy!

Soup Recipe

Ok ya’ll I have had a request for my soup recipe….so here goes!!!

Potato Soup

6 potatoes peeled and cubed (I don’t bother peeling them)
1 onion chopped
2 carrots, peeled and sliced
2 celery stalks chopped
5 cubes bullion
4 cups water
1 Tbsp dried parsley
salt and pepper to taste
1 13 oz can evaporated fat free milk (sometime I use this if I want a creamy soup, but I don’t always add it)

Combine all ingredients except milk in large pan, or slow cooker. Cook until vegetables are soft (3-4 hours in slow cooker, stirring in milk the last hour) stir in milk before serving.

If I have left over meat I will add that. It is really tasty with ham or chicken.