Soup Anyone?

In my continuing effort to train my daughters to be homemakers someday I decided that they needed cooking lessons.

I realized that I do all of the food preparation around my house. Which is OK, however, my girls need to start taking over some of that responsibility. Especially my 8 and 9 year old. They are definitely old enough to help in the kitchen and to be able to prepare some basic meals. I have found too that they really enjoy being with me in the kitchen cooking. We get to spend time together, talk and learn. I have found that once I got over the fact that everything might be a bit slower at first (I can chop a pot of veggies by my self quicker than my two girls can together) I really enjoyed the time with my girls too. I think too that it gives them a sense of accomplishment. When dinner is on the table they have the pride of knowing that they helped.

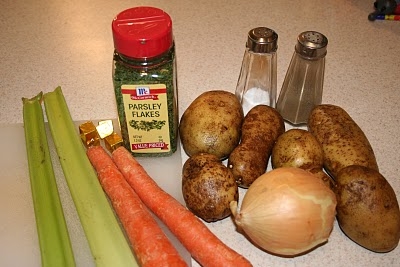
So here is our cast of characters last night.
Very basic stuff.
But easy enough that everybody got to help.
 
 
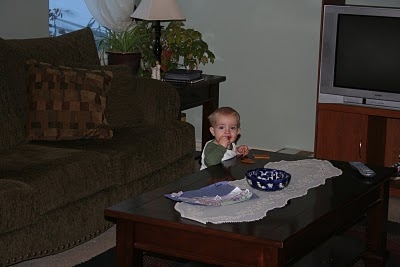
Baby Boy Punk, on finding a kitchen full of women, wisely retreated to the living room to chew on a toy in quiet.
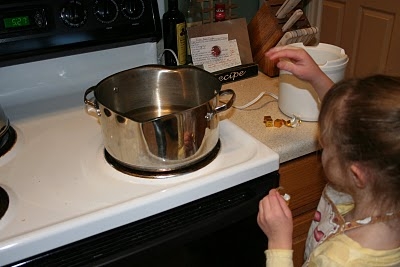
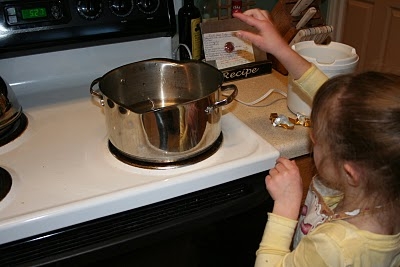
Punk #3 got to put the bullion cubes in the pot of water. 


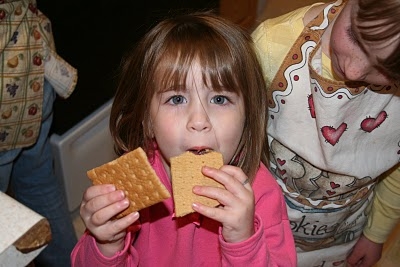
Baby Girl Punk, well, she munched on crackers and felt like she was helping.

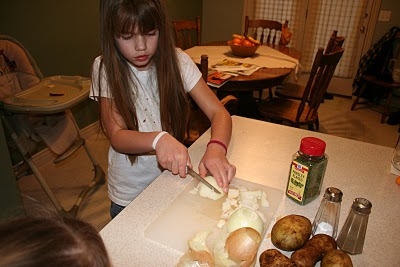
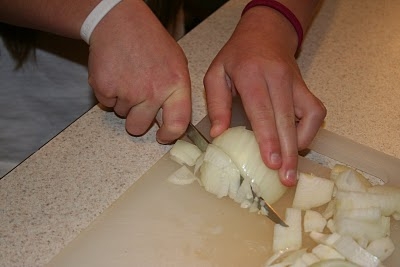
Punk #1 Got to chop the onion. And discovered the fine art of crying over a chopped onion!

Look at how good she is doing. I had been married about 5 years before I mastered the art of a well chopped onion, and she is doing it at 9!

Punk #2 peeled and chopped the carrots. She had a great time plopping them in the pot of boiling water with out splashing!
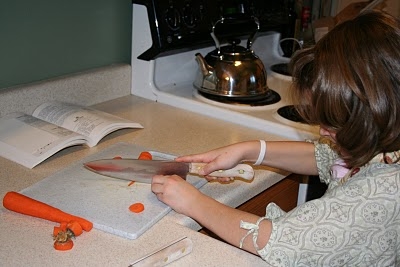

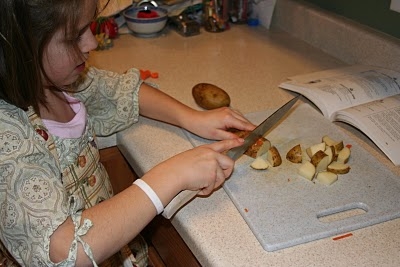
Here Punk #2 is chopping the potatoes. I as a general rule do not peel potatoes. I don’t like taking the time, and the peel is the most nutritious part of the whole potato! I don’t even peel them for mashed potatoes, unless I am wanting to be fancy.

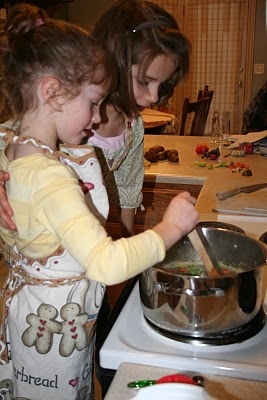
And, last, but not least. Punk #3 stirring the soup, she also got to add all the spices.

Now, the kids wanted me to take a picture of the soup cooking, but the steam kept fogging up the lens, so you will just have to take my word for it when I say that it looked really, really yummy. Especially on a freezing cold day like it was yesterday. They were all very excited to tell Dad that they helped make soup!

 

Bread Recipe

As requested, here is my bread recipe. I have made this with all whole wheat flour, it is a really heavy bread, I prefer it half and half. I have also learned that when using whole wheat flour you can’t neglect the kneading, you need to work with it until the dough is smooth or the gluten won’t develop properly.


Half and Half Wheat Bread

2 ½ cup warm (115 degree) water
1 Tbsp active dry yeast
¼ cup honey
3 Cup whole wheat flour
1 Tbsp salt
¼ cup butter
3-4 cups white flour

1-pour water into small mixing bowl
2-Sprinkle in yeast and add honey. Let yeast dissolve without stirring. Yeast will form a tan coating over the water in 5 to 10 minutes. Don’t let it stand so long it becomes light and foamy; it will lose its life.
3-While yeast is dissolving, sift together 3 cups whole wheat flour and salt in to large mixing bowl (I use my mixer) Add butter to flour and salt and cut in.
4-Add yeast mixture to four mixture. Beat well to make a sponge. Cover with plastic wrap or damp towel and let stand 10- 15 minutes.
5-Gradually add white flour to the sponge, never exceeding the lower measurement of 3 cups, adding only enough to make soft dough.
5-Turn onto well floured surface and knead 8-10 minutes, adding flour only as necessary to prevent sticking.
6-Return dough to bowl and cover with plastic wrap or damp towel. Let rise one hour in warm place or until double in bulk.
8-Punch down and divide into 2 portions
9-Shape in to loaves and put in greased loaf pans. Let rise.
10-For superior texture, punch down, reform loaves and let rise a second time.
11-When dough is almost double in bulk bake 30 minutes at 400 degrees, or until done.
12-Remove from pans and let cool on wire rack.

This also makes wonderful light white bread, just use white flour throughout the recipe.

Baking of Bread

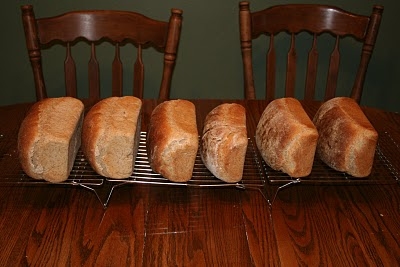
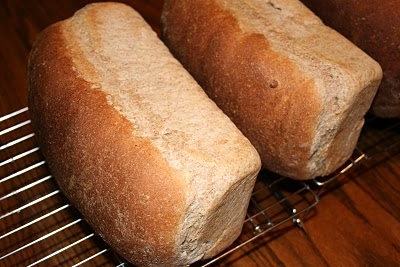
Around September of this year I started to bake bread. I bake all of our bread, mostly. Over the Christmas Holiday I didn’t have two seconds to devote to baking. My extra time was spend washing clothes, dishes and babies bottoms. Today was the first day back to school for my older punks so I had some time to get back in to the swing of things. I did a big baking of bread. I baked 6 loaves of wheat bread. I figure when I bake it myself it costs about a dollar a loaf. For good whole wheat bread, that is a great price.
 
Usually I bake on Mondays and Tuesdays. I didn’t it today because I only had a half a loaf in my bread box, and I didn’t want to go out today to buy bread.

I love the satisfaction of baking my own bread.


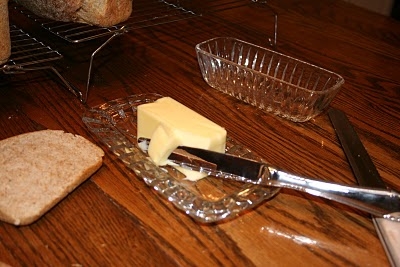
And a steaming hot loaf of bread it only complete with a stick of soft butter.


OH YUM!!!


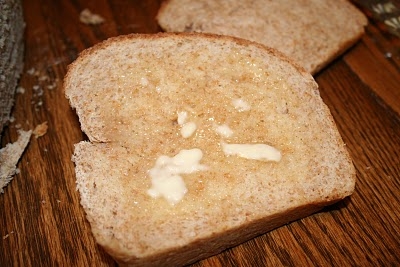
Yummy, Yum, Yum!!
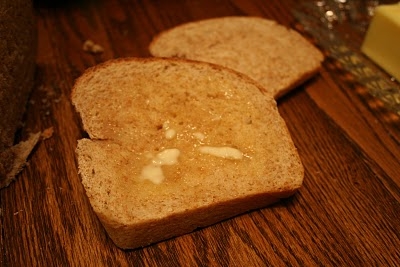
Yummy melting butter

And I wonder why I have weight issues….


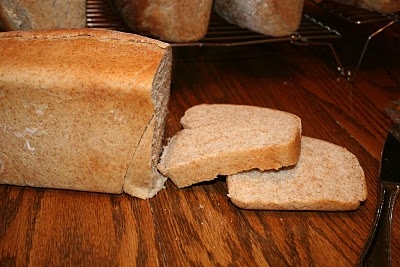
But most of all, I love slicing into a piping hot loaf, fresh out of the oven. You can’t see it in this picture, but there is actually steam coming from this loaf.

The Great Experiment

I have been reading about nutrition.
About all the things I am doing wrong, and all the things I should be feeding my kids.
Sigh…
There was a big section about sprouts and how good they are for you.
I was at my local health food store and saw sprouting trays and thought I would give it a try.
It is tons cheaper than buying them at the store.
Also, they are great for food storage, it is a good way, in the winter time, to have very fresh produce.
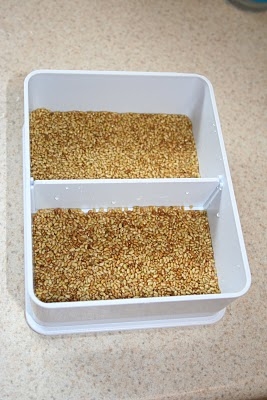
First I soaked 4 tsp of alfalfa seeds over night.

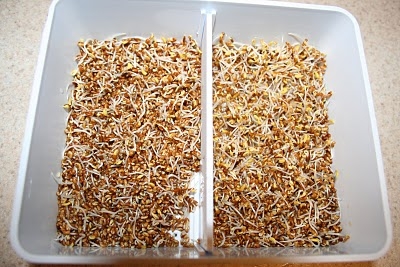
Then I spread them in the tray, put the top on and set them in my pantry.
I rinsed them once that night before bed.
This is how they looked in the morning.
I rinsed them and set them back on the shelf.
I rinsed them another time that night.
(so twice, morning and night)

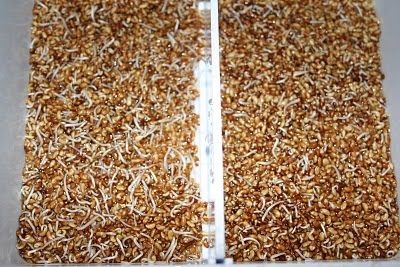
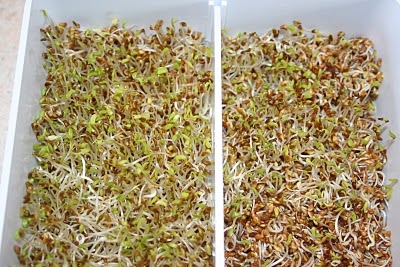
This is how they looked the next morning.
Day 3


This is the end product, Day 5!
Arent’ they perdy!
They will keep in the fridge for about 4 days, with daily rinsing.

Now the true experiment is if I can get my family to eat them…
hmmm…
I will let you know!

Cinnamon Knot Buns

There has been a request to give out my cinnamon bun recipe, so here is it!

Cinnamon Knot Buns
2 cups milk scalded
2 Tbsp active dry yeast
½ cup warm water (120 degrees)
¼ tsp sugar
½ cup butter
¼ cup sugar
2 eggs, well beaten
5-6 cup all-purpose flour

For Dipping:
1 ¼ cup sugar
3 Tbsp cinnamon
1 cup butter

1. In a large saucepan scald milk.
2. In a small bowl, set yeast to dissolve in warm water with ¼ tsp sugar
3. In a small mixer bowl, beat eggs well
4. Stir butter, salt and sugar in to hot milk and place in cold water in the sink to cool
5. To mixture n sauce pan add beaten eggs, dissolved yeast and 2 cups flour. Beat well with slotted spoon
6. Cover with plastic wrap and let rise about 30 minutes in sauce pan
7. Add enough flour (about 3-4 cups) to make a soft dough, beating with slotted spoon (I do this in my mixer). Turn on to floured surface and knead 5 minuets.
8. Cover with plastic wrap and let rise about 1 hour.
9. In a small mixing bowl combine sugar and cinnamon for dipping
10. Melt butter
11. Grease muffin tins
12. Roll out dough in to a long rectangle. With a pizza cutter cut 24 strips.
13. Dip each strip in melted butter, then the sugar/cinnamon mixture
14. Tie each strip loosely in overhand knot, as if you are starting to tie your show, and place in muffin tin
15. Let rise 30 minuets and bake 10-15 minutes at 375 or until golden brown. Remove from tins while still warm so they won’t stick.

Variation: This recipe also makes delicious dinner rolls, eliminate the sugar and cinnamon and simply dip the strips in melted butter, tie the knot and bake.