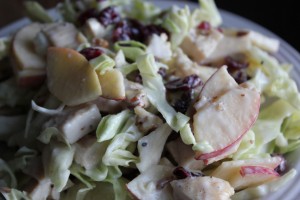
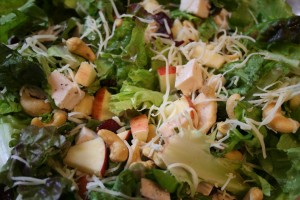
Vinaigrette Salad

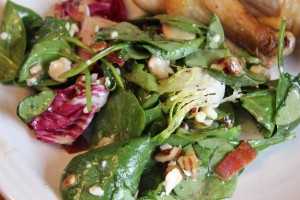
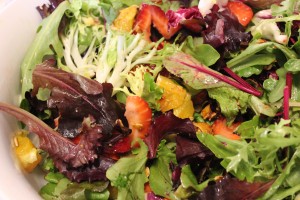
This salad is a lot like other salad recipes I have posted.  I love a good vinaigrette salad and I am always looking for different combinations of ingredients.  In this salad I especially loved the combination of bacon and feta cheese, very good!  I really liked this salad, Dadzoo liked this salad and about half of my little punks liked this salad (my children with the more mature palates).  It is defiantly a keeper!

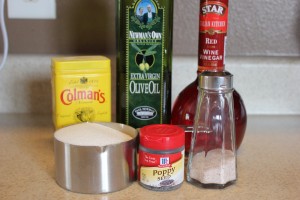
Starting with the dressing we are going to need:

1 cup sugar
1 tsp salt
1 tsp dry mustard
1/2 cup red wine vinegar
1/2 olive oil (use the good stuff!)
1 tsp poppy seeds

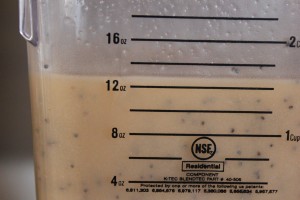
Throw it all in a blender and mix well


For the body of the salad we will need:

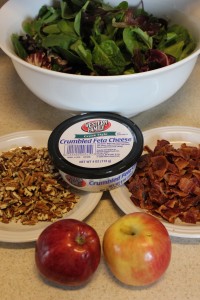
2-3 Romain hearts shredded
(I was lazy and used a spring mix)
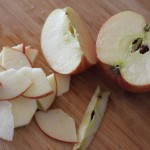
1-2 apples, chopped
1 pkg bacon, cooked and crumbled
1 pkg walnuts or pecans, chopped
1 pkg feta cheese

Toss all ingredients together with the dressing right before serving and enjoy!

Cabbage Apple Salad

  I am not a huge raw cabbage fan, I don’t like Cole Slaws, and never make them.  However, I thought I would give this salad a try, since cabbage is so good for you and I tend to plant a lot of it in my garden (I do love cooked cabbage).  This turned out really good, and really simple, everyone, with the exception of my pickiest eater like this salad and when it comes to food the majority rules!  This one was  a winner.

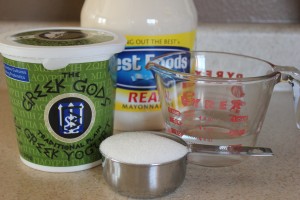
First we will start with the dressing, here are our ingredients:

1/2 cup plain yogurt
1/2 cup mayonnaise
1/4 cup white vinegar
1/2 cup sugar

The method is pretty straight forward, put everything in a bowl and whisk together until smooth, then refrigerate until cool.

While the dressing is cooling it is time to chop the ingredients for the body of the salad.
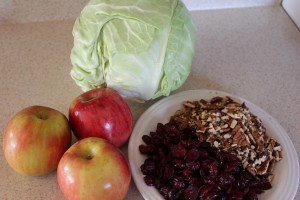
There are only four ingredients:

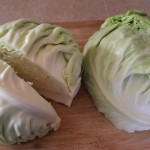
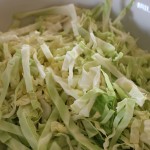
Cabbage
Apples
Craisins
Pecans

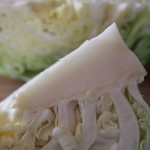
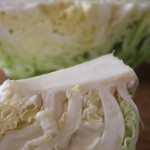
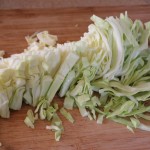
Chopping up a cabbage is pretty simple.  This is how I do it and it only takes a few minutes.  Cut the cabbage into four wedges.  Cut out the core, but not completely, it makes things much easier if the leaves stay attached while chopping.  Then with a sharp knife cut the wedges into small strips.

For this recipe I used about three fourths of the cabbage, the rest I stored in a plastic bag in the fridge.  Cabbage will keep in the fridge for a few months.

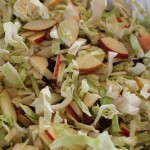
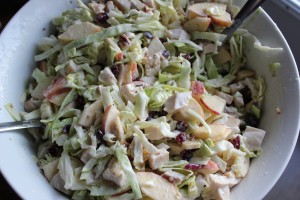
Toss the ingredients together and add the dressing.
Serve cold.

Orange Strawberry Salad

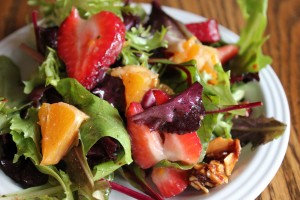
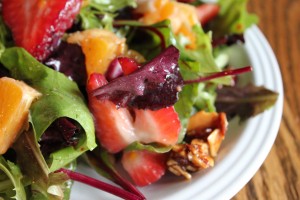
 The first salad in the series is Orange Strawberry Salad.  It is a perfect spring time salad, the colors are amazing and the taste is incredible.  So, without further adieu, we will get started.

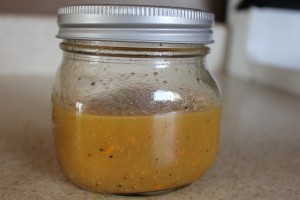
First we are going to make our dressing.
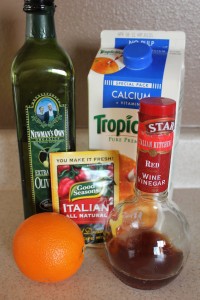
Our ingredients are:

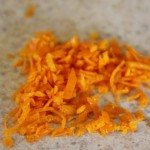
 1/2 tsp, orange zest
1/3 cup orange juice
2 TBSP red wine vinegar
2 TBSP sugar
1/2 olive oil
and
(the secret, surprise ingredient)
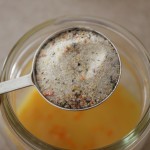
1 TBSP “Good Seasons Dry Italian” dressing mix.

 Mix everything together, and let sit a couple of hours so all the flavors can blend well.

 Now to assemble the body of the salad, there is a little prep work involved, not much, but you will need to plan for it.

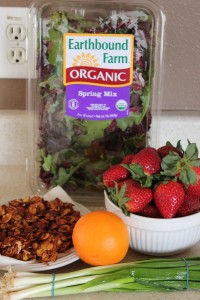
Our ingredient are:

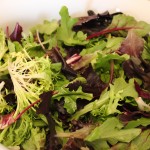
 1 package spring mix greens
1 pint (or more) strawberries, sliced
1 large orange cut into small pieces
3 green onion, sliced thin
1 cup candied almonds
(for a how-to on making candied nuts go here)


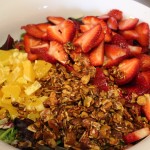
Toss all ingredients together
add dressing right before serving and enjoy!

 This is a really good salad, and so pretty!  The Italian Dressing mixed with orange is a surprisingly wonderful combination.  I am excited to try this salad out on more than just my family.

 (I found this recipe on pinterest a while ago, copied it down and can’t find it on my boards, so I am sorry I can’t credit the original chef)

(and if you are a “pinner” I am going to shamelessly ask that if you like this recipe please “pin it”)

March

Around these parts March has definatly come in like a lion, a big freezing cold, windy, snowy lion!  So as the saying going, hopfully it will going out like a lamb.  March is also the month of salads here on my blog.  In the past I have done “Seven Senstaional Salads”, last year I skipped it due to a crazy month, but this year it is back and I am gearing up for seven more yummy salads to make, photograph and review all for you my loyal reader.  I hope you are as excited as I am!

Here are some salads from years past:

(You can find the recipes by going to the salad section on my side bar)

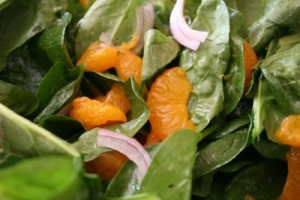
Spinach and Citrus Salad


Salad #2 (because I don't know the name)


Bowtie Pasta Medley


Chicken Broth Part II


 Chicken Broth Part I is
HERE

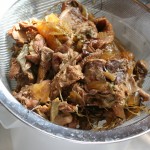
At this point we have already cooked the chicken with vegetables and seasonings.  The chicken has been removed and the meat stripped from the bones, and the bones and skin put back into the pot.  Put the pot back onto the stove and slowly simmer for 48 to 72 hours, adding water when needed.
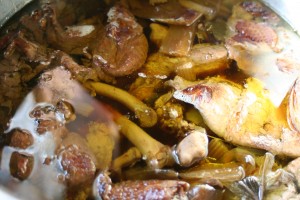


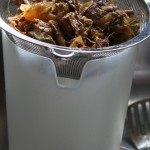
After 48 to 72 hours the bones and skin will have reduced considerably.  I empty the pot, through a fine strainer, into a large pitcher.  I like to press out any liquid remaining in the chicken parts.  The bones are soft and will crush when you put pressure on them, this is good thing, when the bones go soft you know that the minerals have leached out of them and into your broth, making the broth packed full of nutrients.
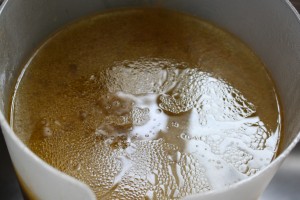
Once you have drained the liquid out of the chicken mush and strained the water, place the pitcher into the refrigerator to cool completely.  This allowes the fat to rise to the top and solidify so it is easier to remove.  We do want some fat in our broth, but not as much as is produced. 
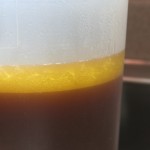
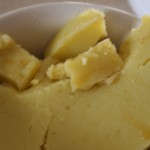
After a few hours you can see the fat as risen and solidified.  Also the broth itself will thicken (depending on the chicken) sometimes the broth will be so solid you can cut it, other times the broth just seems a little thicker.  The is gelatin that has come from the bones gelatin is very good for you, a very digestible form of protein.  Skim all the fat off the top.  If the fat is cold it is very easy to skim, it just breaks off in big lumps.  This fat can be saved for cooking if you would like, potatoes are really good fried in this fat.
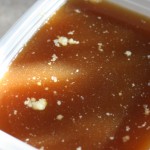
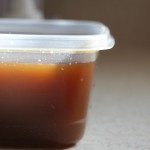
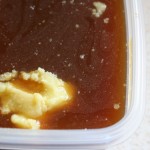
Then pour the broth in to individual containers, in amounts that suit you.  I like to use small, plastic, containers that hold two cups of broth.  Then I add a little lup of fat into each container.  Don’t be afraid of good fats, we need them to adsorb certain vitamins.   
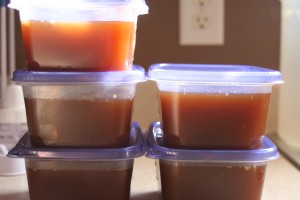
The broth is then stored in the freezer.

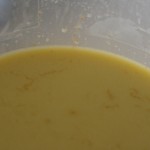
Isn’t it such a beautiful dark brown color, this broth is rich, full of flavor and packed full of nutrients.  It can be added to any recipe that calls for broth, bouillon cubes (which are just chemicals and not good for you) or just water for an added punch of flavor.  Try cooking rice in broth for a wonderful flavor and added nutritional value.  Broth is also good for the sick, whose bodies need the nourishment, but also need something easy to digest.