Chicken Broth Part I


” Why is chicken soup superior to all the things we have, even more than relaxing “Tylenol”?  It is because chicken soup has a natural ingredient which feeds, repairs and calms the mucous lining in the small intestine.  This inner lining is the beginning or ending of the nervous system.  It is easily pulled away from the intestine through too many laxatives, too many food additives…and parasites.  Chicken soup…heal the nerves, improves digestion reduces allergies, relaxes and gives strength.”
Hanna Kroeger Ageless Remedies from Mother’s Kitchen

 Chicken broth is one of the easiest ways to add nutritious foods to our family’ diet.  Chicken broth when cooked slowly over a few days becomes a super food full of vitamins, enzymes and minerals that nourishes the body, and heal disease.  There is a lot of research about the value of chicken broth that is beyond the scope of this post and blog, but if you would like to research more here are a few good articles about the value of chicken broth:  Here, Here, Here and Here.
I like to make chicken broth in a  big batch and freeze it for quick easy meals.  Of coarse I use chicken broth in soups, but I also use it in  mashed potatoes, casseroles, any where liquid is required and I want a little punch of nutrition and flavor.  Chicken broth is easy to make, but does require time to get the full benefits of the chicken, when I do broth it takes at least three days.

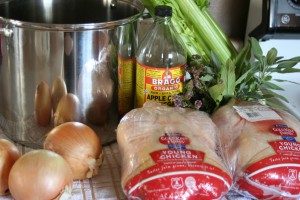
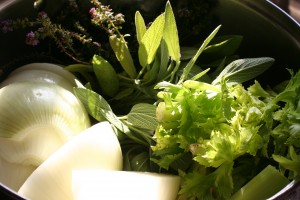
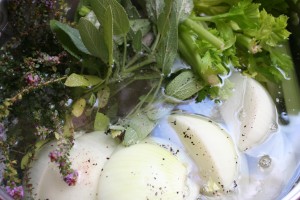
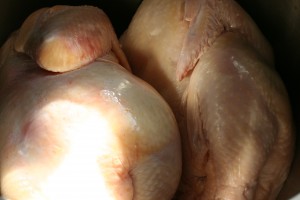
 I start with two chickens and place them with all the pieces (giblets and neck) in a large stock pot.  I add onions, celery, thyme, sage, salt, pepper, garlic and vinegar. I fill the pot with water and bring it to a boil


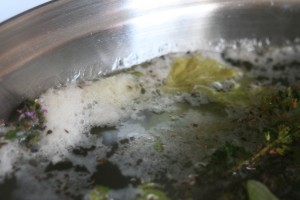
 Once it is boiling hard, reduce the heat so it is lightly simmering and skim the impurities as they rise to the surface.
  You want it to cook very slowly.


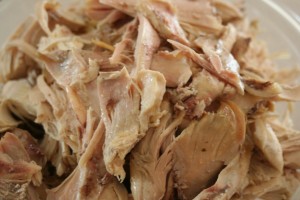
After a couple hours the chicken will be fully cooked.  At this point take the chicken out, let it cool and little and strip the bones of the meat.  I usually make chicken noodle soup on broth making day!  the cooked chicken can be used for other recipes and also freezes well.
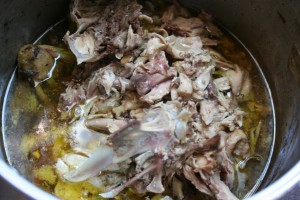
At this point all the bones and skin go back into the pot to simmer slowly for 48 hours…..

(to be continued….)

Apple Pie Filling, in the Freezer


 Autumn is one of my favorite times of the year, I love the colors, the smells and the food.  I even love fall canning season.  I get a great sense of satisfaction when I have rows of pretty bottled food, baskets of potatoes and squash all stored away for the winter.  Apples are one of my favorite foods to process, so many things can be done with apples.  Apples can just be left alone in cold storage for months, if they are just wanted for eating, they can also be made in to apple butter, pie filling, jelly, cider and vinegar.  Every part of an apple can be used for something. 

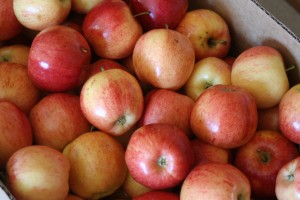
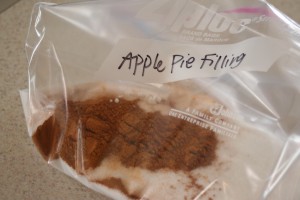
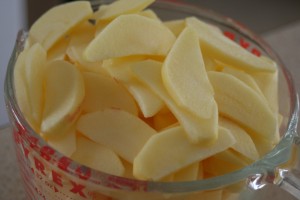
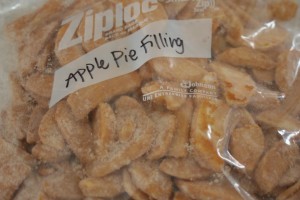
 This year I bought a big box of apples, thinking I was going to bottle them into pie filling and sauce, then I saw this post about Freezer Apple Pie Filling and I was sold!  The thought of throwing everything into a bag and not having to get out the pots and pan to bottle Apple Pie Filling, made me very happy.  (As a side note, I do plan on bottling some of the apples, I like to have food storage that isn’t dependent on electricity).  They great thing about this method is that I can do a bag here or there when I have an extra 30 minutes or so, it is that easy.

I am not going to type the whole recipe here, Julia at Blissfully Content did a great job, you can find the recipe HERE.


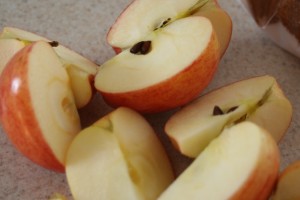
It took me about 30 minutes to put one bag together, peeling and slicing the apples too the majority of the time, and if I had one of those nifty apple-peeler-corer the time would be dramatically less, I would say maybe 10 minutes at the most.

What is your favorite way to use apples?


Beans

My garden, this year, has been a sad little shadow of my past gardens.  The combination of a late, cold, wet spring and me being great with child for the first half of the summer, and nursing a hungry little monkey for the second half has made for a very late, very neglected, very low producing garden. 


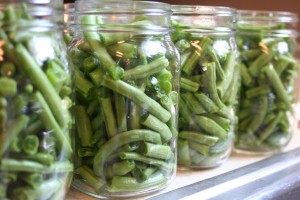
 One item that has done very well, which it should since it is pretty much a no-brainer in gardening circles, are my green beans.  I planted a lot this year hoping that I would have enough to can, which I did.  And, as luck would have it, the all decided to ripen just as Baby Girl was born and when we came home there were pounds of beans that needed picking. And as luck would have it, I have a whole bunch of little fingers that are really good at picking beans, and snapping them.

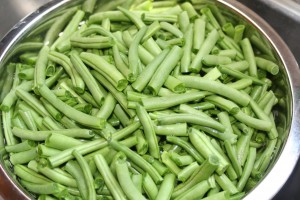
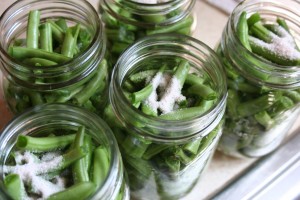
The great thing about canning beans, is that they need little preparation, they aren’t like jellies and jams, they aren’t like tomatoes that need peeling either.   The only thing that needs to be done to the beans to get them ready for canning is a good washing, and snapping them to the size desired.  I then raw packed them in pint sized jars, added a half teaspoon sea salt, and hot water.  I then processed them for 20 minutes at 12 pounds pressure (the pounds of pressure needed is determined by altitude).  Simple and easy. 


I was able to can 24 pints, and the bean bushing are still producing like crazy, there will be many jars of beans on the shelves at our house to feed us all winter long!

Kefir

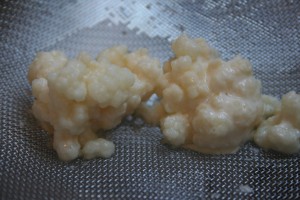
For everyone who guessed and wondered what this is:

Kefir Grains

I will keep you from your suspense….
it is Kefir grains!
(good job Tiff)

A neighbor generously gave me some of her extras and I am so excited to start making Kefir using my own grains.  I have been making Kefir for years now using freeze dried starter, but it doesn’t grow grains, and only lasts for about 7 batches.  However with Kefir grains I can use them forever as long as they are taken care of.

You may wonder what Kefir is.  Kefir is a yogurt like cultured dairy (or other liquid) product.  I say yogurt like, because it isn’t yogurt, it is thinner and a little tangier, it will even produce bubbles if cultured a certain way.  It is like yogurt, in that it is full of wonderful pro-biotics, like yogurt, in fact the “grains” are the colonies of pro-biotic producing bacteria.

For more information you can go here, and read all about Kefir.