Butter in a Blender

We drink raw milk that comes from happy cows who eat fresh green grass all day long.  Because our milk is raw, meaning it isn’t pasturised or homoginized, we get a nice thick layer of cream that rises to the top of the milk.  This time of year especially the cream is thick and there is a lot, being that the cows have all calved and they are eating fast growing green grass, the milk is full of vitamins A and D and the taste is wonderful.  I like to make butter with the cream, being that raw butter is actually nutritious with the combination of natural occuring fat soluable vitamins and the fat that is butter.  The quickest way, I have found to make butter is with my blender, it only take a few minutes and very little work.  I do have an old fashioned butter churn which I have used, but it takes a while to get butter from all the churning.

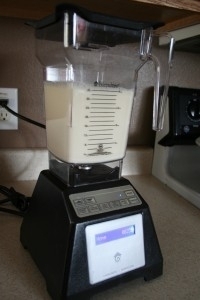
First I let my jars of cream sit out for a few hours, to bring them to room temprature.  It makes the cream whip up faster, and while this step isn’t neccisary, it cut the churning time in about half.  Then I add it to my hand dandy Blendtec blender (one of my favorite kitchen purchases).

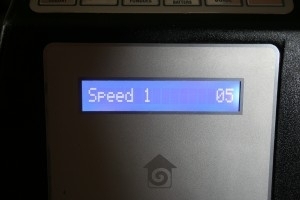
I set the spead to “1” and just let it blend, it will go for about a minute then shut off, then I check it, and start it over if I need to.  There have been times that I have only had do this twice, but other times (when the cream is cold) it takes several cycles.

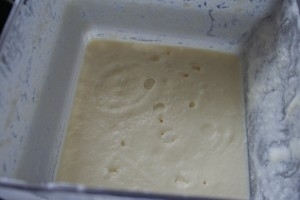
After a couple cycles, it turns into whipped cream

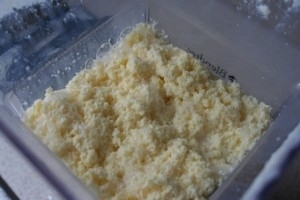
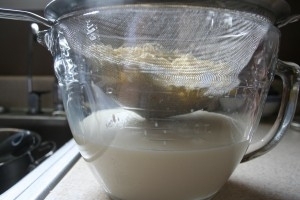
One more cycle and I have butter, it is floating in buttermilk.

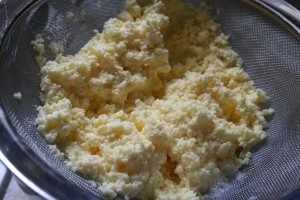
I then strain it, getting most of the buttermilk to save later for recipes

The buttermilk is stored in a jar in the refridgerator for a couple of days, so it can clabber and it takes on the tangy taste that we all know as buttermilk.  Since my butter is sweet cream butter, the buttermilk that comes off of it tastes like skim milk.  For more information on cultured buttermilk and sweet cream buttermilk, go “here“.
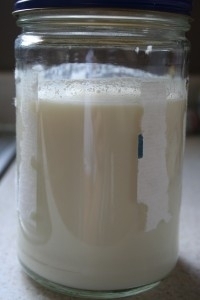
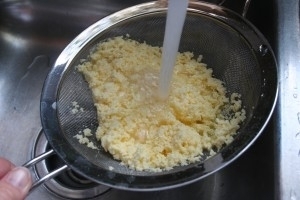
I then rinse the butter very, very well in cold water.  This takes a little while, you need to get all the buttermilk out of the butter, the old buttmilk will make the butter go bad, but butter that is cleaned well lasts a long time.  I usually rinse, then let it sit, stir and rinse again and let sit again, this takes maybe an hour, but it isn’t that time consuming, as I stir then let sit while I do other things.

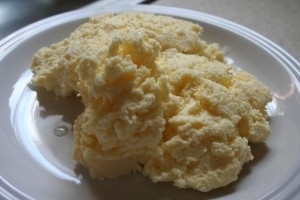
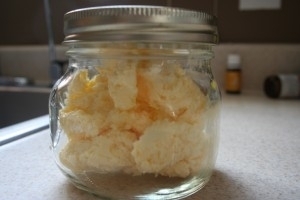
There you have it, grass fed raw butter, beautiful and yellow.  That yellow color comes from vitamin A, that the cows get from fresh greeen grass.  Comercial butter that comes from corn and soy fed cows is white, and yellow coloring is added.  This beautiful color comes from healthy cows eating what cows were ment to eat.  The butter is then packed away in jars and stored in either the fridge of freezer to be enjoyed on potates, veggies or hot bread.

Real Wild Sourdough Bread

(I originally posted this November 2009, I have since lost my sourdough start, but I am planning on starting another really soon)
“But how do you make the sourdough?” Mrs. Boast asked.
“You start it,” said Ma, “by putting some flour and warm water in a jar and letting it stand until it sours.”
“Then when you use it, always leave a little,” said Laura, “and put in the scraps of biscuit dough, like this, and more warm water,” Laura put in the warm water, “and cover it,” she put the clean cloth and the plate on the jar, ” and just set it in a warm place,” she set it in its place on the shelf by the stove. “And it’s always ready to use, whenever you want it.”
 Laura Ingalls Wilder By the Shore of SilverLake
For Christmas I got the book Nourishing Traditions and it quickly became a favorite of mine. I learned about making real sourdough bread from wild, local yeasts. I had been wanting to try it for a while, and finally got around to doing it.

The simplicity of it all amazed me, I had made sourdough starts before with sugars and yeasts and such. This sourdough consists of flour and water. Yes, only flour and water, no sugars and no commercial yeasts.

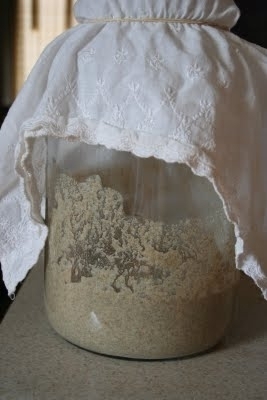
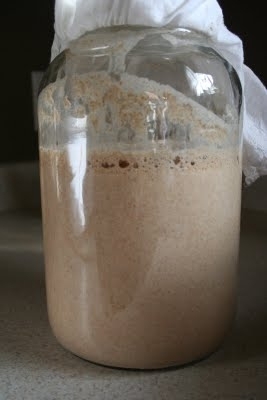
I started with 2 cups of freshly ground rye flour and two cups warm water. I stirred it all together and placed it in a gallon jar and cover the top with a light cloth. The cloth is very important, it allows the natural yeasts in the air to collect and feed on the flour while keeping bugs and flies out.

Each day after that I added a cup of rye flour and a cup of water.


I also put the start into a clean jar each day.


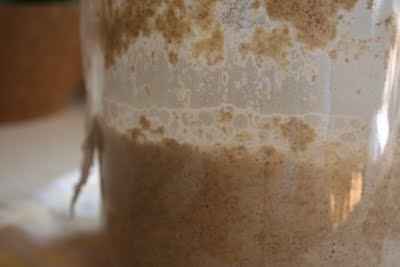
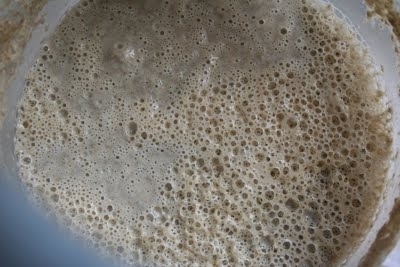
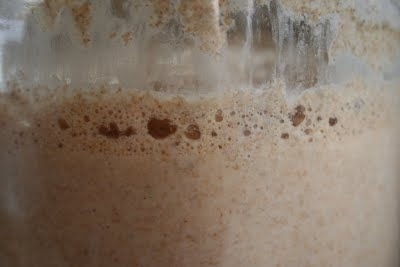
After only a few days it started to bubble and smelled like sweet yeast.
After a week the start is ready
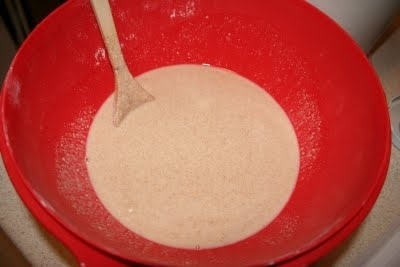
To make the bread I added a quart of starter, a little salt some wheat flour and water.
Approximately
2 cups white flour
5 cups whole wheat flour
1 1/4 tsp salt
3/4 cups water
to a
quart of sourdough start
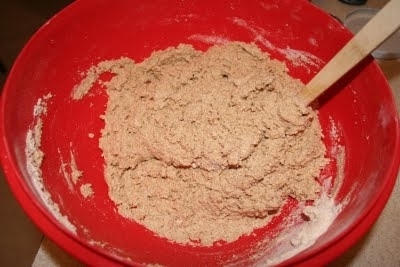
Once it formed a soft dough I kneeded it until it was smooth and elastic.
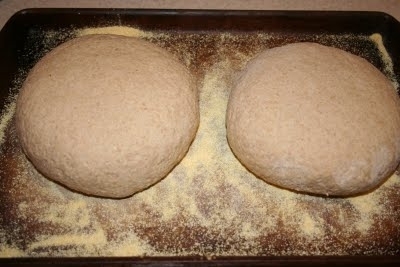
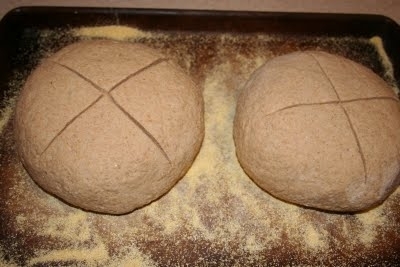
I formed it into two loaves and cut slits in the top, covered and let them raise overnight or about 12 hours. Wild yeast bread takes longer to raise than commercial yeasts.
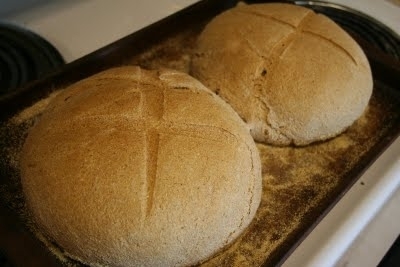
In the morning I baked the bread for an hour at 350 degrees
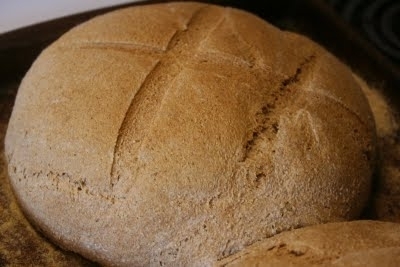
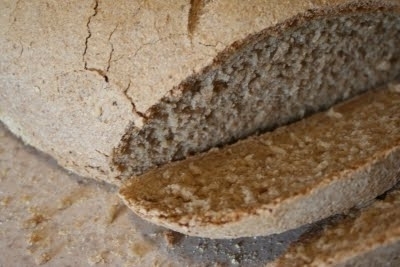
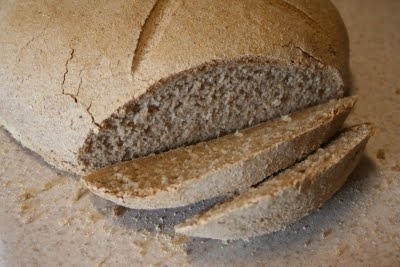
It made a nice crusty loaf of sourdough, the inside was chewy and made a wonderful accompaniment to hot soup that night.

Bowtie Pasta Medley

(I originally posted this recipe April 2009, it is by far my favorite salad recipe I make it all the time!)

The first salad in my series is a wonderful, filling pasta salad. I got this recipe from my Mom who got it from a friend of hers. I tasted it in February at a farewell party for my little brother, and I knew that I just had to get this recipe.

I has all sorts of random ingredients that come together into a most wonderful salad that is even good the next day.

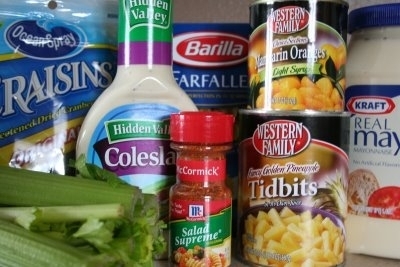
Here are our cast of characters:

One box bow tie pasta
1 cup mayo
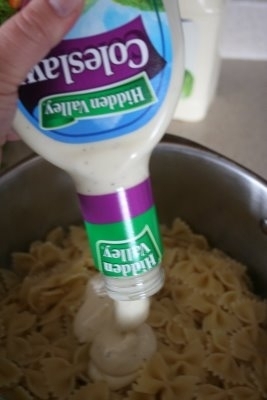
1 bottle Hidden Valley Coleslaw dressing
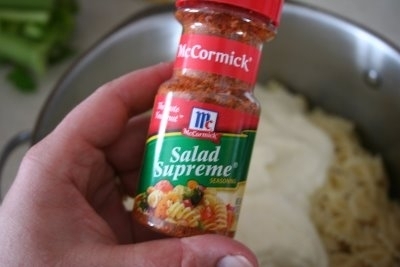
Salad Supreme
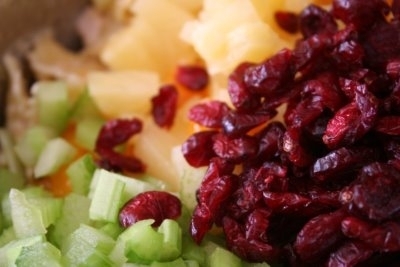
1 cup crasins
3 stalks celery
1 can Mandarin Oranges
1 can Pineapple Tidbits
two chicken breasts, cooked
and
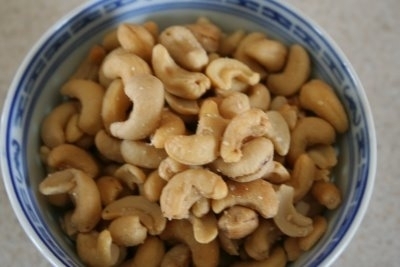
I cup Cashews (yummy!)
Cashews are so wonderful I thought they deserved their own picture, they really make this salad special!


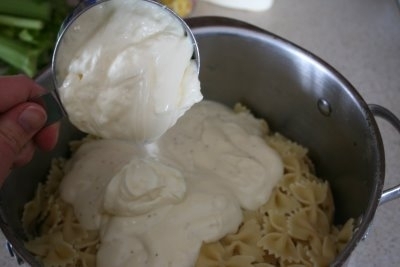
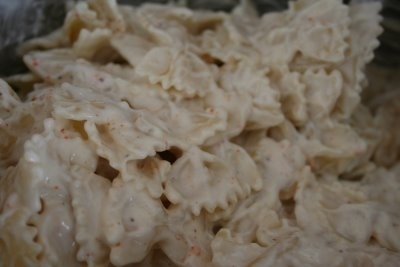
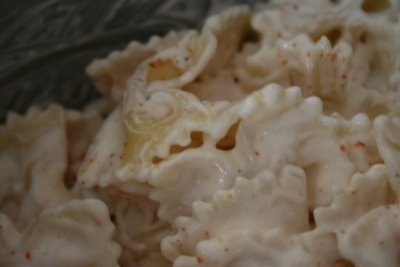
To your warm cooked pasta, add the bottle (yes the whole thing) and a cup of mayo.

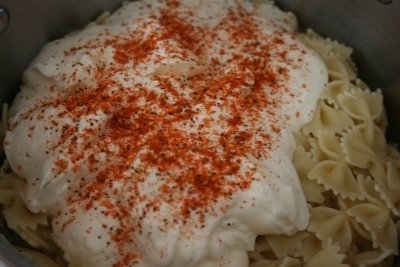
Sprinkle a liberal amount of Salad Supreme seasoning on the dressings, put as much or as little as you like.


Mix it all up
(try not to eat it all at this point, but a bow tie or two won’t hurt….)

Put it in the refrigerator for several hours, the dressing will soak up into the past and cool everything down. This salad is meant to be eaten cold.

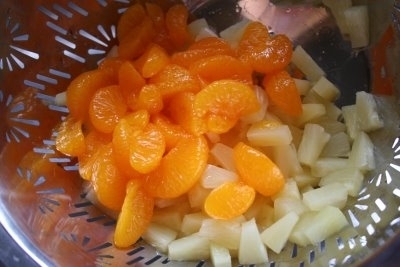
About an hour before serving, drain the pineapple and oranges. Put them in a colander and let them sit there for a little bit so all the juice will drain off.

While draining the fruit chop the chicken and celery.
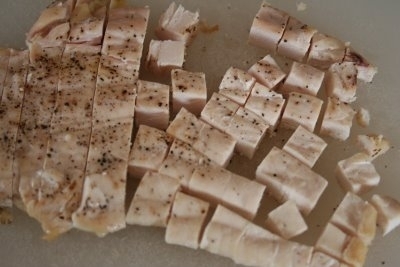
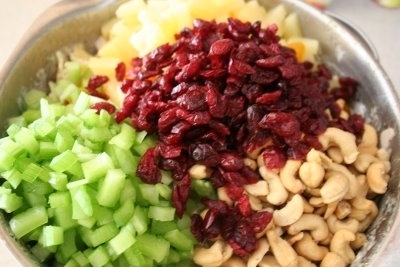
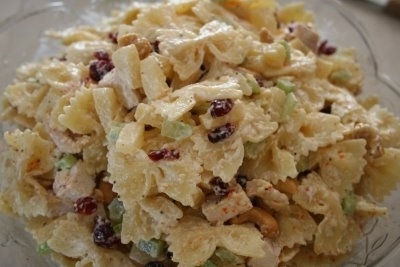
Right before serving add all ingredients and toss.


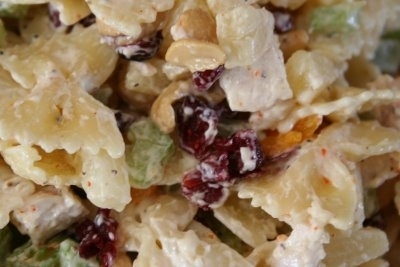
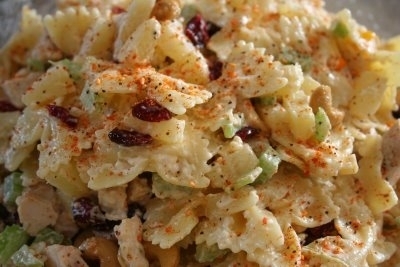
Sprinkle a little Salad Supreme on top and enjoy!
This recipe makes a big huge bowl. The family ate it for dinner and later with lunches, it is even better the second (or third) day.
Yummy!

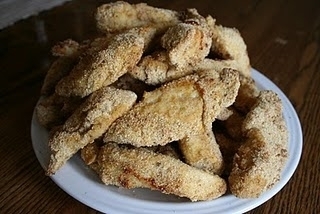
Chicken Nuggets…..Method or Madness?

I was asked to share my recipe and method for making chicken nuggets.

I have a confession to make,
I am a “fly by the seat of my pants” chicken nugget maker.

I don’t have a formal recipe and my method has just been made up over the years.

I use three basic ingredients:

Chicken Breast
(or tenders, depending on the price)
Bread Crumbs
(seasoned if you like, I just add some salt and pepper)
Eggs

Method:

If I am using chicken breasts, I cut those up to my desired size.  Then I crack a few eggs into a ziplock bag (gallon size) and moosh it up so the egg yolks are broken up and mixed a bit.  Then I add the chicken, seal the bag and shake it up so the chicken is coated.   Then transfer the chicken into another ziplock bag that has bread crumbs added to it, seal and shake.  I then lay the chicken on a cookie sheet and bake at 350 degrees until cooked.

If freezing, wait to bag the chicken until it has completely cooled, I usually put in on a plate in the refrigerator to quicken the process.  When you are ready to eat, just warm it up and enjoy.

Very simple, and much better than the processed chicken parts you buy at the store.