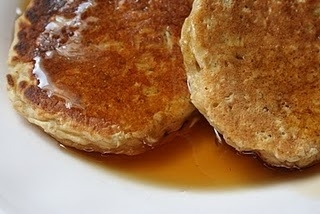
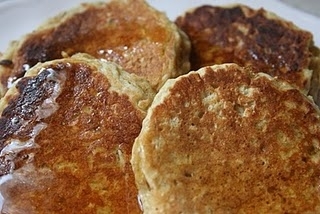
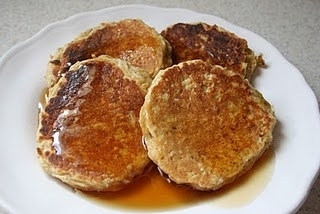
Oatmeal Pancakes

For the last couple of years I have been making breakfast for my family.  I started doing this for a couple of reasons, mainly, because I like the idea of us eating together in the morning, we also read scripture and pray together, also for health reasons.  Even the very best cold cereals pale in comparison to whole wheat pancakes, or old fashioned oats.

One of my family’s favorite breakfasts is Oatmeal Pancakes, it is full of very nutritious ingredients, and the cold leftovers are a wonderful hearty snack.  I thought I would share the recipe with you.
Oatmeal Pancakes
2c. old fashioned oats
2c. Buttermilk
 (I have also used regular milk or yogurt)
2 eggs
2 Tbsp oil
(I use virgin coconut oil, it gives the pancakes a wonderful flavor and is very good for you, check out this link, or this one, for facts on coconut oil)
1/2c whole wheat flour
2 Tbsp sugar, or honey
1 tsp baking powder
1 tsp baking soda
1/2 sea salt
*Combine oatmeal, flour and buttermilk, cover and refrigerate overnight.  This step is very important for two reasons, the first being, grains soaked overnight are easier on digestion and the nutrients found in the grains are made more readily available to our bodies (for more information go here, or here, or here).  The second reason being, that the oatmeal needs to soften so it will be palatable in the cooked pancakes.
*In the morning, add all the other ingredients and fry on the hot griddle until cooked through, serve with pure maple syrup and enjoy!

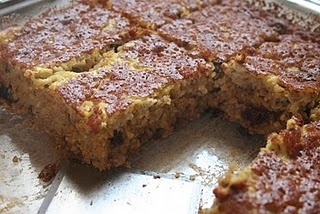
Baked Oatmeal

When I am pregnant, I tend to get really lazy about food, especially at the first.  Mostly because food, all food, makes me want to vomit.  This pregnancy, I thought I had been doing pretty good, I made sure that there was a home cooked meal on the table every night, I still made breakfast and made an effort at eating a good lunch everyday.  My morning sickness has been pretty manageable, mostly staying away until after dinner.  Until, the week before Christmas, and the lovely sickness reared its ugly head!  One night as I was laying in bed, trying not to move an inch, or I would have to make a run for the bathroom, it occurred to me that my nutrition was slipping.  We were starting to eat a little more fast food, a little more pre-packaged foods, I had purchased cereal for the Christmas break and our (my) eating was slowly slipping.  I was tired, I felt lazy and because of that I was cutting corners food wise that were mostly likely exacerbating my morning sickness and low energy.
So,
I cracked open my Nourishing Traditions book and refreshed my mind, and made a new commitment to feed my family and my pregnant body with nutrient dense traditional foods.
This morning I made one of my favorite breakfast recipes, it is so very good and chock full of ingredients that are very good for you.  In fact, there isn’t one “empty” ingredient in the whole dish.  It take a little time to make and bake, so we don’t have it often, but when we do it is always a hit.  The left overs can be kept in the refrigerator and served cold as a quick snack.

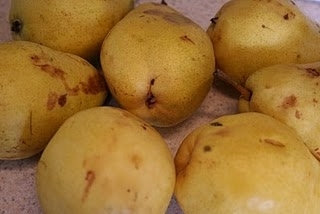
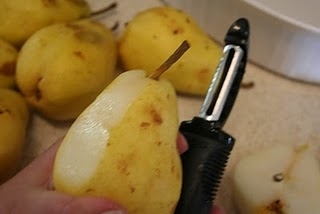
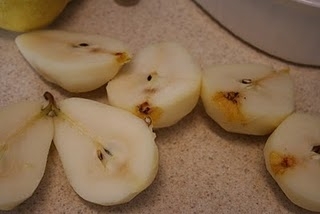
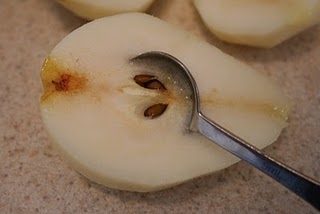
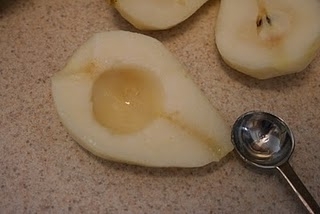
How to Core a Pear

It sees kind of funny to me, that in all the canning I do I have never worked with pears before.  Since I have never canned pears, or watched someone can pears I had to learn how to peel and core a pear.  It was really very simple and I will just let my pictures speak a thousand words for me.

Buttermilk Syrup

here is my Buttermilk Syrup recipe
(although I can’t really call it my own, I got it from my sister, and she got it from her sister-in-law)
anyway…
This syrup is super sweet, super buttery and down right yummy!  It is very simple to make and usually I whip it up while frying pancakes in the morning, however it can be made ahead and kept in the refrigerator.
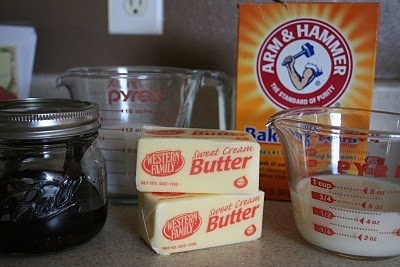
Here are the ingredients:
1 cup Butter
1 cup Sugar
1/2 cup Buttermilk
1 tsp vanilla
1/2 tsp baking soda

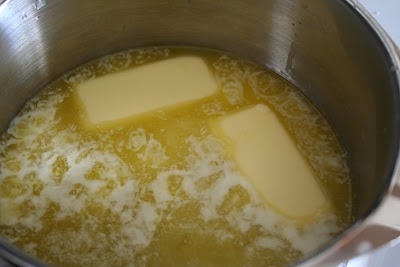
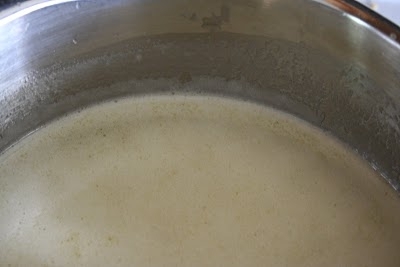
First, melt the butter.

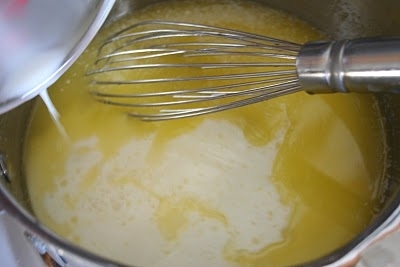
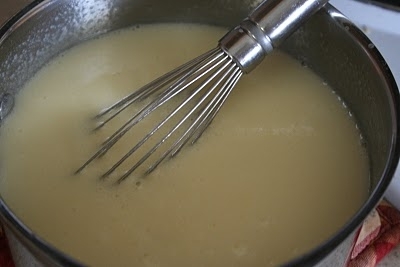
Then add sugar and milk, whisk together and bring to a boil.

It will be creamy and frothy

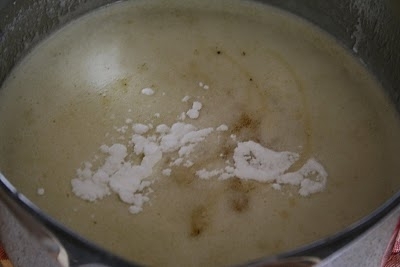
Once the butter mixture is boiling, take it off the heat and add vanilla and baking soda.

The baking soda will make the mixture very foamy and big (for lack of a better word), so make sure you watch it so it won’t bubble over the sides of the pan (using a big pan helps)

Serve nice and hot
(my kids fight over the frothy stuff at the top!)

(isn’t this the cutest jar!  I have an obsession with cute jars)

If you aren’t going to use it right away, or if by some odd chance you have leftovers (really this shouldn’t happen) keep it in the refrigerator.  It will going solid because of all the yummy butter, just heat it up before serving.

Enjoy!

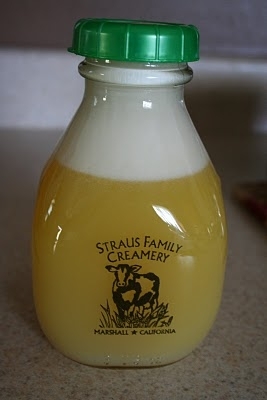
Making Buttermilk

This post, about making buttermilk, is actually a precursor to a wonderful recipe I am going to share latter this week for buttermilk syrup.

Making your own buttermilk at home is simple and inexpensive, and a great beginner step into the wonderful world of cultured milk products.  Buttermilk bought from the store is a cultured product.  It really isn’t the milk leftover from making butter.  Butter now days is usually sweet cream butter, meaning that the cream used to make the butter is fresh, not soured.  In the good old days, women would save their cream for a week or more until they had enough to churn, in the process of saving the cream (in a world where there was no refrigeration) the cream would sour, or culture.  Once the butter was made, the milk that would come off the butter tasted, well, sour and tangy.  Women would use this buttermilk in baking, nothing was every wasted.

Now that we use sweet cream to make butter, buttermilk has to be made from milk that has had cultured added to it, in order to get the soured taste that makes buttermilk.

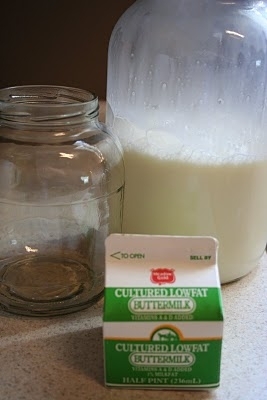
To make buttermilk from home, all you  need is:
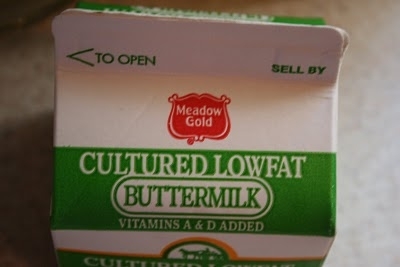
Cultured buttermilk
Milk 
and
a glass jar 
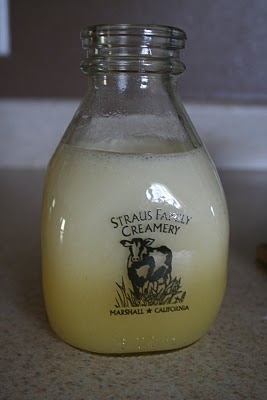
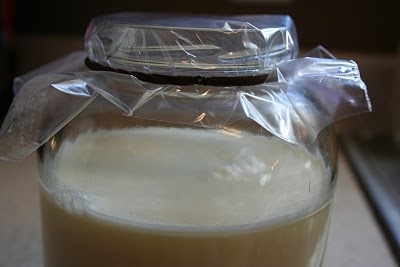
Making the buttermilk is as simple as, adding the store bought buttermilk and milk together in a jar
covering with plastic (so it can breath a little, or you might break the jar as the milk cultures)
 
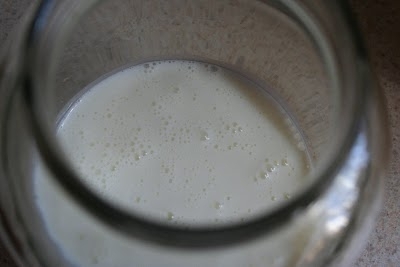
and letting it sit on your counter for a day or so, until it thickens.
Yes, out on the counter, not refrigerated, the milk will not go bad.
This will create a nice thick buttermilk, sometimes it is thick enough to spoon out of the jar. (If this happens, a quick stir will liquefy it again).  At this point store in the refrigerator, it will be good for a couple of weeks.  Make sure you remember to save a little bit to use as a starter for the next batch.  Like yogurt or kiefer, it is the gift that will just keep giving.
 
There you have it, a quart of buttermilk for the price of a half pint and some milk.