Category Archives: recipes
Drying Herbs
Pineapple vinegar….so what is the story?
I wrote a post in June about making Pineapple Vinegar…then I went silent….
Yeah, there was a reason that I never followed up on that.
While the vinegar was in the process of fermenting, and such, we went on a little three day vacation. While I was gone the water level went down, and since I wasn’t there to make sure the pineapple was under liquid all the time, the pineapple rotted. While it is normal and OK for there to be little bits of mold on the top of the water (just scoop it out with a spoon) I wasn’t comfortable with the entire top, and parts if the pineapple being moldy. I threw the whole thing out.
I consider this losing the battle, while I win the war.
I have successfully made pineapple vinegar twice now, and I consider a failure like this to be par for the course. When learning to be self sufficient it is a whole lot of trial and error. Some things turn out, some don’t, and things that may have worked in the past don’t always work every time in the future. It is all about the journey, and finding joy in it.
I did have a couple people want to know what I use this vinegar for. Mainly I use it in salad dressing, really anything that you would normally use vinegar for. I like it drizzled on chard or other cooked greens. It has a little bit different flavor than distilled or apple cider vinegar.
Mainly though, I love knowing how to do it.
Tea Time
Making Vinegar
Vinegar making is very simple. All that is needed is some type of organic matter (usually fruit) sugar, water, air and yeast.
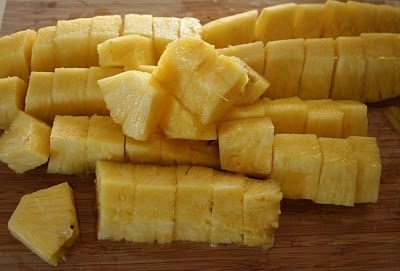 The great thing about making your own vinegar is that you can use then entire plant, instead of throwing away portions of it.
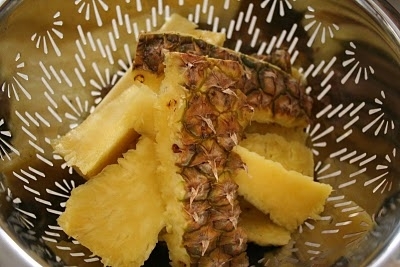
For pineapple vinegar, just slice a pineapple as you normally would, eating the fruit, but saving the peel and core. Give the peel a good rinse in water.

Then some water, and stir it until the sugar dissolves.
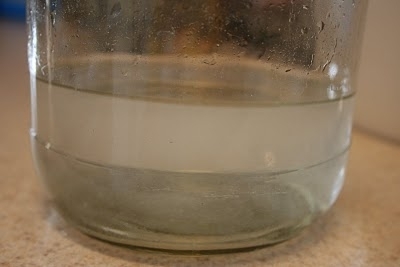
Once the peel is rinsed, cut it up into good sized chunks.
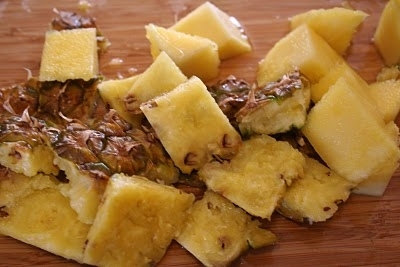
Put it in you jars and add enough water to fill the jar and cover the fruit.
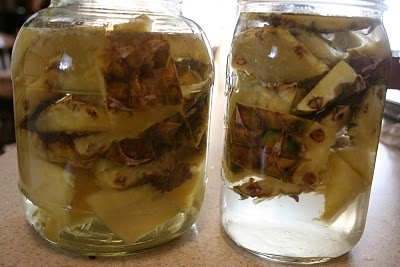
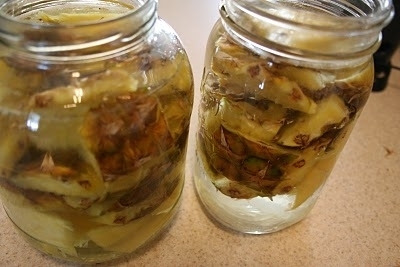
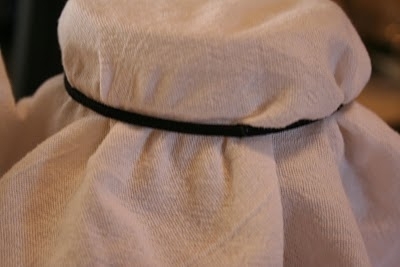
Then cover the jars with a cloth. Air needs to be able to get to the fruit, the natural yeasts in the air will start working on the sugar water and fermentation will start.
 The pictures below are after three days. You can see that the liquid gets cloudy, that is good, it is part of the process. You can also see the bubbles that are forming around the top and inside the jar, that is also good, alcohol is being formed. To make vinegar we need to get past the alcohol to where it turns to vinegar.
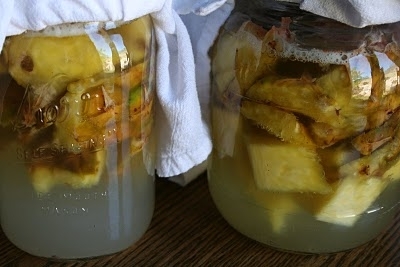
Making vinegar can take several weeks depending on the temperature (it needs to be between 60 and 80 degrees) and how much yeast you have in the air.
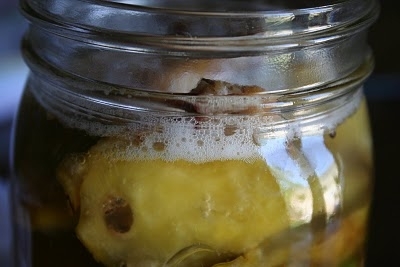
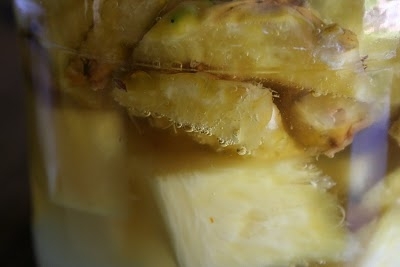 There are also a few other considerations. Sometimes bits of mold will form at the top of the jar, at the water line, just spoon it out, it won’t hurt anything. Also water will need to be added as the days go along to compensate for evaporation.
I will keep you updated as things progress, and we will talk about the “mother” and why having vinegar with the “mother” still intact is a good thing.


