Sleeping Beauties…My Carrots

Last fall, when the weather started to get really cold and the nights were starting to freeze, I had a bed of little carrots, about the size of my little finger. They were too small to harvest and eat. Although I guess they could have been eaten, but I wanted to try something else. I knew that full grown carrots would winter over in the ground and that you can harvest them year around. I wondered if I kept those tiny carrots in the ground if they would start to grow again as soon as it started to warm up, and if I planned everything right I could get three harvests of carrots this year.

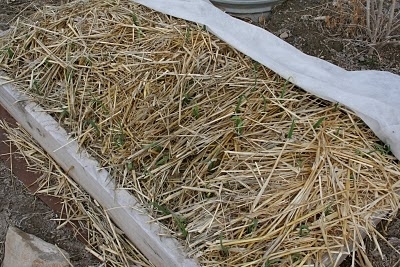
I added about 6 inches of straw to help keep the temperatures consistent. I didn’t want the bed to freeze and thaw all winter long. I also covered the whole things with “floating row cover” to keep the straw in place.

Monday was beautiful, sunny and warm. I decided that it was time to wake up my carrots.

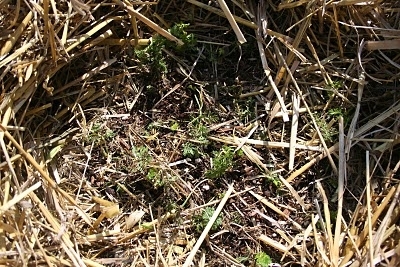
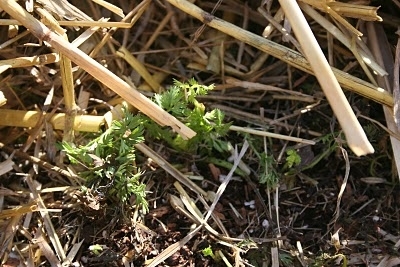
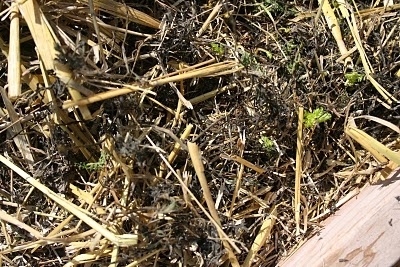
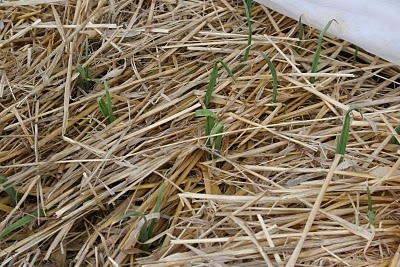
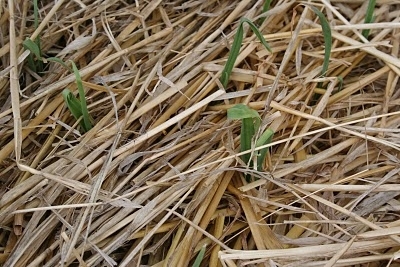
Under the cover, and the straw the first green shoots are coming up.

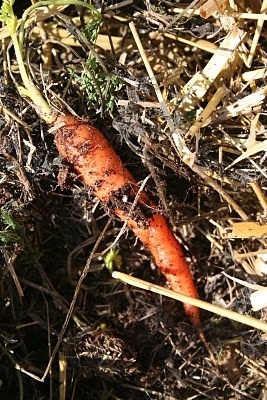
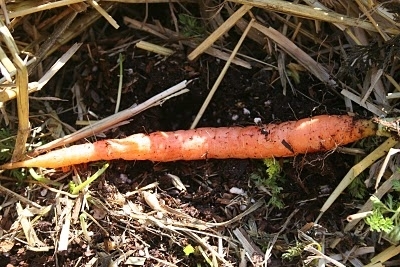
I pulled a couple up, they had gotten a bit bigger, not quite as big as I would like, but in 4 weeks, when it is time to plant the next crop of carrots they will be ready.


The bed was a mix of straw and dead carrot tops, when I was moving all the straw out of the box I found several red worms. That makes me happy, it means the soil is healthy.

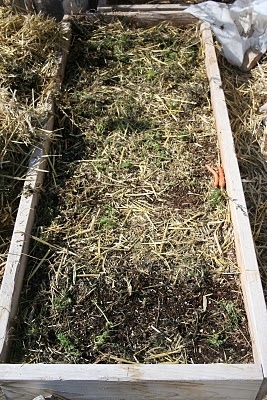
Here is the bed all cleaned out, now the carrots will be able to get to the sun better.


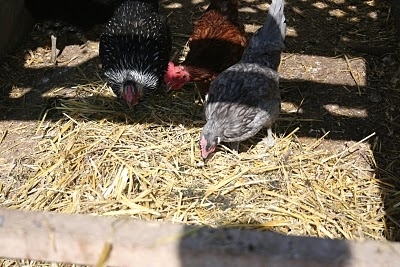
All the straw and dead carrot tops were thrown in with the chickens.

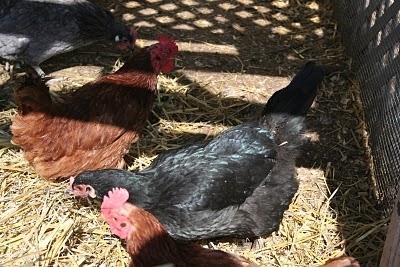
They will scratch through it, pick out bugs and worms and eat the dead tops.

The straw will then mix with the chicken’s droppings, making wonderful fertilizer.

I am really happy with how my little carrot experiment worked out, and I can’t wait to start munching on fresh carrots in the next few weeks!

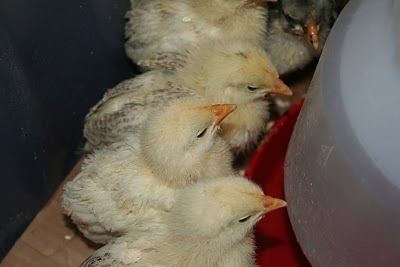
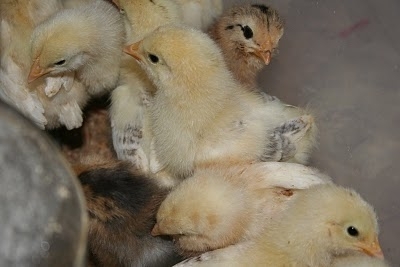
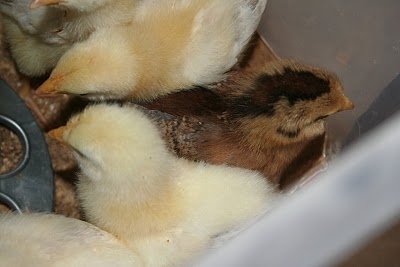
Chicks, Two Weeks Old

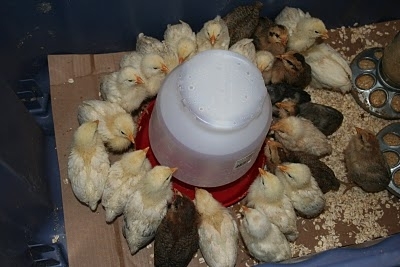
For all of you that wanted updates on my baby chicks, here they are two weeks old.

The adult feathers on their neck and back are starting to come in and they are loosing their cute fluffy chick look and moving into the ugly teenage years! LOL!

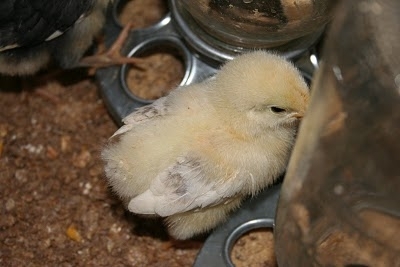
Chicks, a Week Later

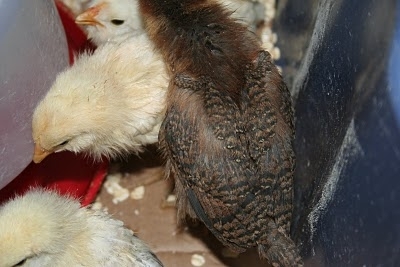
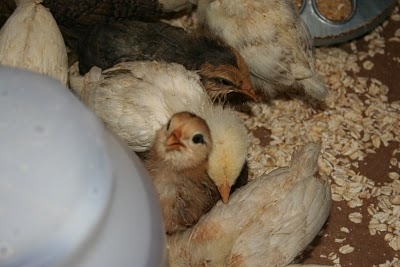
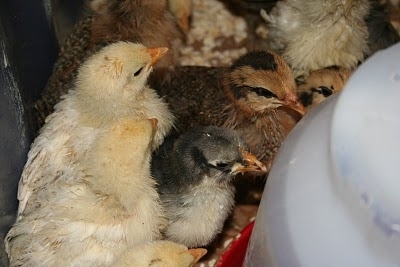
It is amazing to me how fast chicks grow! After only having them one day the little wing feathers were starting to grow in, and a week later not only are the wing feathers in, the tail feathers are starting to grow too.


I have been asked a couple times what breed of chickens did I get. I ordered two different types, Delaware and Araucanian (aka Easter Eggs Chicks).

I got the Araucanian because I love their Green/blue eggs, the make a beautiful addition to my regular brown eggs.


I got the Delawares for a couple reasons: first, they are listed as “Critical” with the American Livestock Breeds Conservancy. Meaning they are a breed that is slowly becoming extinct in favor of commercial breeds. I like to do my part. Second, they lay big brown eggs, I like brown eggs, it makes me feel like a farmer. Third, they are suppose to be quiet, since my chicken aren’t exactly legal, quite is good.

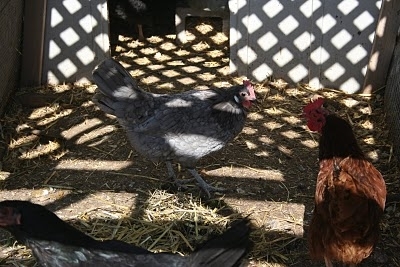
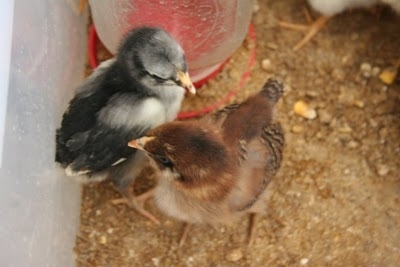
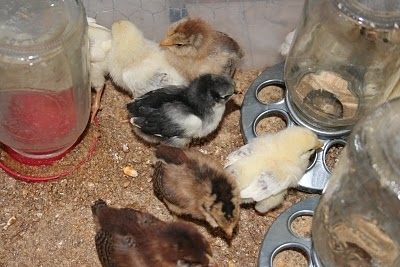
Then I had a “rare and exotic” breed thrown into the bunch, I have no idea what kind it is, that is my little black chick running around.

My little Delies and starting so showing black baring in their wings and tails, while the Araucanian are all sorts of colors.

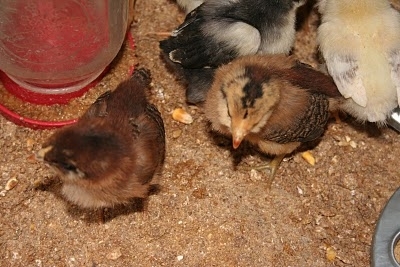
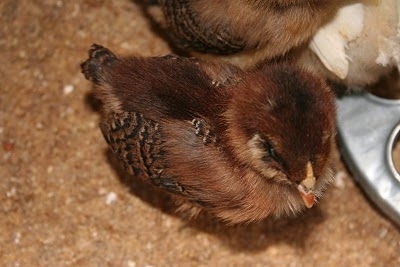
This red/brown lady is a special favorite of ours, she is pretty much guaranteed a place in our little flock.

Everythings comming up GARLIC!?

Remember this post back in October:
Planting? Food?

In it I showed y’all how to plant garlic. Once it started to get really cold I put my garlic patch to bed. I covered the box with about 6 inches of straw and then covered the whole thing with something called “floating row cover”. I then left it to sleep over the winter. Well now that the days have become longer and it is getting warmer I took a little peek at my garlic patch.


And what do ya know, little green spears are pushing up through the straw.

I will leave the row cover off the patch now, but keep the straw for a few more weeks.

The straw and cover isn’t a necessary step in the process, but since they were planted in a raised bed and the temperatures in the winter can get below zero I thought the extra protection would be worth it. I didn’t want those bulbs to freeze solid.


I love this time in February, it is like a little game for me, wandering around the yard looking to little bits of green pushing up here and there after the long winter.

Recycling Eggs?

Recycling eggs?

Really?

….yup.
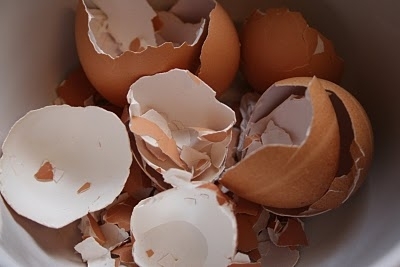
Egg shells are very recyclable (is that a word?).
In fact if you are wanting to adopt a simpler life, reducing the amount of waste you produce, recycling egg shells is a very easy way to start.

Instead of cracking open eggs and tossing them in the garbage or disposal, just set them to the side. When you have time give the eggs a good rinsing and set them on a kitchen towel to dry. Once they are dry I give them a quick spin in my blender. A blender isn’t absolutely necessary, a good crushing with a rolling pin, or meat mallet will work, I just happen to like the shells ground small.

I feed my eggs shell dust to my chickens. They get a lot of kitchen scraps, I just sprinkle the dust on top of those before I take them to the chickens. This helps give them the minerals, especially calcium, that they need for shell formation. It saves me money, otherwise I would have to buy oyster shell from the feed store.

I also sprinkle the egg shell dust in my compost pit. I have put whole shells in my pile and they will break down, it just takes longer, the dust is quick and easy. This will help add minerals to the soil, if you want your broccoli to have calcium in it, it needs to be in the soil. This an easy, cheap and semi organic way to do so.
If you don’t have chickens and aren’t a gardener, sprinkle your eggs shell dust among your decorative plants and bushes, they will be healthier.

There you go, recycled egg shells, what simple ways do you recycle and reuse?

For more kitchen tips visit