Beets

 One fine Saturday I was strolling through the garden,
and I came upon this:
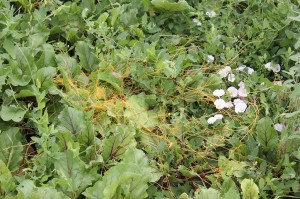
IMG_4601It might be a little hard to see, but looks like lots of thin orange string tangled up among my beets.
But it isn’t string, it is a particularly noxious weed called
Dodder.
And it is bad.
It is a parasitic weeds, it has a little seed that germinates, and then finds a host, once it finds its host the root pulls up and it eats off the host, and it grows like wild fire, and it produces seeds and it spreads like crazy and its hard to get rid of.
Really hard, so hard it will take me a few seasons before I will know if it is completely gone.  So we formulated a plan of attack, and hopefully we will get this critter contained before it takes over my whole garden.  First I harvested the beets, the Dodder doesn’t hurt the beets and they were perfectly fine to eat, but I needed to get them up and put away.  I cut the tops off the beets right there in the garden and left them on the ground.  The Dodder had already started to go to seed and I didn’t want to risk dropping seeds anywhere else.  I then took round-up (sniff, sniff, there goes my organic garden) and sprayed the entire area, all the weeds and other veggies growing around the beets, I needed to make sure I got everything.  This killed off all the host plants, thus killing the Dodder.  Once everything is dead and dry, the area will be cleansed by fire.  Then I will treat the entire area with Preen, a pre-emergent that will kill any seeds that germinate and sprout.  I will do this this season, and next year and the next year, hoping to get all those little dormant Dodder seeds.

Sigh….

Anyway.
In the mean time I got a bumper crop of beets.
They did so well that I think I will plant more next year.

IMG_4600

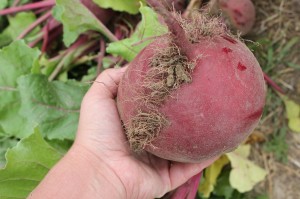
Some of the beets were as big as my hand, and while it is advised that you don’t let beets get this big, they get al little tough, it was sure fun seeing them that huge.
IMG_4672

I decided to bottle the beets this year, I have had little success with root cellaring them in the past and knew canning is fairly risk free.

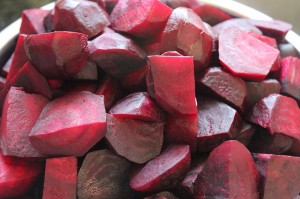
To get the beets ready, I boiled them for about 10  minutes, to loosen the skin, then peeled and diced them up.  It was a lot easier than I thought it would be, and my fingers turned a pretty purple color.

IMG_4673 IMG_4674

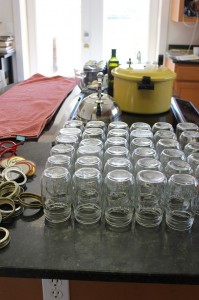
Aren’t they a beautiful purple color all ready for the canner.
I raw packed them in pint jars, I didn’t use any salt and filled the jars with hot water.
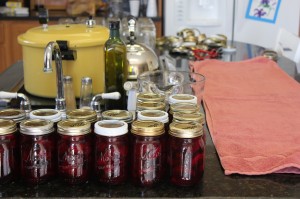
I processed the jars at 12 pounds pressure for 30 minutes. IMG_4684
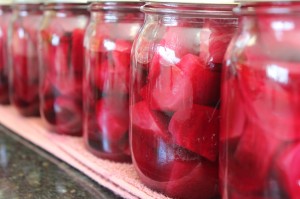
They came out perfect, a beautiful red color, although I wish they would have stayed the dark purple, they sure do add some color to my larder and to our dinner table come winter time.

Fresh Eggs

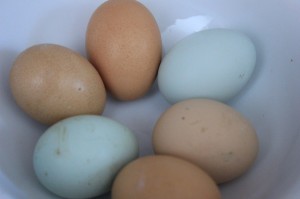
Two days ago Chocolate discovered our first eggs.
They were in some odd places around the coop and as the next day wore on I got to thinking that maybe she should look around the chicken yard and other places the chickens seem to like.

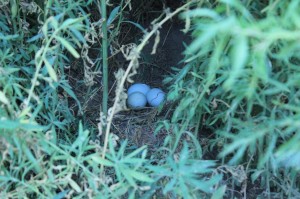
IMG_4777Yesterday in the tall weeks surrounding the chicken yard and garden she found this little nest.  Considering chickens lay only an egg a day, and they rarely lay that much at the first, this sneaky little chicky has been hiding her nest for several days. IMG_4781

It’s so good to have fresh eggs again.

Fun times at Quail Run!

Quilting


My Grandparents recently celebrated their 60th wedding anniversary.
They have 8 children, 32 grandchildren (not counting spouses) and 40 great-grandchildren (with many more on the way).  What a wonderful legacy.

As part of the gifts and festivities they were presented with a quilt.
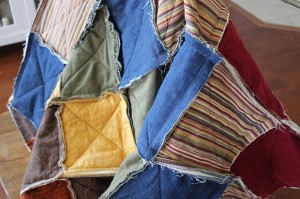
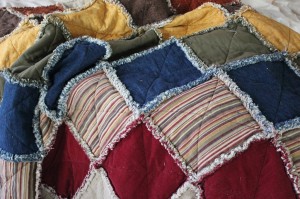
There are 64 squares in eight different colors to represent each child.

I had the privilege of being able to piece the quilt.

IMG_4712

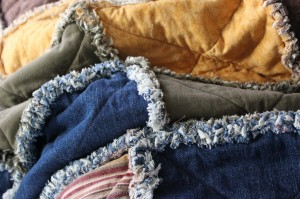
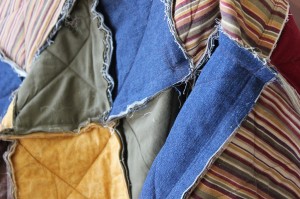
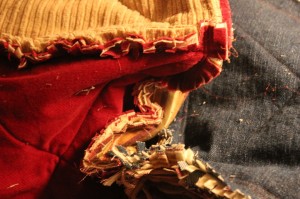
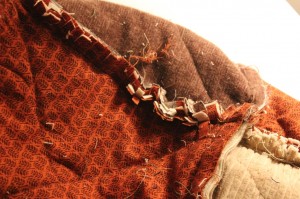
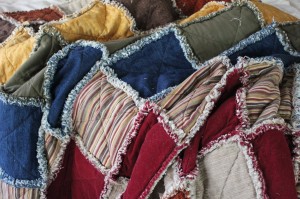
We did a rag style quilt, where the seams were sewn inside out and chenilled. IMG_4694 IMG_4696Each square was first sewn together, with a  layer of thin cotton batting and a square of cotton flannel, then they were pieced together. IMG_4697 IMG_4698 IMG_4700

Once the quilt was pieced, I made tiny little cuts in the exposed seams, that took forever, and made a huge mess on my white couch, I’m still picking up little pieces of thread.  IMG_4702 IMG_4709

Then the whole quilt was washed, twice, and dried in the dryer, twice to fluff out the snipped seams and give it the chenilled look. IMG_4710

As I was making this quilt, I thought a lot about the art of quilting.  It seems like there has been a renewed interest over the last several years.  Women create beautiful works of art using little pieces of fabric sewn very carefully into intricate patterns.  I thought about the origin of quilting, how it really came about by women, being frugal and provident in their homes.  Pieces of worn dresses, blankets, curtains, sheets, shirts all being cut into little patches and pieces, by hand, together to make warm blankets for their families.  I thought of how these women took a chore and made it beautiful, and I thought of how women daily take the mundane tasks around them and create beauty, they make homes, lovely homes filled with creativity, warmth and love.  I thought of how this is the special role of women and homemakers, and how empty our lives would be without it.

Processing Carrots


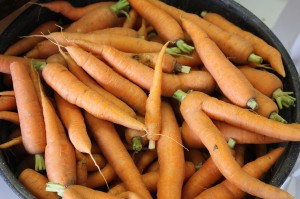
We had a really nice carrot harvest this year,
about 80 pounds.
Our original plan was to store the carrots in the ground, with a thick cover of straw and dig them up as needed.
However.
A friendly little gopher changed our plans.

When we got back from vacation the first of July we found several new gopher mounds around the carrot patch and one smack in the middle of it.
While I appreciate that even little rodents need to eat, I’d not too keen on sharing my hard earned food with them.
They can eat sage brush.

IMG_4568

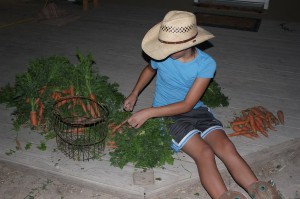
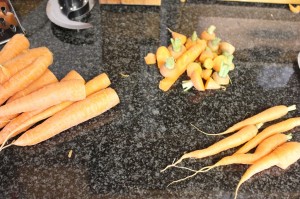
Our carrots were quickly harvested the next day, and the tops cut off to prevent the carrots from going soft. IMG_4576

There are several ways to preserve carrots through the winter.  They are one of the easier vegetable to store. As I mentioned before, they can stay in the ground, with a thick cover of straw or other bedding to prevent freezing.  They can be stored in a root cellar, either buried in damp sand or peat moss.  They can be stored in a cool refrigerator.  They can be dried or canned.

Since my first pick, storing them in the ground, was derailed by pesky gophers I picked drying and canning, I don’t have refrigerator space and didn’t want to deal with barrels and buckets of sand in my cold storage (which really doesn’t keep a very cold temp anyway).

IMG_4577

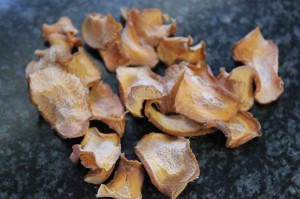
Drying was  the simplest method.
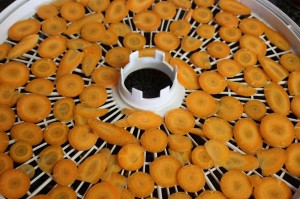
I sliced those pretty Orange carrots in the food processor and laid them out in my dehydrator.
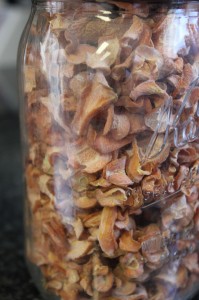
It took about a day for them to become crispy dry. IMG_4578 IMG_4704

They are stored in mason jars in the pantry.
They will be added to soups and stews this winter. IMG_4703 IMG_4579

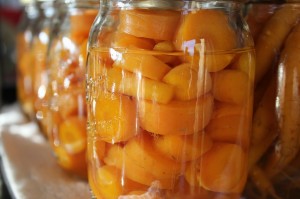
Most of the carrots were canned.
Canning carrots are very easy
(as long as you aren’t scared of using a pressure canner like I was for so many years!)
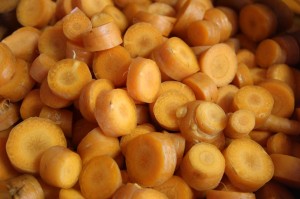
The girls scrubbed the carrots very well and I sliced them into chunks.
We then raw packed them into pint jars, added water (no salt) and processed at 12 pounds pressure for 25 minutes. IMG_4580

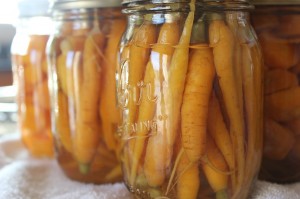
Some of the smaller carrots I saved and canned them whole in the jars.
I thought it looked cute,
everyone needs a little cuteness in life. IMG_4582

So there you have it.
Carrots, stored away for winter.
And if I was really on the ball, I would have planted more and would have more to harvest, or over winter later this fall.
But I didn’t,
maybe next year?